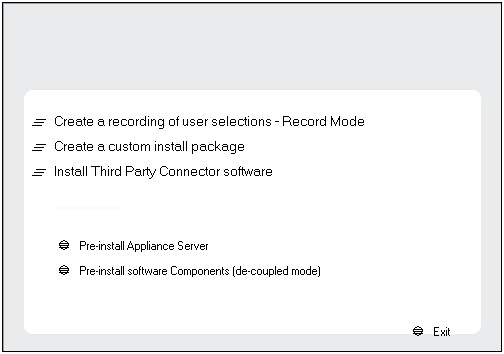
Click Exit to close the install program.


NOTES
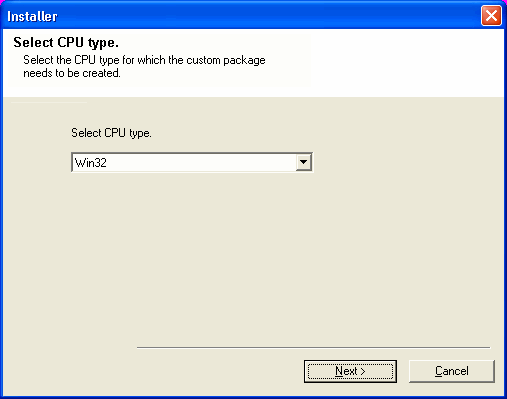
- Select Win32 for a 32-bit package and WinX64 for a 64 bit
package.
You can determine this by verifying whether all the components that you wish to install in this computer are supported in 64-bit in System Requirements.
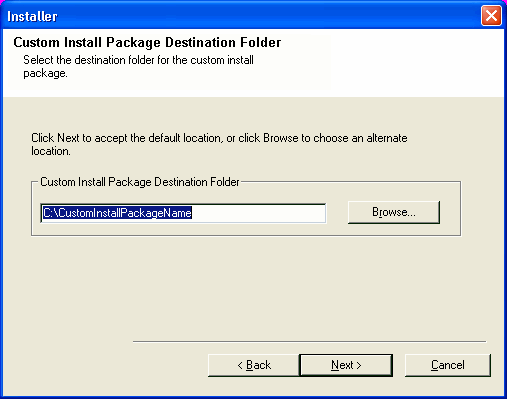
NOTES
- Specify a folder under any drive. If the folder does not exist, it is automatically created.
- Do not use the following characters when specifying the destination
path:
/ : * ? " < > |
It is recommended that you use alphanumeric characters only.
Click Browse to change directories.
Click Next to continue.
NOTES
- Your screen may look different from the example shown.
- The Special Registry Keys In Use field will be enabled when GalaxyInstallerFlags registry keys have been enabled on this computer. Hover over the field to see which keys have been set, as well as their values. For more information, see Registry Keys.
Click Next to continue.
To create the custom package of the CommServe, SRM and CommNet Server software from the Common Technology Engine folder expand the CommServe Modules folder and select the following:
- CommServe
- CommNet
- SRM Server
The CommNet Server, CommCell Console, Java Runtime Environment and Microsoft Windows File System iDataAgent will be selected by default. CommCell Console and Java Runtime Environment is located in the CommCell Console folder. Note that the CommNet Server, CommNet Browser, CommCell Console, Java Runtime Environment and Microsoft Windows File System iDataAgent can be deselected.
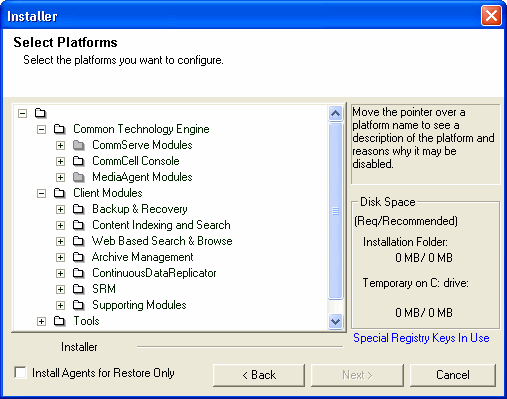
- Select Save user answers in the custom package option, if
you wish to use the current deployment setup and installation
options for the custom package installation.
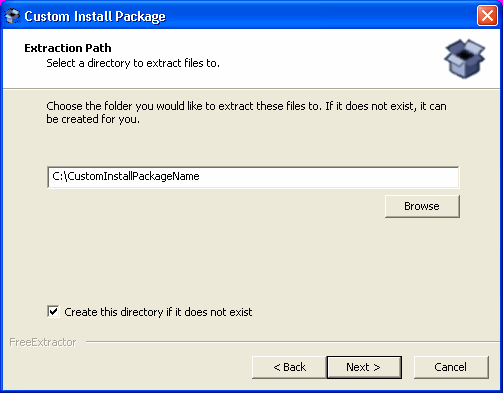
The install options will be recorded in the install.xml located under <CustomInstallPackageName>\<selected_platform> folder. For example, C:\<CustomInstallPackageName>\<Win32|Win64>.
- Select Create self extracting executable option, to create a self-extracting executable file for the custom package.
- Select Include MS SQL Server option, to include Microsoft SQL Server in custom package. If Microsoft SQL Server is pre-installed on the computer uncheck this option.
- Select Include service pack option, to include the service pack, if it is available on the Software Installation Disc, when creating custom package.

NOTES
- Do not install the software to a mapped network drive.
- Do not use the following characters when specifying the destination path:
/ : * ? " < > | #
It is recommended that you use alphanumeric characters only. - If you intend to install other components on this computer, the selected installation directory will be automatically used for that software as well.
- If a component is already installed in this computer, this screen may not be displayed. The software will be automatically installed in the same location that was previously specified.
Click Browse to change directories.
Click Next to continue.

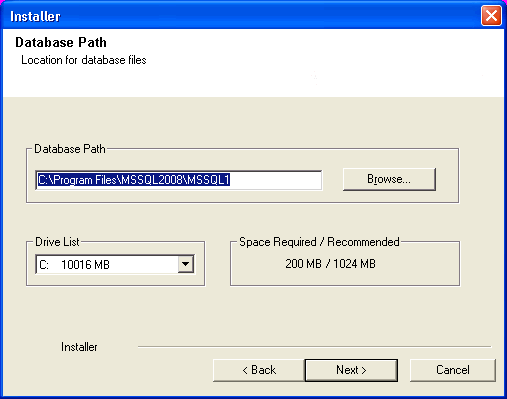
NOTES
- Do not specify a mapped network drive.
- You can either accept the default or select a different location on a local disk drive. However, you must ensure that the drive has at least 1GB of free space.
- The directory file path selected should not be located on a FAT drive. A FAT drive cannot be supported as the location for this database because it does not allow a temporary sparse file to be generated when creating the database snapshot, which is required for data verification.
- If the default metadata database directory is low in disk space, provide a path that is not associated with another application.
Click Browse to change directories.
Click Next to continue.
NOTES
- For cluster, specify a shared drive.
- If you selected Use Network Path, you must enter the Network
share username and the Network share password.
- The Network share username is the domain\username of the user that has administrative rights to the Disaster Recovery Backup destination path.
- The Network share password is the password of the network share username.
Click Next to continue.

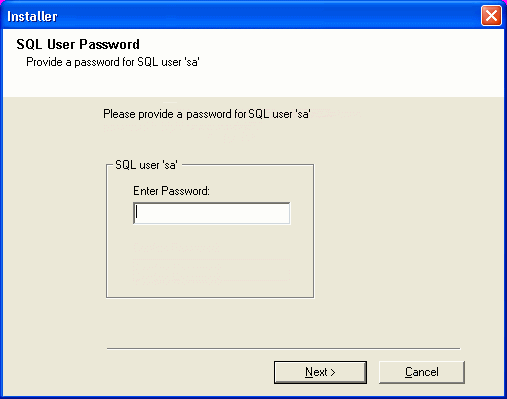
NOTES
- This is the password for the administrator's account created by SQL during the installation.
Click Next to continue.
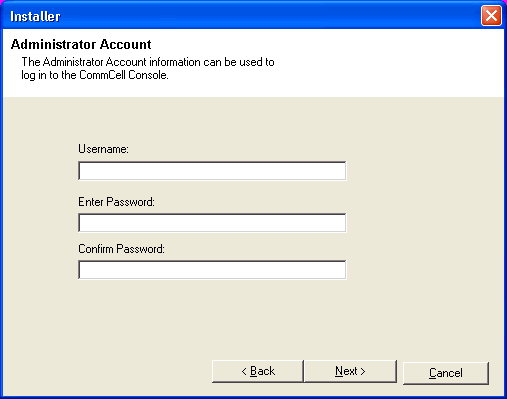
Set User Names and Passwords
NOTES
- The CommCell username and password will be used by the Administrator user to log on to the CommCell Console. This user is automatically created during installation and, by default, has the necessary capabilities to perform all functions. Additional CommCell users with the same or less security rights can be created after the installation of the software.
Click Next to continue.
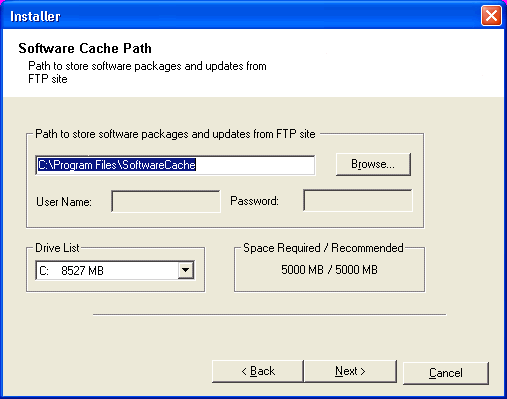
Select Schedule FTP Download of Automatic Updates option to schedule automatic FTP downloading of software updates.
Click Next to continue.
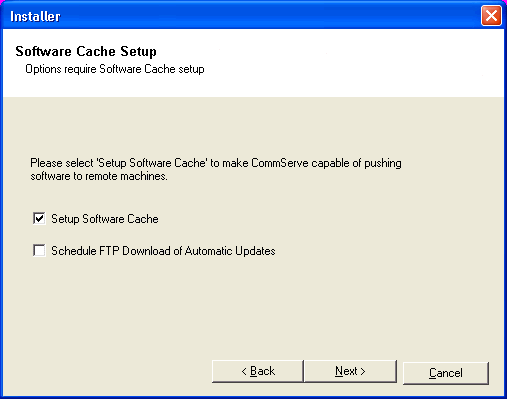
NOTES
- This prompt will only be displayed if the Setup Software Cache option was enabled.
Click Next to continue.
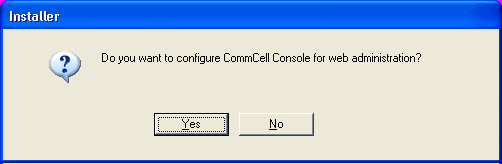
Configure the CommCell® Console for Web-Based Administration
NOTES
- The Internet Information Server (IIS) must be installed on this computer in order to configure for web administration.
- Configuring this computer for web administration allows you to:
- Access the CommCell Console and Books Online from a remote computer using a Web browser.
- View CommCell reports via a Web browser.
- Access Books Online by clicking the Help button (the icon with a ?) in the CommCell Console.
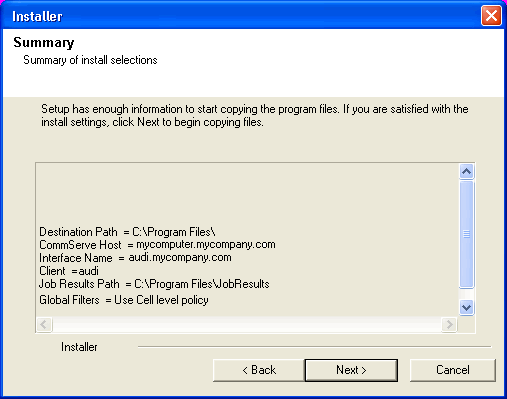
Verify Summary of Install Options
NOTES
- The Summary on your screen should reflect the components you selected for install, and may look different from the example shown.
Click Next to continue or Back to change any of the options.
The install program now starts copying the software to the computer. This step may take several minutes to complete.
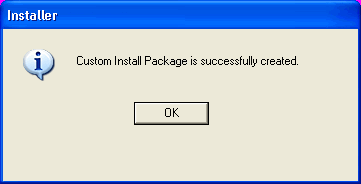
Select the option Cleanup custom package folders and only retain the self-extracting exe to clean up the installation files and folders in the custom package destination folder.
Click Next to proceed.
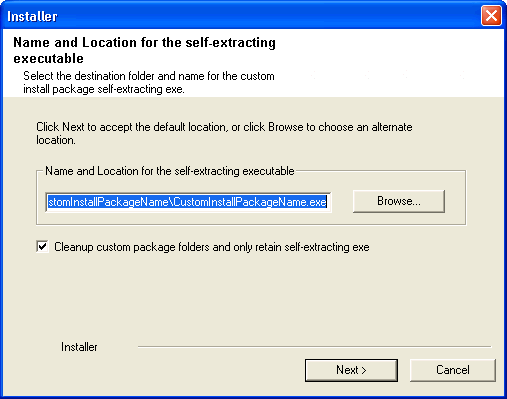
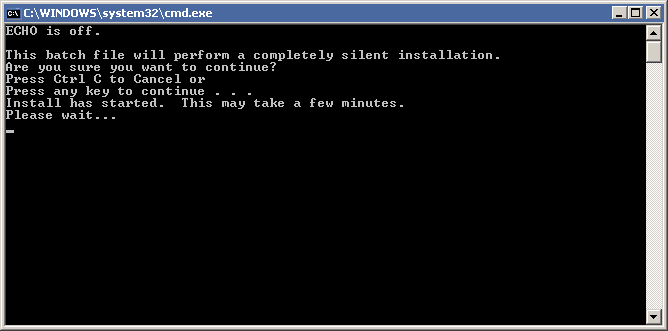
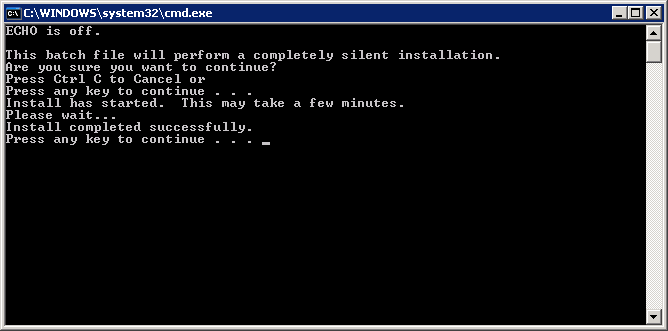
See Install using the Custom Package for procedure to install the software using the Custom package.