

|
|
Install CommServe™ MediaAgent and File System iDataAgent |
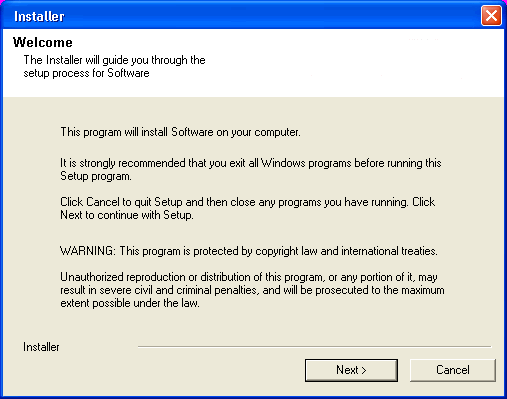
The first step in setting up a CommCell™ is to install the CommServe,
MediaAgent and File System iDataAgent.
|
The following sections describe how to install all the above components in a computer.
| 1. | Verify that the computer in which you wish to install satisfies the following System Requirements: | |||
| 2. | Run Setup.exe from the Software Installation Disc. | |||
| 3. |
Select the required language. Click Next. |
 |
||
| 4. |
Select the option to install software on this computer. NOTES
|
 |
||
| 5. | Click Next. |
 |
||
| 6. | Click OK. |
 |
||
| 7. |
Select I accept the terms in the license agreement. Click Next. |
 |
||
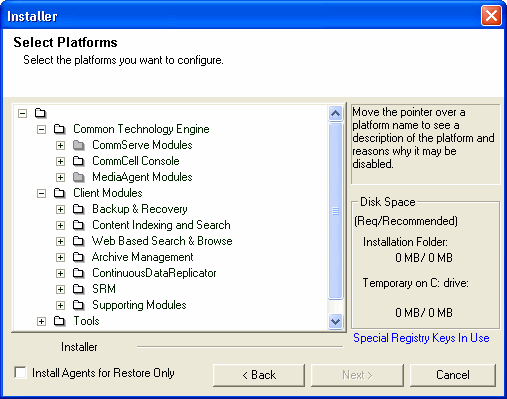
| 8. | Select the following component(s) to install:
|
 |
||
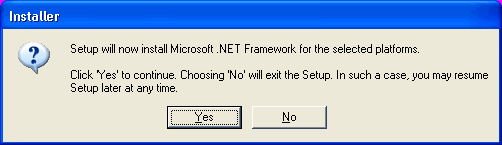
| 9. |
Click YES to install Microsoft .NET Framework package. NOTES
|
 |
||
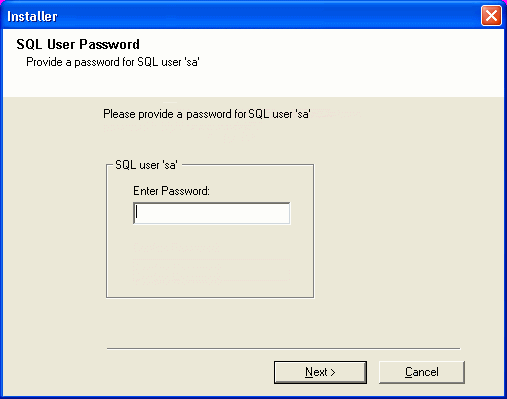
| 10. |
Specify the SQL Server System Administrator password. Click Next. NOTES
|
 |
||
| 11. | Click Yes to set up a dedicated instance of Microsoft SQL Server for the CommServe Server. |
 |
||
| 12. |
Verify the Installation Path for the Database Engine. Click Browse to change the default location. Click Next. NOTES
|
 |
||
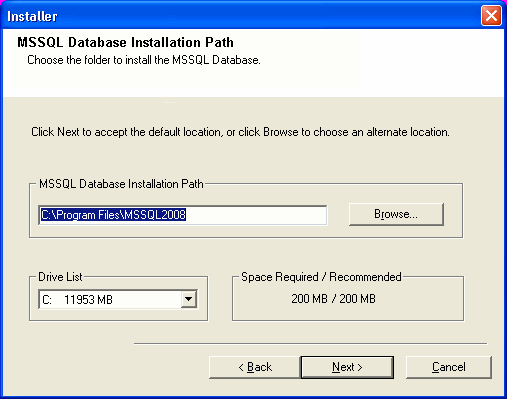
| 13. |
Verify MSSQL Database Installation Path. Click Browse to change the default location. Click Next. NOTES
|
 |
||
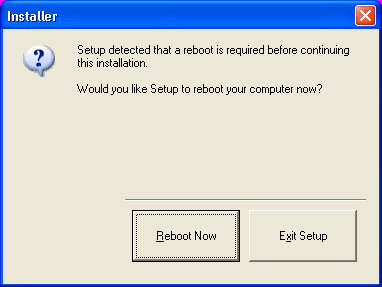
| 14. |
If this message is displayed, click Reboot Now to continue. The
install program will automatically resume from the point of failure
after the reboot. If the install program does not automatically resume after the reboot:
NOTES
|
 |
||
| 15. |
Click Next. NOTES
|
 |
||
| 16. |
Click Next.
NOTES:
|
 |
||
| 17. | Click Next. |
 |
||
| 18. |
Verify the default location for software installation. Click Browse to change the default location. Click Next. NOTES
|
 |
||
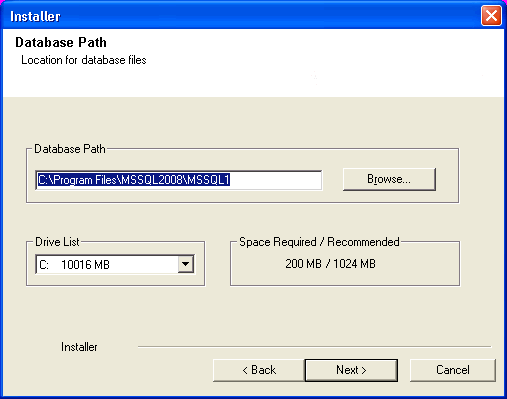
| 19. |
Verify the location of the database. Click Browse to change the default location. Click Next. NOTES
|
 |
||
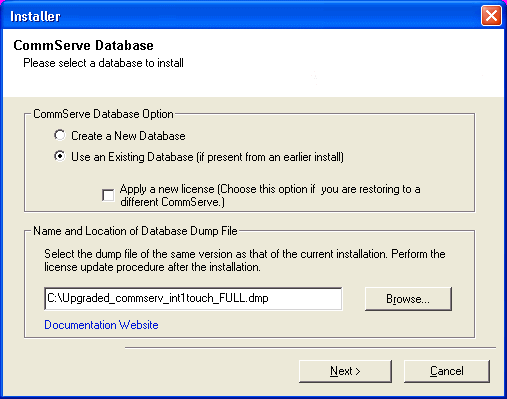
| 20. | Select the Create a New Database option and click
Next to continue. NOTES
|
 |
||
| 21. |
Enter the network or local path where Disaster Recovery Backup
files should be stored. Click Next. NOTES
|
 |
||
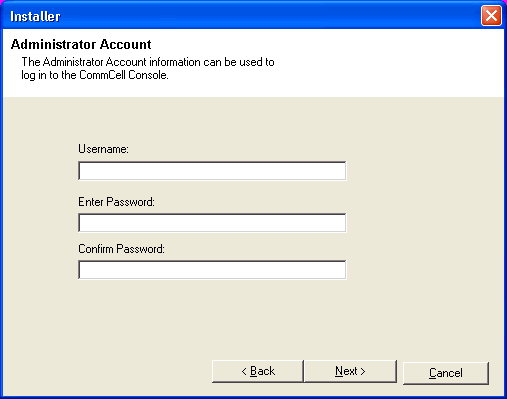
| 22. |
Enter the CommCell Username and CommCell Password. Click Next.
|
 |
||
| 23. | Click Next. |
 |
||
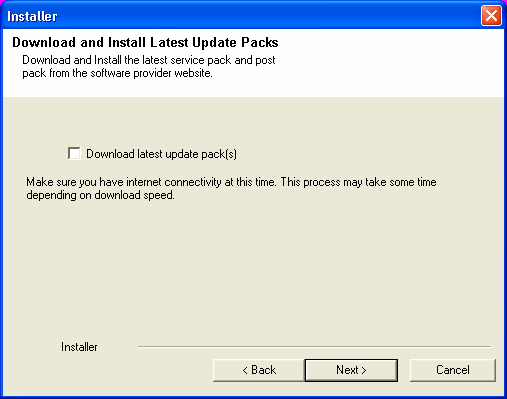
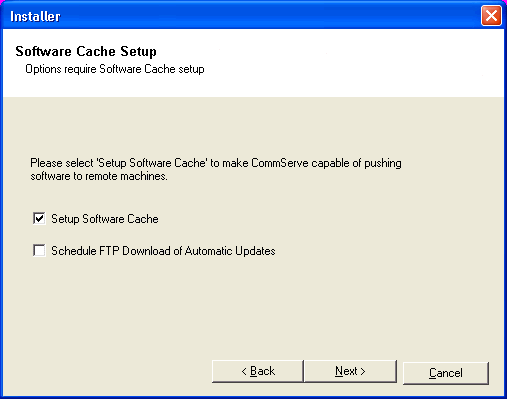
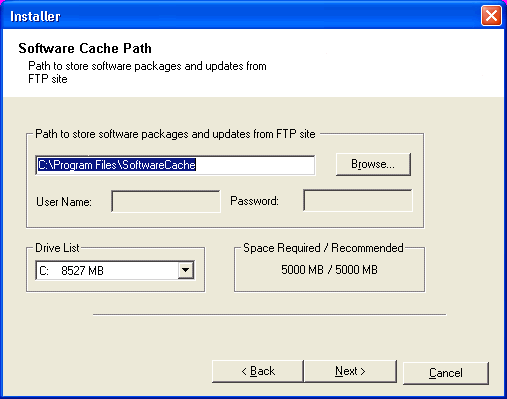
| 24. |
Verify the location where the update files from the FTP site should be stored. Click Browse to change the default location. Click Next. |
 |
||
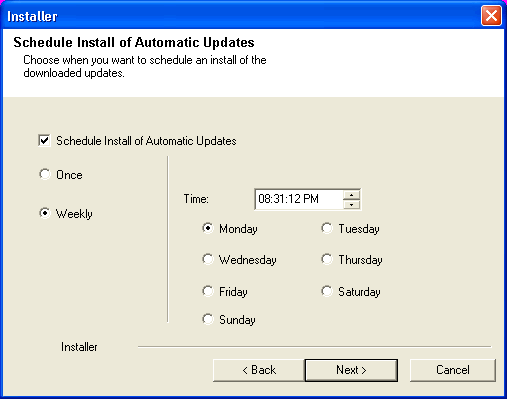
| 25. |
Click Next. NOTES
|
 |
||
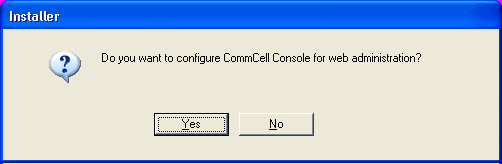
| 26. |
Click Yes to configure the CommCell Console for web
administration. NOTES
|
 |
||
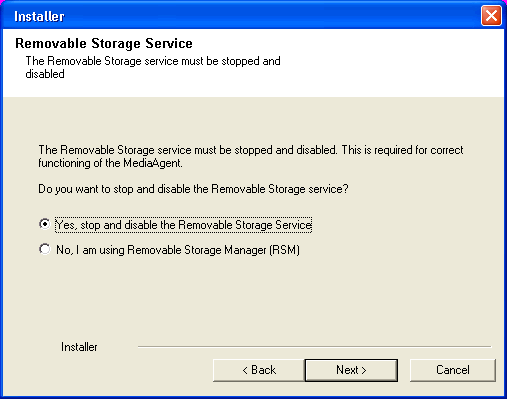
| 27. |
Select Yes to stop Removable Storage Services on the MediaAgent.
NOTES
Click Next. |
 |
||
| 28. | Click OK. |
 |
||
| 29. |
Click Next. NOTES
|
 |
||
| 30. | Click Next. |
 |
||
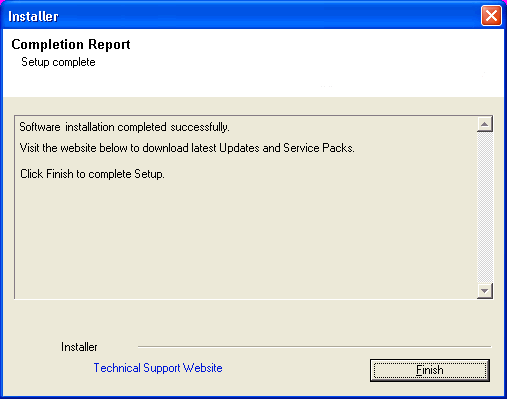
| 31. | Click Finish. |
 |
||
|
|