|
|
|
|
| 1. |
From the appropriate
software installation disc run the following program: SQL2005\SQL_Enterprise_Edition\Servers\setup.exe |
|
| 2. |
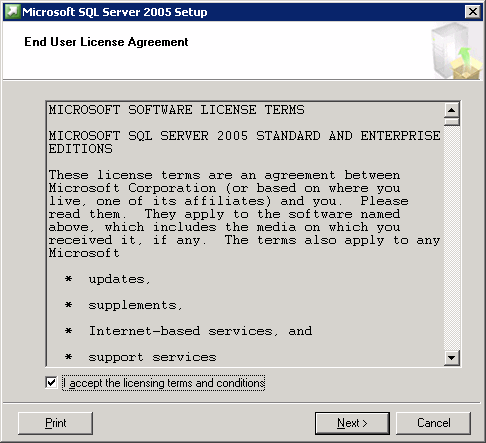
Click I accept the licensing terms and conditions and then click
Next to continue. |
|
| 3. |
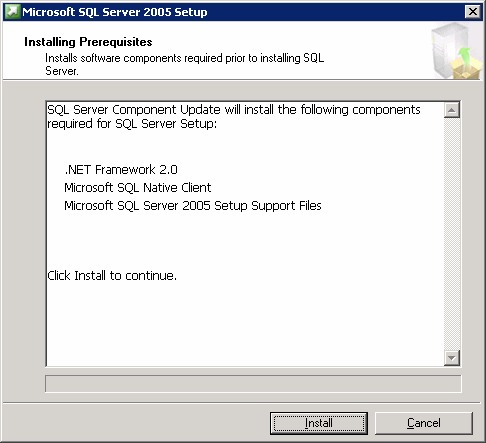
Click Install to continue. |
 |
| 4. |
Click Next to continue. |
 |
| 5. |
Click Next to continue. |
 |
| 6. |
Click Next to continue. |
 |
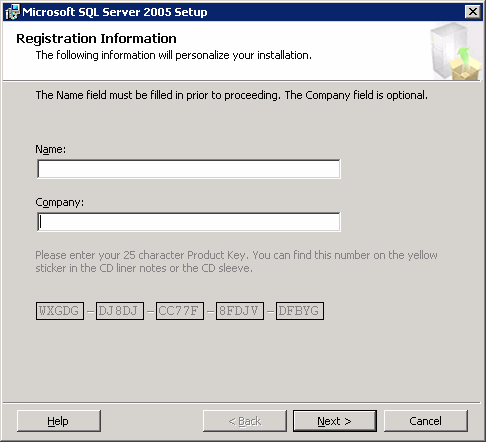
| 7. |
Enter Name and Company information and then click Next to continue. |
 |
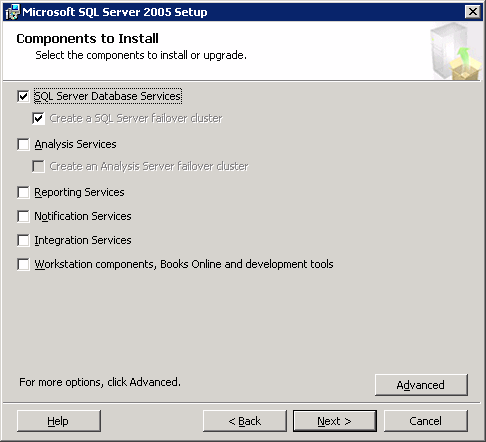
| 8. |
Select SQL Server Database Services and Create a SQL Server
failover cluster.
Click Advanced for more options.
|
 |
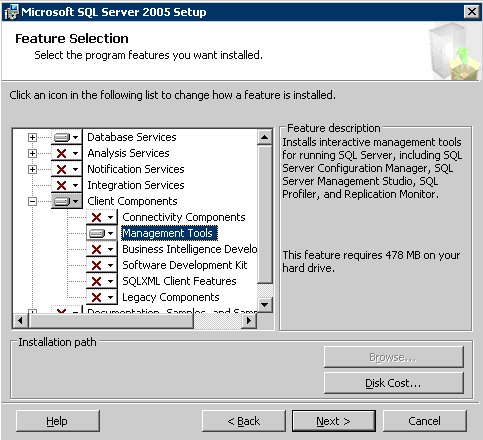
| 9. |
Expand Client Components, right-click on Management Tools,
and select Install. Click Next to continue.
|
 |
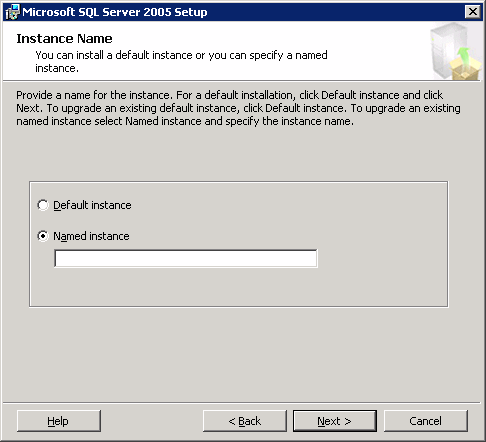
| 10. |
Perform the following and then click Next to continue.
- Click the Named Instance option.
- Enter instance name, e.g., BullCalypso.
Click Next to continue. |
 |
| 11. |
Enter the name of the Virtual Server. NOTES
The name of the Virtual Server is the SQL Network Name in cluster
administration.
Click Next to continue. |
 |
| 12. |
Select the Network to use from the drop-down list, and enter a
new IP address to use for the cluster group. This IP address will
map to the Virtual Server chosen in the previous step.
Click Add to enter all the necessary IP addresses for the
interfaces in the cluster group.
NOTES The Cluster Heartbeat does not need to be added to the
SQL cluster group.
Click Next to continue. |
 |
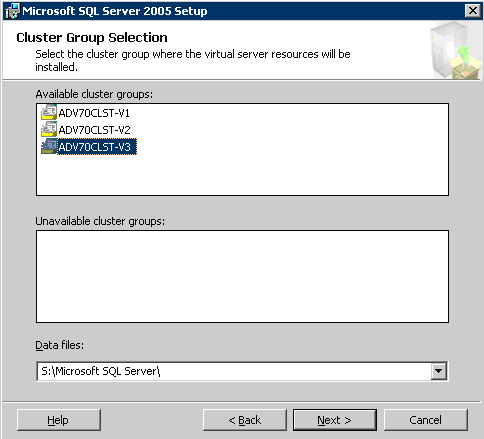
| 13. |
Select the Cluster Group to which the Virtual Server Resources will be
installed, and enter the location for the SQL files in the Data files
field. Click Next to continue. |
 |
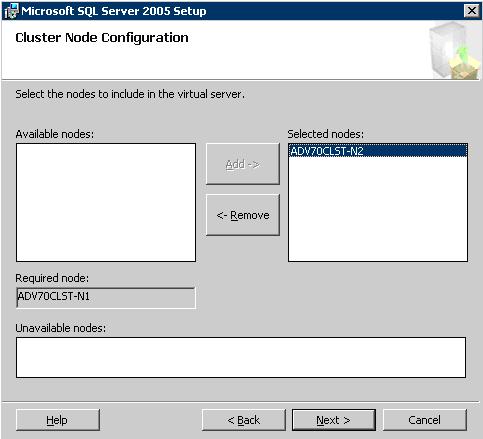
| 14. |
Select the nodes to include in the Virtual Server. NOTES If
any nodes are listed as Unavailable Nodes, verify that the System
Configuration Check did not list any errors. Verify that all
prerequisites have been met.
Click Next to continue. |
 |
| 15. |
Enter the password for the user account that is being used for the
current cluster node so that when SQL runs the remote install on the
other node, it can login seamlessly.
Click Next to continue. |
 |
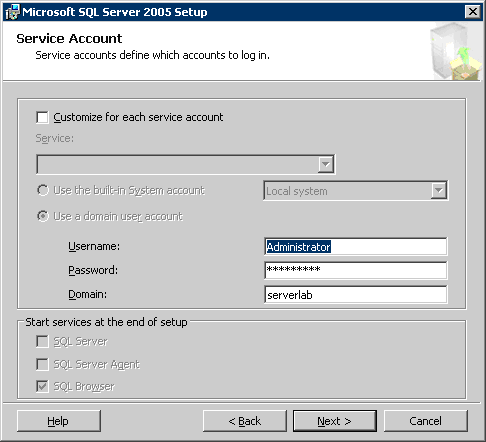
| 16. |
Perform the following and then click Next to continue.
- Click the Use a domain user account option.
- Enter a valid username, password and domain name in the Username, Password and Domain
boxes.
NOTES
This account must have access to all the nodes in the cluster group.
Click Next to continue.
|
 |
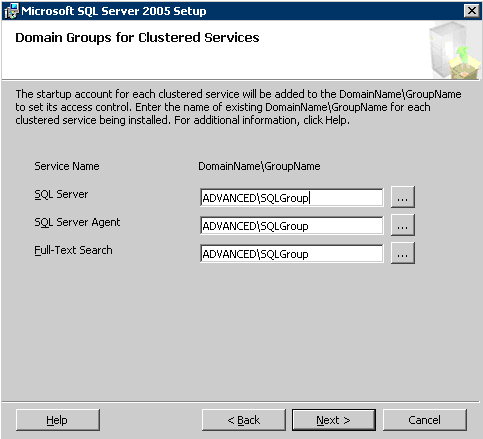
| 17. |
Enter the name of the group of that was created for the external domain
in Before You Begin.
Click Next to continue. |
 |
| 18. |
Perform the following and then click Next to continue.
- Choose the Mixed Mode (Windows authentication and SQL Serve
authentication) option.
- Enter and confirm the password in the Enter Password and
Confirm password boxes.
|
 |
| 19. |
Perform the following and then click Next to continue.
- Choose the SQL Collations (Used for compatibility with
previous versions of SQL Server) option.
- Click Dictionary order, case-insensitive, for use with 1252
Character set in the SQL Collations list.
NOTES
- Selecting Dictionary order, case-insensitive, for use with 1252
Character set option will set the SQL Collation setting for the
databases as SQL_Latin1_General_CP1_CI_AS.
|
 |
| 20. |
Select the options best suited for your environment. Click Next to continue. |
 |
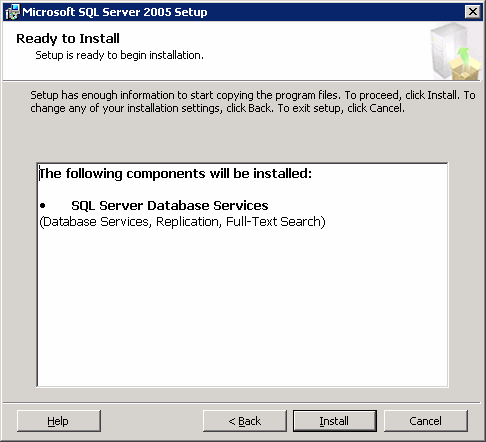
| 21. |
Click Install to continue. |
 |
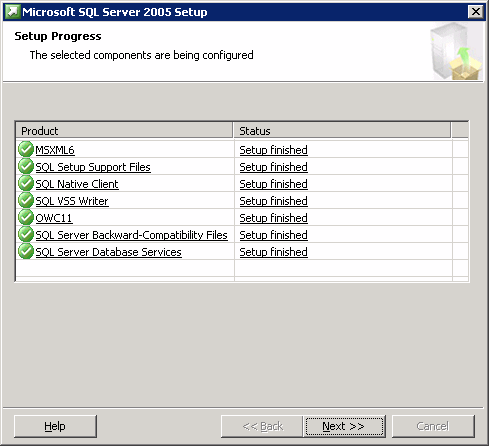
| 22. |
Click Next to continue. |
 |
| 23. |
Click Finish to exit. |
 |
|
|
| 24. |
From the appropriate
software installation disc run the following program:
SQL2005\SP2\SQLServer2005SP2-KB921896-x86-ENU |
|
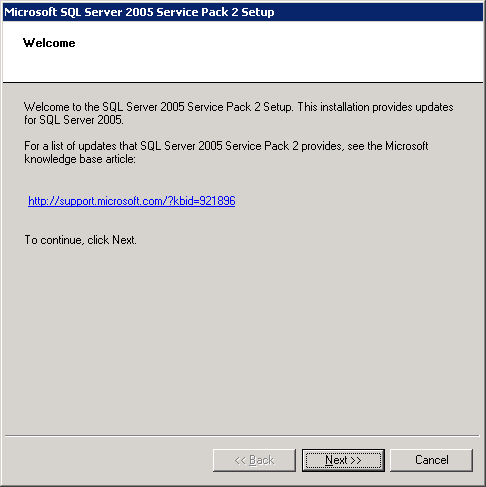
| 25. |
Click Next to continue. |
 |
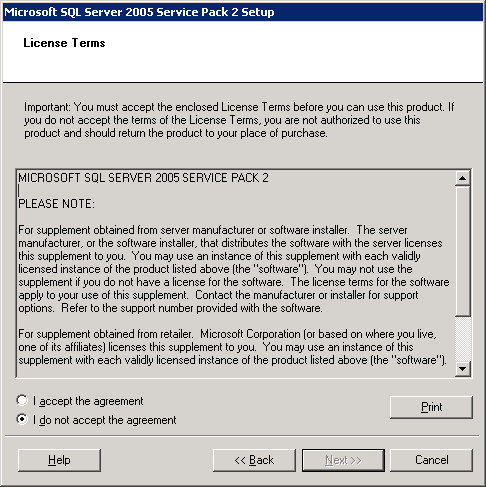
| 26. |
Click I accept the agreement and then click Next to continue. |
 |
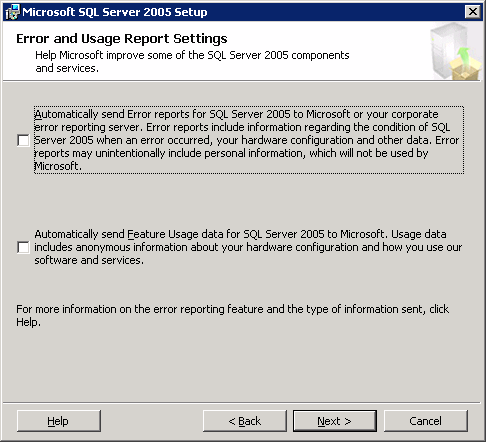
| 27. |
Select the Error and Usage Reporting Settings and click Next
to continue. |
 |
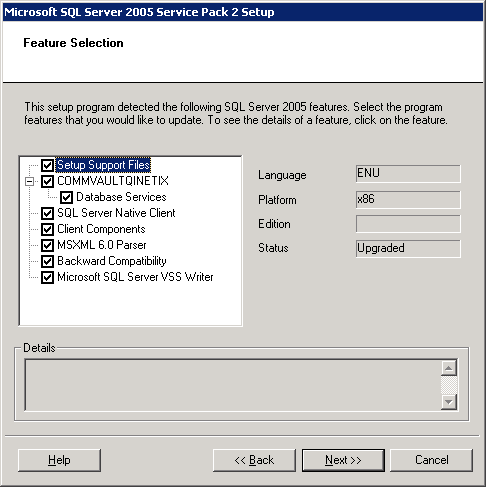
| 28. |
Select the features to update and click Next to continue. |
 |
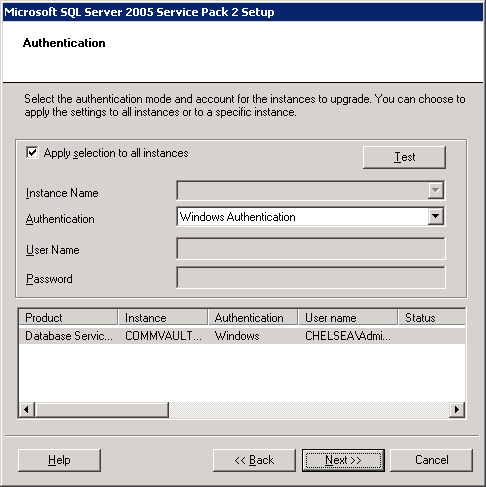
| 29. |
Choose Windows Authentication option and then click Next to continue. |
 |
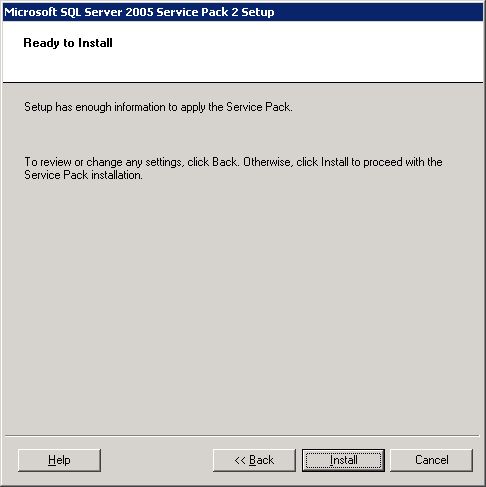
| 30. |
Click Install to continue. |
 |
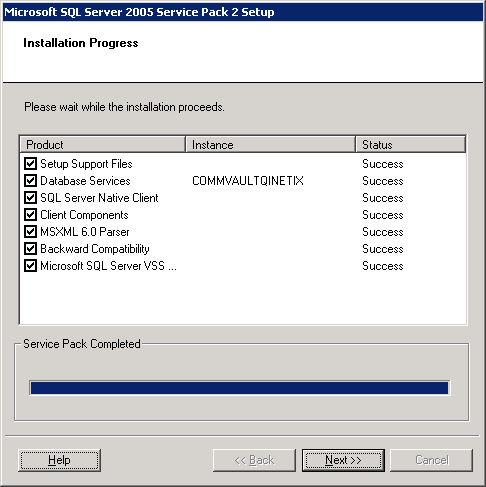
| 31. |
Click Next to continue. |
 |
| 32. |
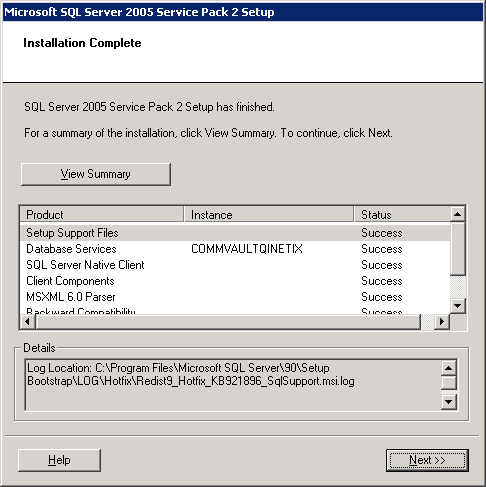
Install summary is displayed.
Click Next to continue. |
 |
| 33. |
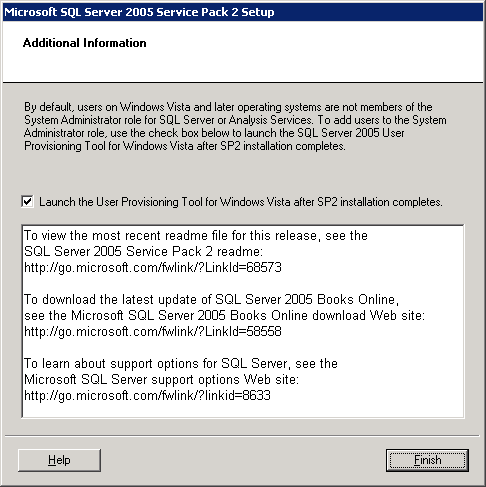
Click Finish to exit. |
 |