NOTES
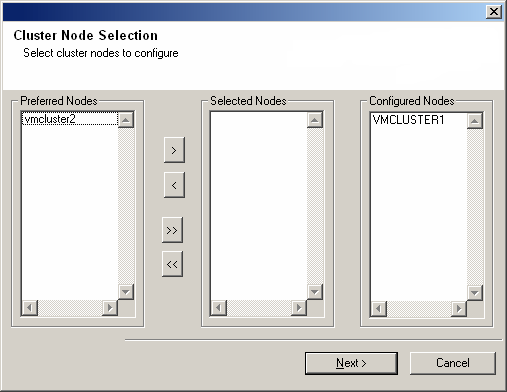
- The list of Preferred Nodes displays all the nodes found in the cluster; from this list you should only select cluster nodes configured to host this virtual server.
- Do not select nodes that already have multiple instances installed. For more information, see Multi Instancing.
When you have completed your selections, click Next to continue.
Click Next to continue.
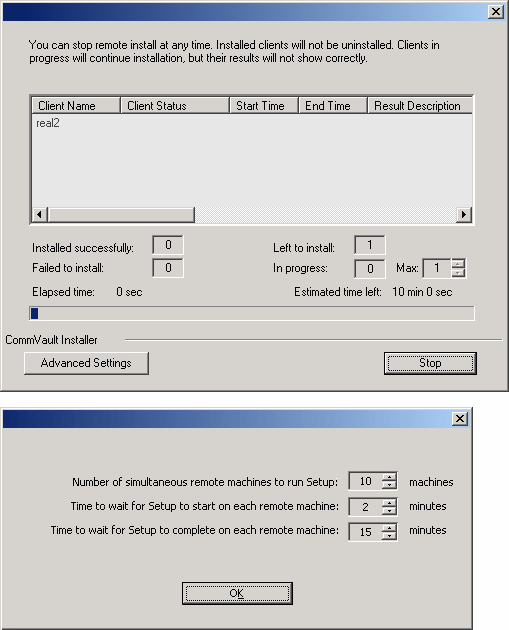
Click Stop to prevent installation to any nodes after the current ones complete.
Click Advanced Settings to specify any of the following:
- Maximum number of nodes on which Setup can run simultaneously.
- Time allocated for Setup to begin executing on each node, after which the install attempt will fail.
- Time allocated for Setup to complete on each node, after which the install attempt will fail.
NOTES
- If, during the remote install of a cluster node, setup fails to complete or is interrupted, you must perform a local install on that node. When you do, the install begins from where it left off, or from the beginning if necessary. See Installation for the required installation procedures.
NOTES
- If any node installation fails, you must manually install the software on that node once the current installation is complete. See Installation for the required installation procedures.
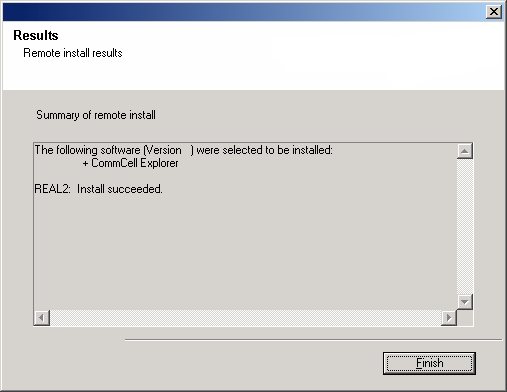
- The message displayed on your screen will reflect the status of the selected nodes, and may look different from the example.
Click Next to continue.