Before You Begin
This feature requires a Feature License to be available in the CommServe® Server.
Review general license requirements included in License Administration. Also, View All Licenses provides step-by-step instructions on how to view the license information.
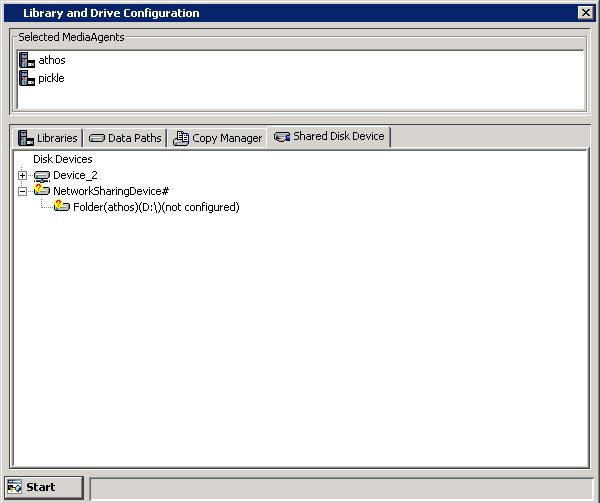
To Configure Magnetic Libraries on Replicated Disks
MediaAgent - The name of the MediaAgent accessing the mount path.
Folder - The network path that will be used by the MediaAgent to access the mount path
If the MediaAgent is a Windows MediaAgent, you can choose a local path or a network path. If you use a network path provide the username and password that must be used by the system to access the device.
NOTES:
- Network path is not supported for MediaAgent Replication solution; only local paths are supported.
Click No in the confirmation dialog box to add another sharing folder.
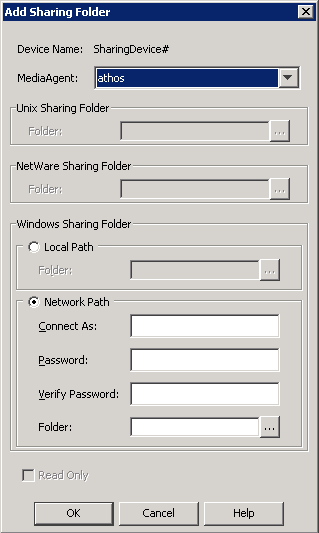

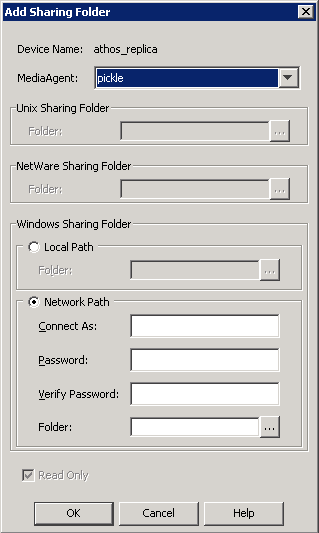
MediaAgent - The name of the MediaAgent accessing the mount path.
Folder - The path that will be used by the MediaAgent to access the mount path
If the MediaAgent is a Windows MediaAgent, you can choose a local path or a network path. If you use a network path provide the username and password that must be used by the system to access the device.
NOTES:
- Network path is not supported for MediaAgent Replication solution; only local paths are supported.
- For MediaAgent Replication solution, this is the destination sharing folder and cannot be the same as the sharing folder path given in Step 4.
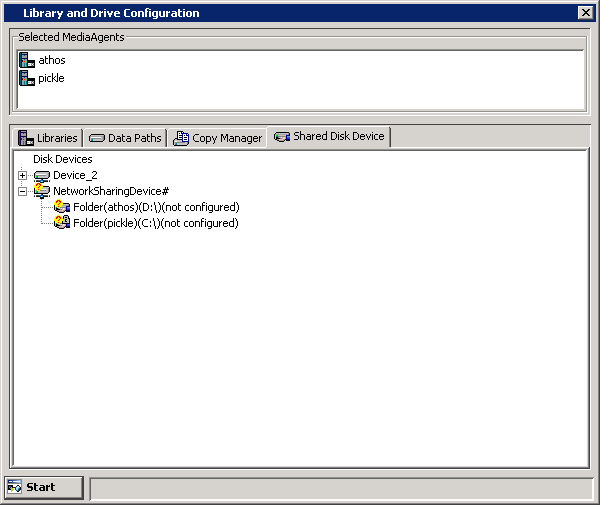


To rename, right-click the device and then click Properties. In the Device Properties dialog box, type a new name.


Alias: A descriptive name for the magnetic library.
Low Watermark: The minimum amount of free space at which a low watermark warning should be generated for the library.
Automatically create storage policy for new Datapaths: Select this option to automatically create a new storage policy when the mount path is added to this magnetic library.
Enable Replication: For MediaAgent Replication solution, select this option to use ContinuousDataReplicator to replicate data between the source (shared folder added in Step 4) and the destination (shared folder added in Step 6) mount paths. Leave this option unselected if you are using a third party application to replicate data between shared folders.
Selecting this option will automatically create a new replication set and a replication pair under ContinuousDataReplicator, when a mount path is added to this library. These replication sets and replication pairs can be monitored from the CommCell Console. It is highly recommended not to change the default settings of the replication sets, or delete the replication sets when the replication is in progress.
NOTES:
-
If this option is selected, make sure to install the ContinuousDataReplicator package on the source and the destination computers before adding mount path to this library.
Click OK.

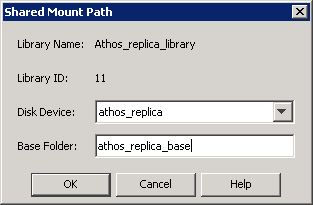
In the Base Folder box, type the name of the base folder under which the mount path can store data. Do not include the drive letter while adding the name of the base folder.
Click OK.
