|
|
|
|
|
|
| Collect the following information before
installing the software. Use the space provided to record
the information, and retain this information in your Disaster Recovery
binder. |
| 1. |
CommNet Server Interface Name:______________________________________
See Set Up the CommNet
Interface Name for more information.
|
| 2. |
Web Alias:________________________________________________________________________________
See
Set Up the CommNet Browser for Web-Based Administration for more information.
|
|
|
- Close all applications and disable any programs that run automatically,
including anti-virus, screen savers and system utilities. Some of the programs,
including anti-virus software, may be running as a service. Stop and disable
such services before you begin. You can re-enable them after the installation.
|
|
|
|
|
| 1. |
Log on to the computer as the local Administrator or as a member of the local
Administrators group on that computer. For clustered computers, log on as Domain
User with administrative privileges to all nodes in the cluster.
|
|
| 2. |
Place the appropriate
Software Installation Disc into the drive. After
a few seconds, the installation menu is displayed.
If the installation menu does not display:
- Click the Start button on the Windows task bar, a then click Run.
- Browse to the installation disc drive, select setup.exe, click Open, then click
OK.
|
|
| 3. |
Select the desired language and click Next to continue.
|
|
| 4. |
Select the option to install software.
|
|
| 5. |
Select the option to install software on this computer.
NOTES
- The options that appear on this screen depend on the computer in which
the software is being installed.
|
|
| 6. |
From the Welcome screen, click Next to continue if no other applications
are running.
|
|
| 7. |
Read the virus scanning software warning.
Click OK to continue if virus scanning is disabled.
|
|
| 8. |
Read and agree to the license agreement.
Select I accept the terms in the license agreement then click Next
to continue.
|
|
|
|
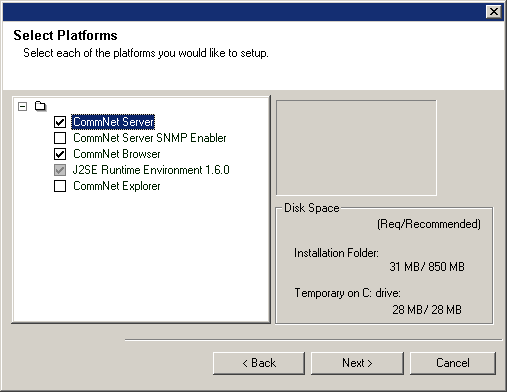
| 9. |
Select the platforms you want to install.
Click Next to continue.
NOTES
- The CommNet Browser must be installed on the CommNet Server if you want to use scheduled reports.
|
 |
|
|
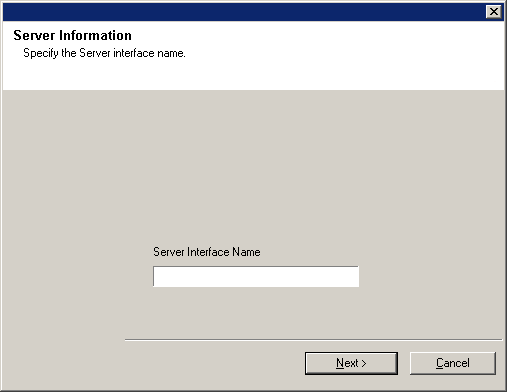
| 10. |
Specify the CommNet Server Interface Name. CommNet Server Interface Name - The TCP/IP network interface name of the
CommNet Server computer.
Select or Enter the information and click Next to continue. |
 |
|
|
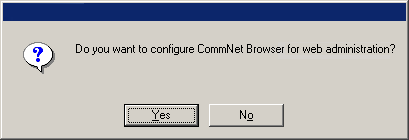
| 11. |
If the Internet Information Server (IIS) is installed on this computer, the
install program asks if you want to configure the software for web-based
administration. Click Yes to continue.
NOTES
- If IIS is not installed then you will not receive this prompt.
- The screen to the right may look different depending upon the software selected for install or upgrade.
|
 |
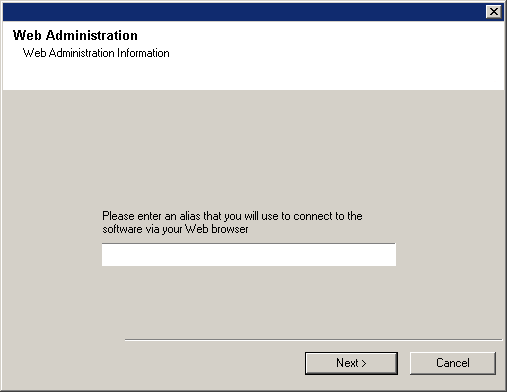
| 12. |
When prompted for an alias, type the name (or use the default)
of the Web alias that you want to use for accessing the CommNet Browser remotely. Click Next to continue.
NOTES
- If IIS is not installed then you will not receive this prompt.
|
 |
|
|
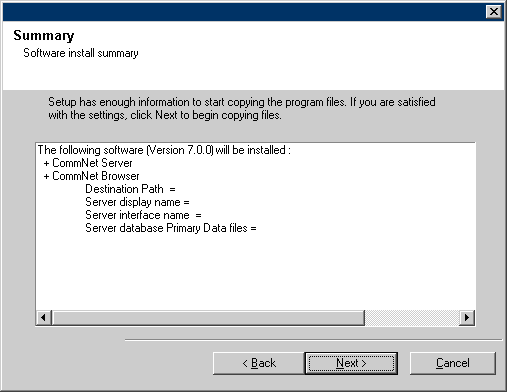
| 13. |
Verify the summary of selected components. Click Next to continue.
NOTES
- The Summary to the right may look different depending upon the components selected for install or upgrade.
|
 |
| 14. |
A System Reboot prompt may ask you to take one of the following actions:
- Log Off - This option will be displayed if the install program
needs to assign any required security privileges to the user. If the Log off
option is displayed, log off and login to the computer at this point. The
install program will automatically continue after you login.
- Reboot - This option will be displayed if the install program
finds any file required in use and needs to be replaced. If the
Reboot option is displayed without the Skip Reboot option, reboot the
computer at this point. The install program will automatically continue
after the reboot.
- Skip Reboot - This option will be displayed if the install
program finds any files belonging to other applications, that need to be
replaced. As these files are not critical for the CommNet Server installation,
you may skip the reboot and continue the installation and reboot the
computer at a later time.
- The install program now starts copying the software to the
computer. This step may take several minutes to complete.
|
|
|
|
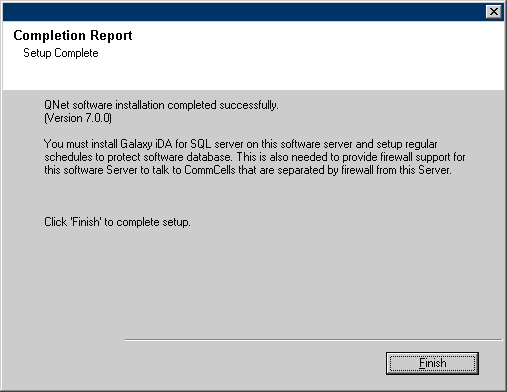
| 15. |
Setup displays the successfully installed or upgraded software components. Click Finish to close the install program. NOTES
- The screen to the right may look different depending upon the components selected for install or upgrade.
|
 |
|
|
|
|