Manually Install or Upgrade a Passive Node


Click on a link below to go to a specific section of the software installation:

Getting Started

1. Log on to the computer as the local Administrator or as a member of the local Administrators group on that computer. For clustered computers, log on as Domain User with administrative privileges to all nodes in the cluster.  
2. Place the appropriate Software Installation Disc into the drive. After a few seconds, the installation menu is displayed.

If the installation menu does not display:

  • Click the Start button on the Windows task bar, a then click Run.
  • Browse to the installation disc drive, select setup.exe, click Open, then click OK.
 
3. From the Welcome screen, click Next to continue if no other applications are running.  
4. Read the virus scanning software warning.

Click OK to continue if virus scanning is disabled.

 
5. Read and agree to the license agreement.

Select I accept the terms in the license agreement then click Next to continue.


Select Components for Installation

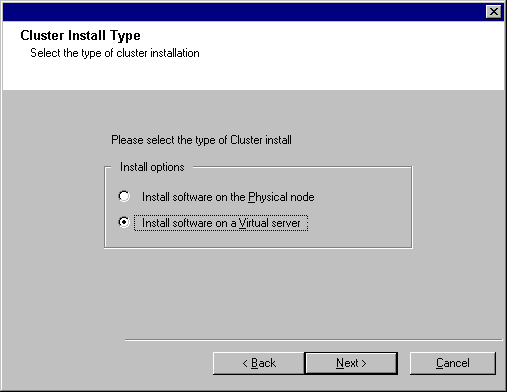
6. Select Virtual server installation.

To install or upgrade the software on a cluster, select Install Calypso Monitor on a Virtual server and click next to continue.

NOTES

  • Installation or upgrade of the software on a cluster is not supported on a physical node.
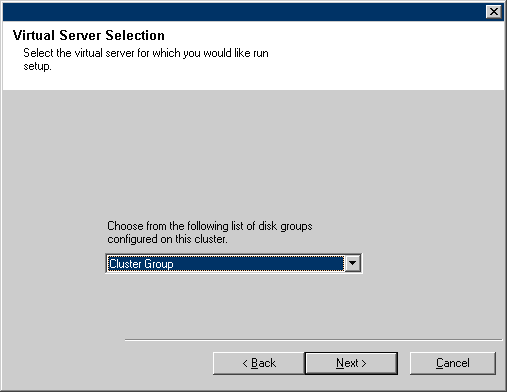
7. Select the disk group to which you are installing the software.

Click Next to continue.

8.

A message will appear, stating that the passive node registry will be replicated to match the active node.

Click OK to continue.

Setup Complete

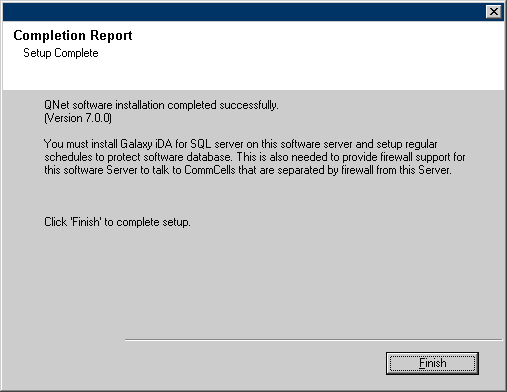
9. Setup displays the successfully installed or upgraded software components. Click Finish to close the install program.

NOTES

  • The screen to the right may look different depending upon the components selected for install or upgrade.