Pre-Installing SQL Database for CommNet Server


Click on a link below to go to a specific section of the software installation:

Overview

The following procedures describes the steps for pre-installing the Microsoft SQL Server Enterprise Edition and create the BullCalypso instance and then install Service Pack for Microsoft SQL Server.

Before You Begin

  • Log on to the computer as local Administrator or as a member of the Administrators group on that computer.
  • Make sure that you have the appropriate Software Installation Disc for the operating system in which you wish to perform the install.

Install Procedure

Installing SQL Server and creating the BullCalypso instance

1. From the appropriate Software Installation Disc run the following program:

SQL2005\SQL_Enterprise_Edition\Servers\setup.exe

 
2. Click I accept the licensing terms and conditions and then click Next to continue.  
3. Click Install to continue.
4. Click Next to continue.
5. Click Next to continue.
6. Click Next to continue.
7. Enter Name and Company information and then click Next to continue.
8. Select SQL Server Database Services and then click Next to continue.
9. Perform the following and then click Next to continue.
  • Click the Named Instance option.
  • Enter BullCalypso in the box.
10. Perform the following and then click Next to continue.
  • Click the Use a domain user account option.
  • Enter a valid username, password and domain name in the Username, Password and Domain boxes.
11. Perform the following and then click Next to continue.
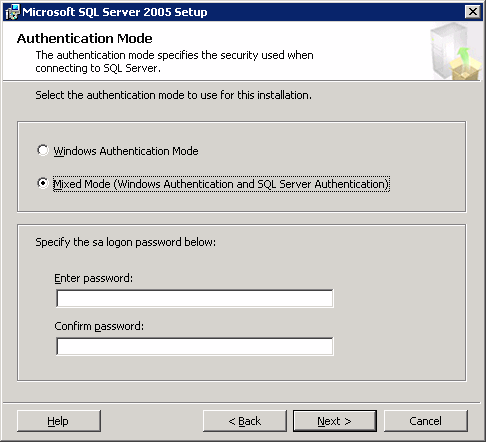
  • Choose the Mixed Mode (Windows authentication and SQL Serve authentication) option.
  • Enter and confirm the password in the Enter Password and Confirm password boxes.
12. Perform the following and then click Next to continue.
  • Choose the SQL Collations (Used for compatibility with previous versions of SQL Server) option.
  • Click Dictionary order, case-insensitive, for use with 1252 Character set in the SQL Collations list.

NOTES

  • Selecting Dictionary order, case-insensitive, for use with 1252 Character set option will set the SQL Collation setting for the databases as SQL_Latin1_General_CP1_CI_AS.
13. Click Next to continue.
14. Click Install to continue.
15. Click Next to continue.
16. Click Finish to exit.

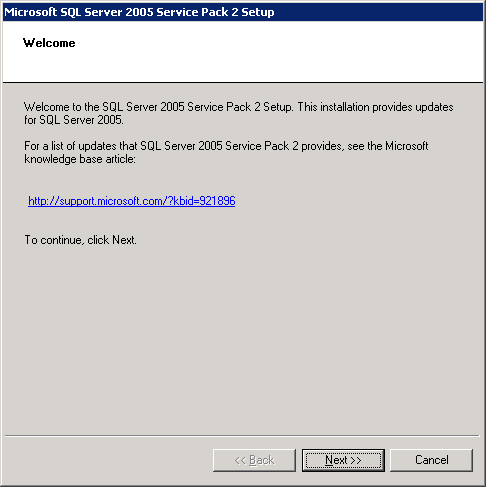
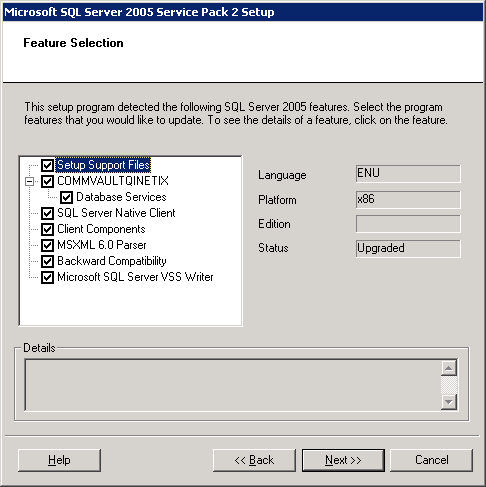
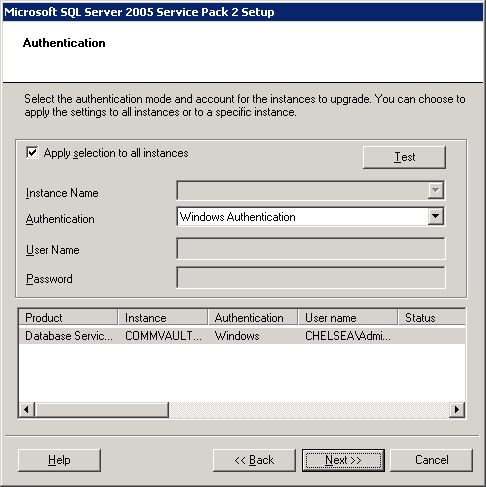
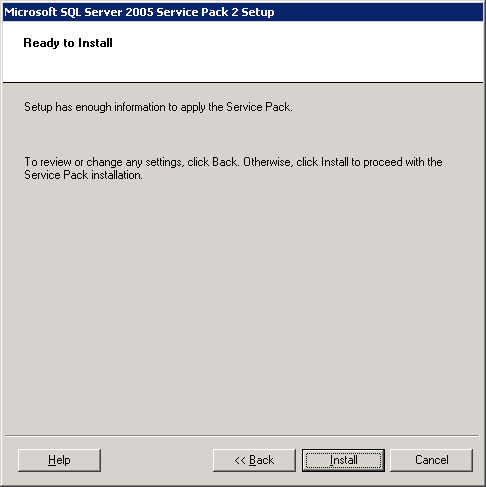
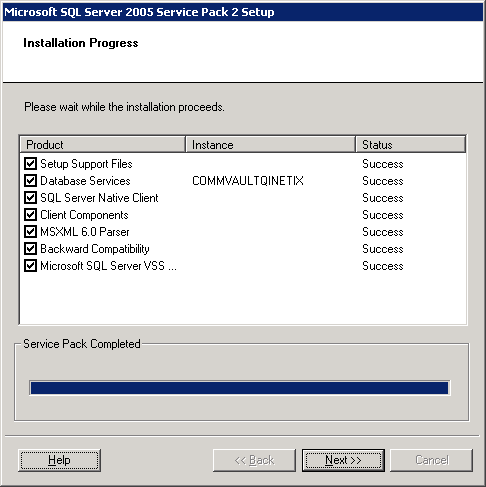
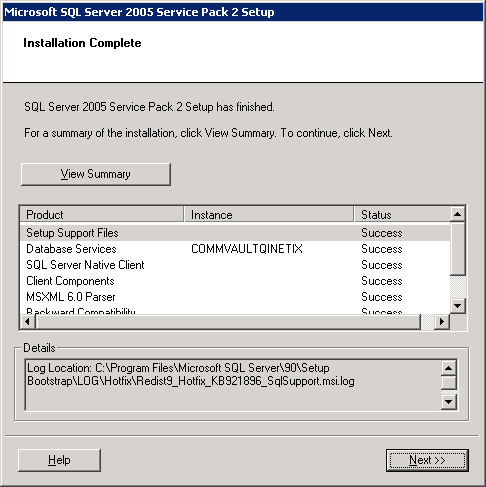
Installing SQL Server Service Pack

18. From the appropriate DVD-ROM run the following program:

SQL2005\SP1\SQLServer2005SP2-KB921896-x86-ENU

 
19. Click Next to continue.
20. Click I accept the agreement and then click Next to continue.
21. Select the Error and Usage Reporting Settings and click Next to continue.
22. Select the features to update and click Next to continue.
23. Choose Windows Authentication option and then click Next to continue.
24. Click Install to continue.
25. Click Next to continue.
26. Install summary is displayed. Click Next to continue.
27. Click Finish to exit.