Click Next to continue.
NOTES
- The CommNet Browser must be installed on the CommNet Server if you want to use scheduled reports.
Use Windows Authentication - Check this box to use a Windows Administrator account with SQL System Administrator privileges in place of the sa account to access the SQL database. This option is deselected by default.
Click Next to continue.

NOTES
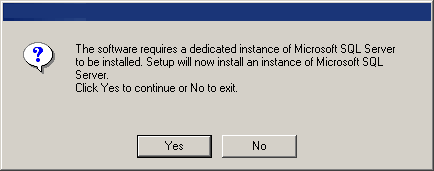
- This prompt will only be displayed if SQL Server BullCalypso instance is not installed on this computer.
- Clicking No will exit the install program.
NOTES
- This option will only appear if Microsoft .NET Framework has not been installed on this computer.

NOTES
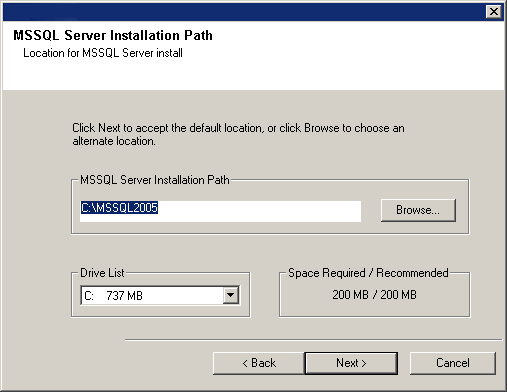
- This is the location where you want to install Microsoft SQL Server.
Click Browse to change directories.
Click Next to continue.
This step may take several minutes to complete.
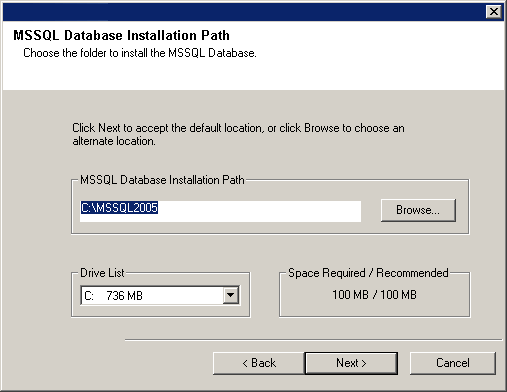
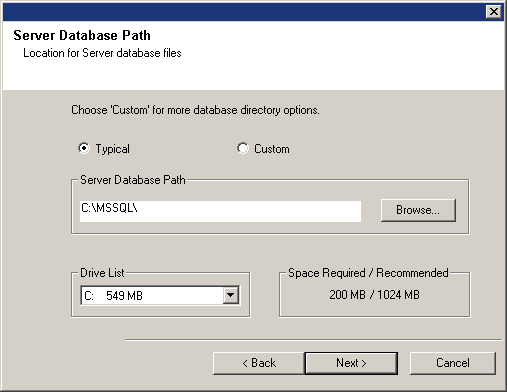
MSSQL Database Installation Path - The location where you want to setup the Microsoft SQL Server system databases.
Click Next to continue.
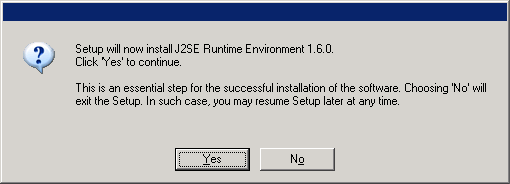
Install the JRE
NOTES
- This prompt will be displayed only when JRE version 1.5.x is available in the computer.
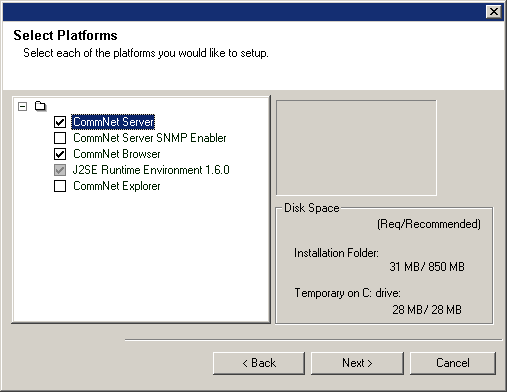
Install the CommNet Server and CommNet Server Database
Enter or Browse to the desired destination path and click Next to continue.
NOTES
- Do not install the software to a mapped network drive or to a path using any of the following characters:
/ : * ? " < > | ! ; @ ^ ]
- It is recommended that you use alphanumeric characters only.
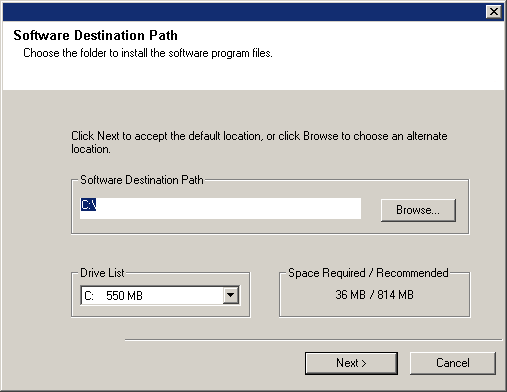
Enter or Browse to the desired destination path and click Next to continue.
NOTES
- It is recommended you select a Typical install. If you select a Custom install you will prompted for custom database paths in the next step.
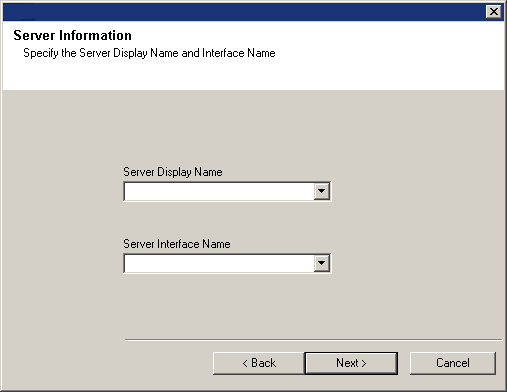
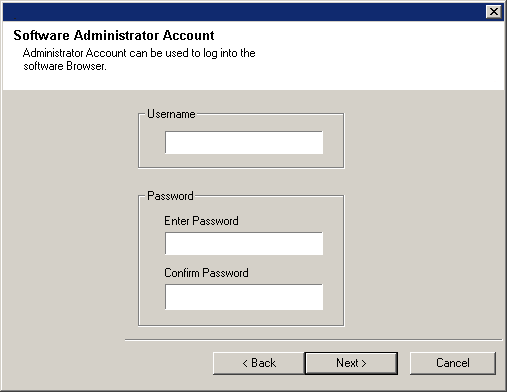
Set Up the CommNet Server Name and User
CommNet Server Interface Name - The TCP/IP network interface name of the CommNet Server computer.
Select or Enter the information and click Next to continue.
Enter password - The password for the administrator account.
Confirm password - Reenter password for confirmation.
Click Next to continue.
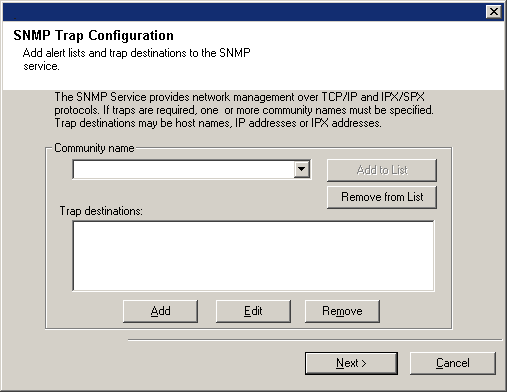
Set Up SNMP
Enter an IP Address, IPX Address and/or Host Name and click OK.
Repeat this for each destination you want to add.
Click Next to continue.
NOTES
- These screens appear only if the SNMP Enabler was selected for installation.
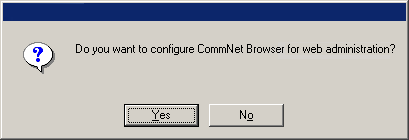
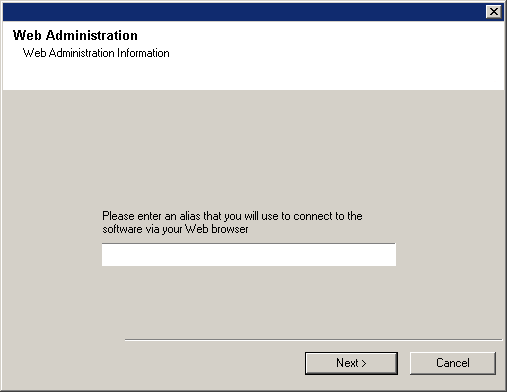
Set Up the CommNet Server for Web-Based Administration
Click Yes to continue.
NOTES
- If IIS is not installed then you will not receive this prompt.
- The screen to the right may look different depending upon the software selected for install or upgrade.
Click Next to continue.
NOTES
- If IIS is not installed then you will not receive this prompt.
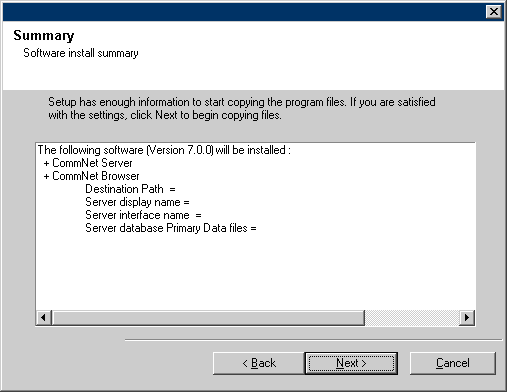
Verify Summary of Install Options
Click Next to continue.
NOTES
- The Summary to the right may look different depending upon the components selected for install or upgrade.
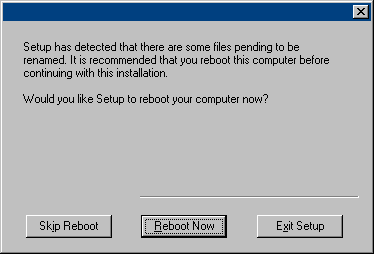
- Log Off - This option will be displayed if the install program needs to assign any required security privileges to the user. If the Log off option is displayed, log off and login to the computer at this point. The install program will automatically continue after you login.
- Reboot - This option will be displayed if the install program finds any file required in use and needs to be replaced. If the Reboot option is displayed without the Skip Reboot option, reboot the computer at this point. The install program will automatically continue after the reboot.
- Skip Reboot - This option will be displayed if the install program finds any files belonging to other applications, that need to be replaced. As these files are not critical for the CommNet Server installation, you may skip the reboot and continue the installation and reboot the computer at a later time.
- The install program now starts copying the software to the computer. This step may take several minutes to complete.
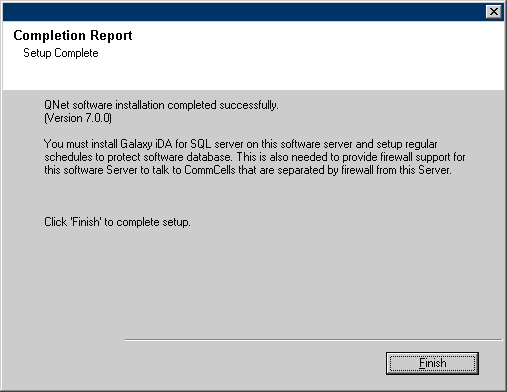
Setup Complete
NOTES
- The screen to the right may look different depending upon the components selected for install or upgrade.
Post-Install Considerations
General
Install post-release updates or Service Packs that may have been released after the release of the software.
Database Engine
Microsoft SQL Server 2005 Enterprise Edition (with Service Pack 2) will be automatically installed while installing the software. Later versions of the Service Pack, if available, are also supported.(* See Disclaimer below.)
If necessary, download and install the latest version of the Microsoft SQL Server service pack and/or post-release updates after an install or upgrade.
Server Specific
The Microsoft SQL Server iDataAgent software must be installed on the CommNet Server after installation. The iDataAgent can be a client of any CommCell. This provides a backup mechanism for the BullCalypso instance of SQL that contains the CommNet Server database on the CommNet Server. You can also configure firewall services between the CommCells and the CommNet Server when installing the SQL iDataAgent.
When installing the software, the interface names for the CommNet Server and the SQL iDataAgent must be the same. For example, if the CommNet Server is using server.company.com then the SQL iDataAgent should also use server.company.com.
See Books Online for information on installing the iDataAgent and configuring your computers for operation across a firewall.
Disaster Recovery
To protect the CommNet Server database against disasters, such as computer failure, application failure, etc. it is recommended that you have a Disaster Recovery strategy in place. See Disaster Recovery for more information.