

|
|
A storage policy acts as a channel through which data is transferred to the storage device. As the name indicates, a storage policy allows you to establish a comprehensive set of storage parameters - such as data retention, streams, deduplication, etc., for the data channeled through the storage policy.
If needed, you can create a new storage policy. During the creation of a Storage Policy, a new disk library is created to store metadata backup for SnapProtect operations. If there are existing disk libraries, you may select one.
Use the following steps to create a storage policy using disk library:
| 1. |
|
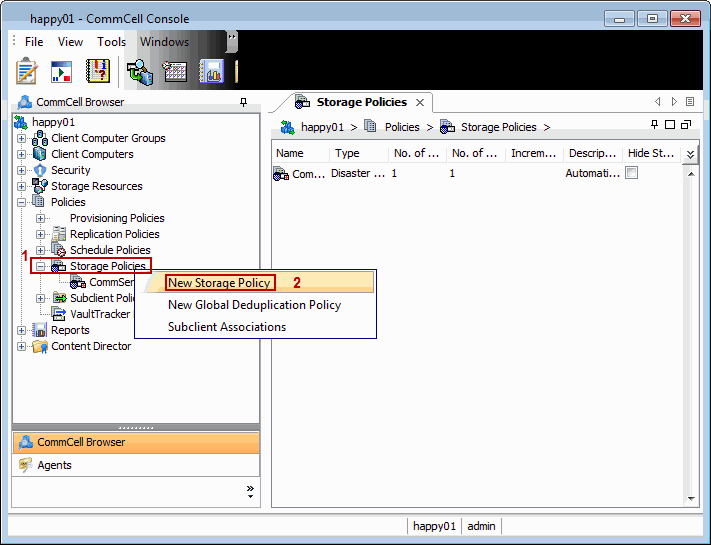 |
| 2. | Click Next. |
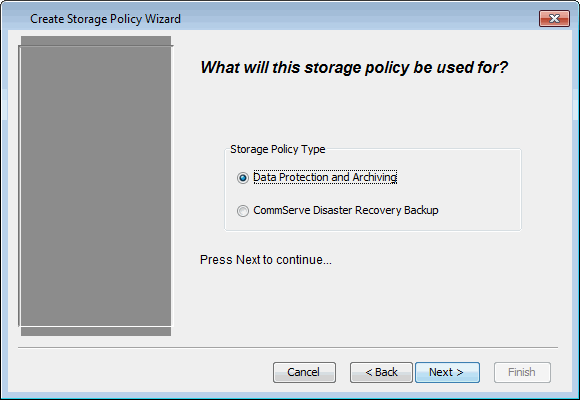 |
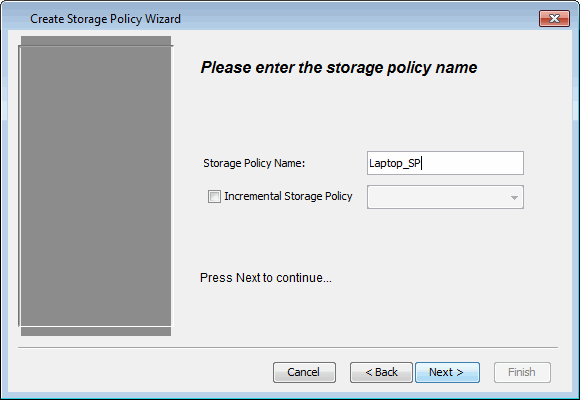
| 3. | Specify the name of the Storage Policy in the Storage Policy Name box and then click Next. |
 |
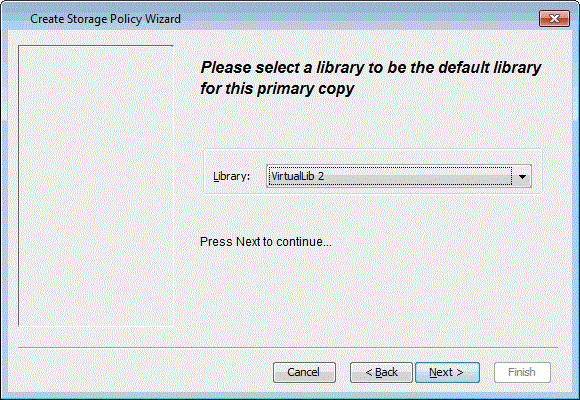
| 4. | In the Library list, select the disk library to which the primary copy should be associated and then click Next. |
 |
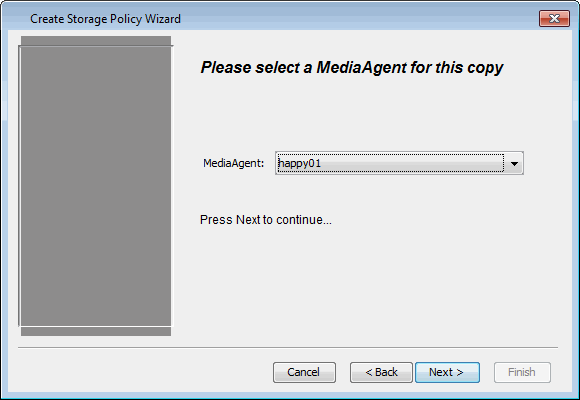
| 5. | In the MediaAgent list, select a MediaAgent and then click Next. |
 |
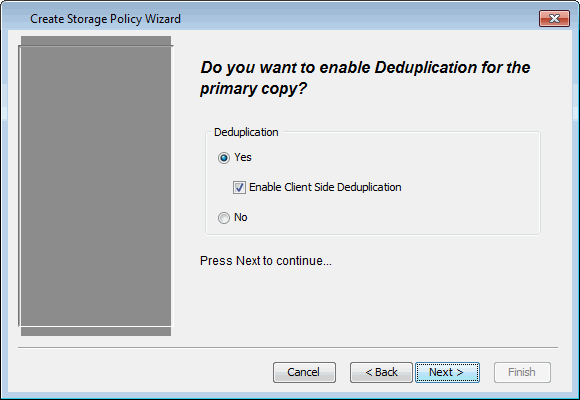
| 6. | Click Next. |
 |
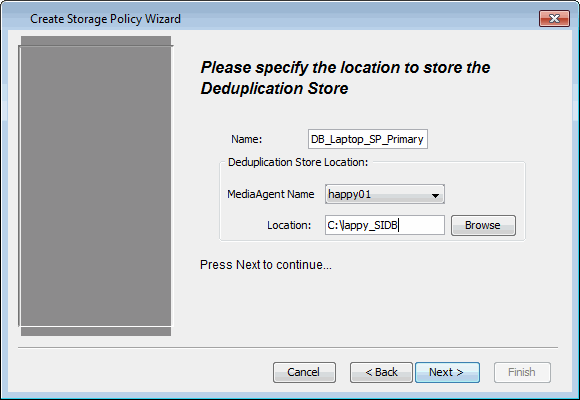
| 7. | Click Next. |
 |
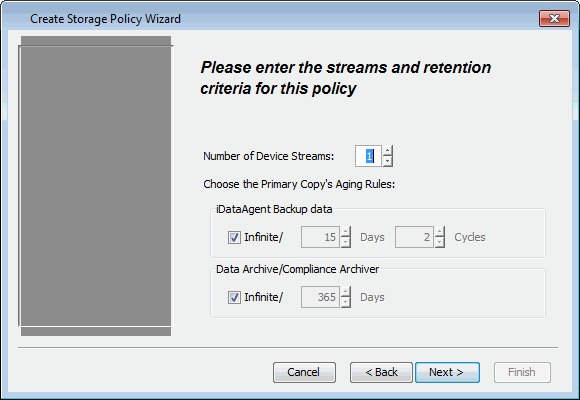
| 8. |
|
 |
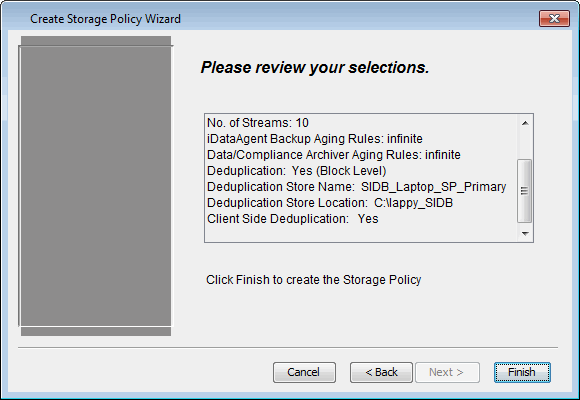
| 9. | Review the details and click Finish to create the
Storage Policy. The new Storage Policy creates the Primary Classic Copy, which will be used for data movement to tape, disk or cloud. |
 |
Use the following steps to create a storage policy using tape library:
| 1. |
|
|
| 2. | Click Next. |
|
| 3. | Specify the name of the Storage Policy in the Storage Policy Name box and then click Next. |
 |
| 4. | In the Library list, select the tape library to which the primary copy should be associated and then click Next. |
 |
| 5. |
|
 |
| 6. | From the Scratch Pool list, select the default scratch pool and then click Next. |
 |
| 7. | Click Next. |
|
| 8. | By default Hardware Compression is enabled, click Next to continue. |
 |
| 9. | Review the details and click Finish to create the Storage Policy. |
 |
|
|