

|
|
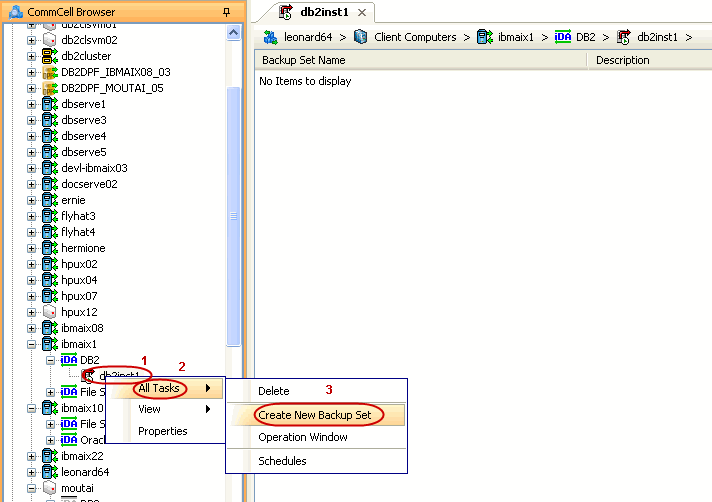
The following sections provide the necessary steps required to create and configure these components for a first SnapProtect backup of the DB2 database.
| 1. |
|
 |
| 2. |
|
 |
| 3. |
|
 |
||
| 4. |
|
 |
||
| 5. |
|
 |
||
| 6. |
|
 |
||
| 7. |
|
 |
||
| 8. |
|
 |
||
| 9. |
|
 |
||
| 10. |
|
 |
||
| 11. |
|
 |
||
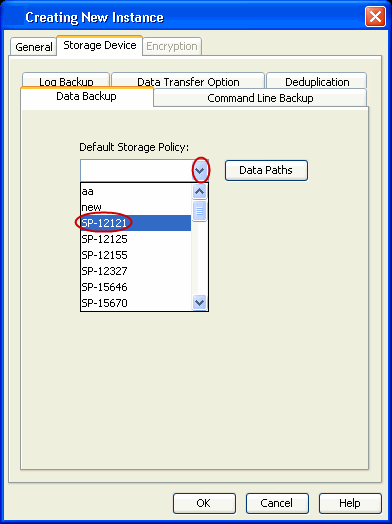
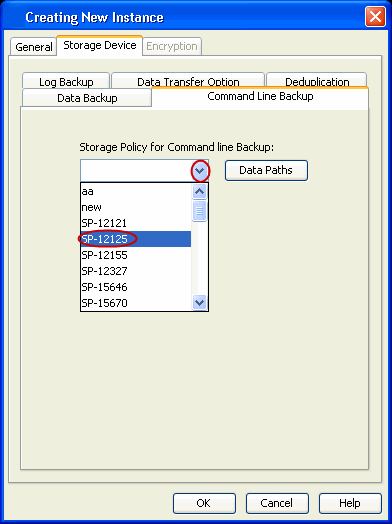
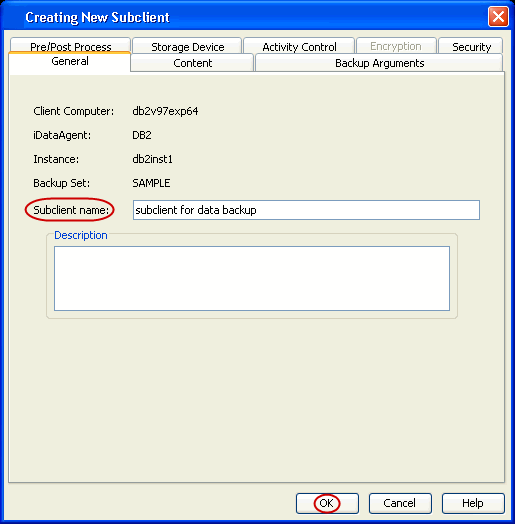
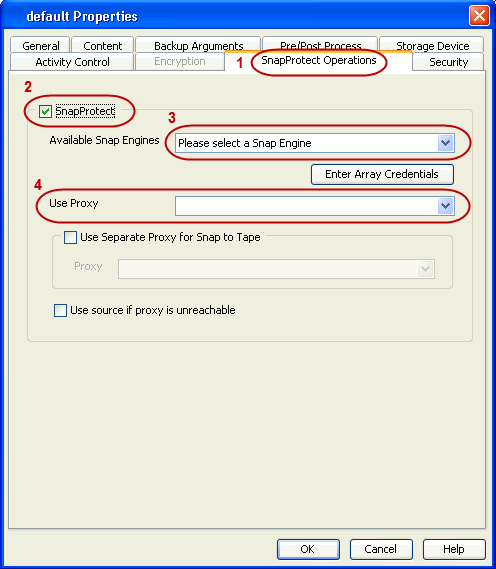
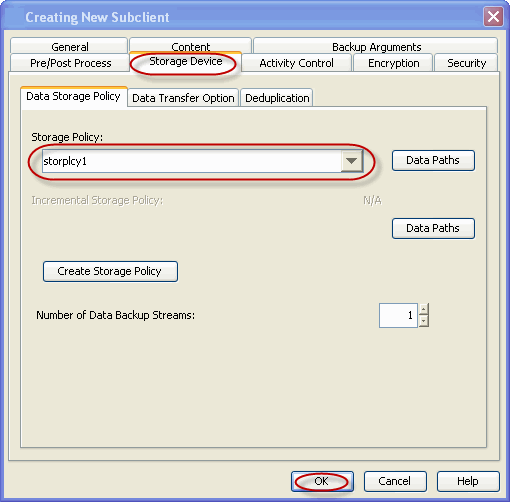
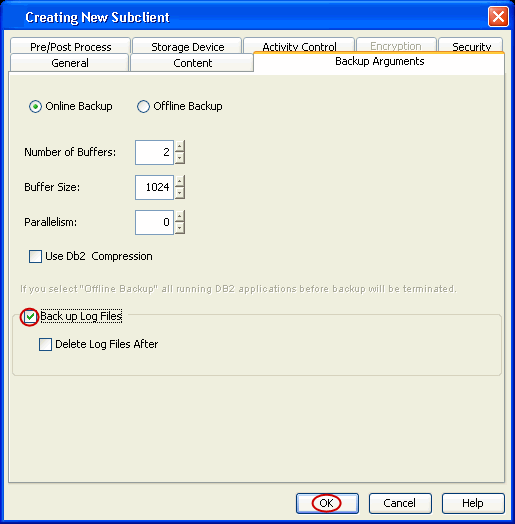
| 12. | In the Subclient Name field, type a name. |
 |
||
| 13. |
|
 |
||
| 14. |
|
 |
||
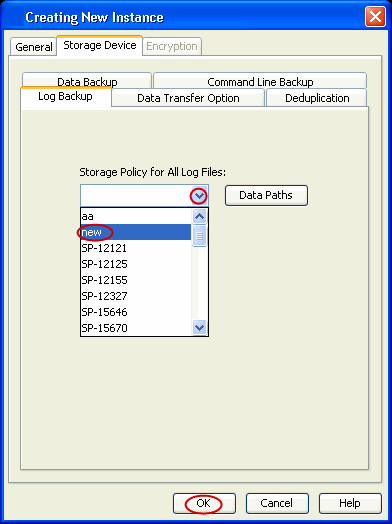
| 15. | Click OK. |
 |
||
| 16. |
|
|
||
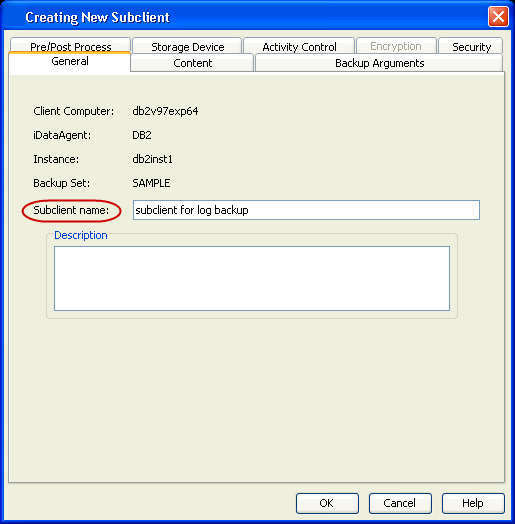
| 17. | In the Subclient Name field, type a name. |
 |
||
| 18. |
|
 |
||
| 19. |
|
 |
||
| 20. | Click OK. |
|
Skip this section if not using Solaris.
Click to Continue.
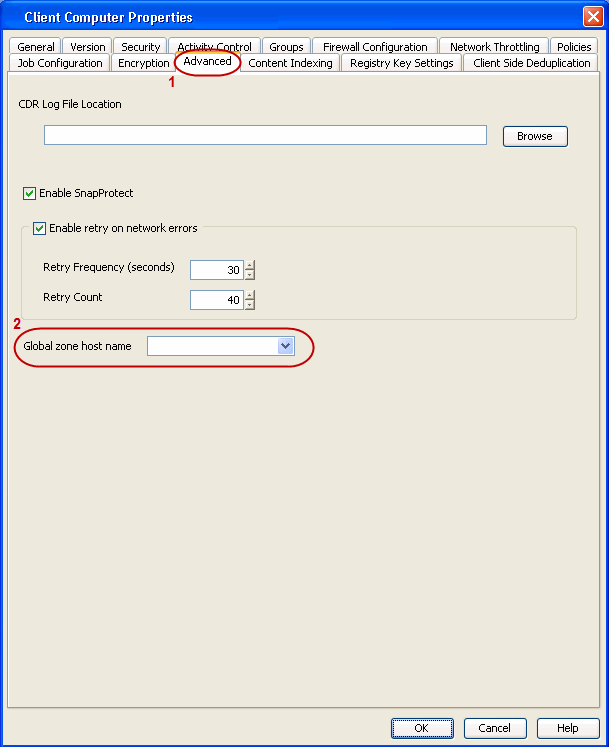
Enable SnapProtect Backups on Solaris Zone |
|
Follow the steps given below to enable SnapProtect backups on each of the non-global zone clients containing the application data.
| 1. |
|
|
||
| 2. |
|
 |
||
| 3. | Repeat the above steps on all the non-global zone clients containing the application data. |
Skip this section if you already created a snapshot copy.
Click to Continue.
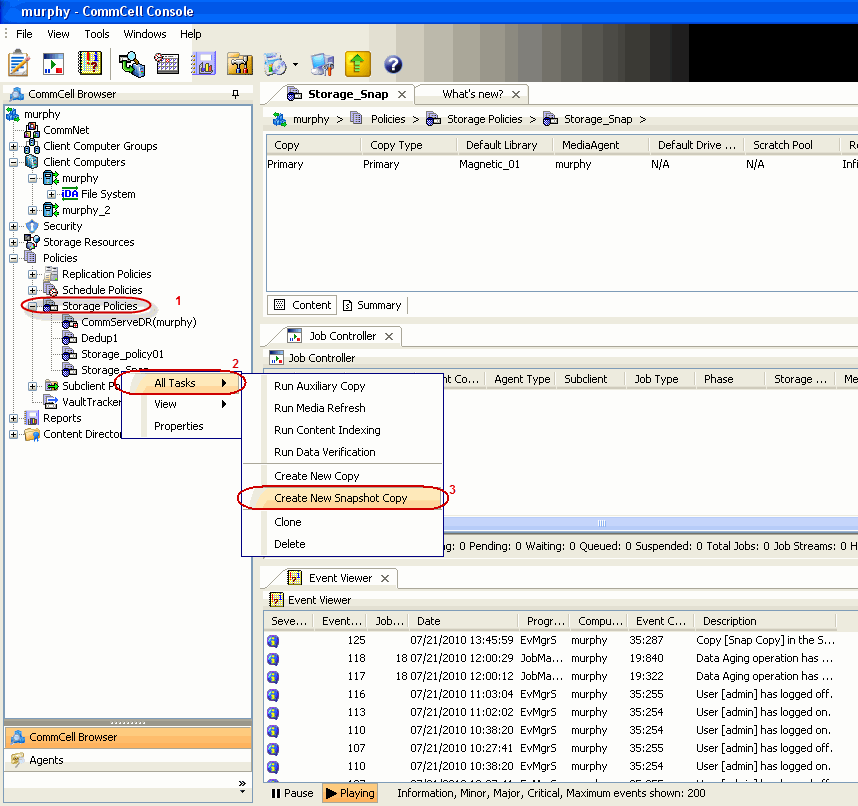
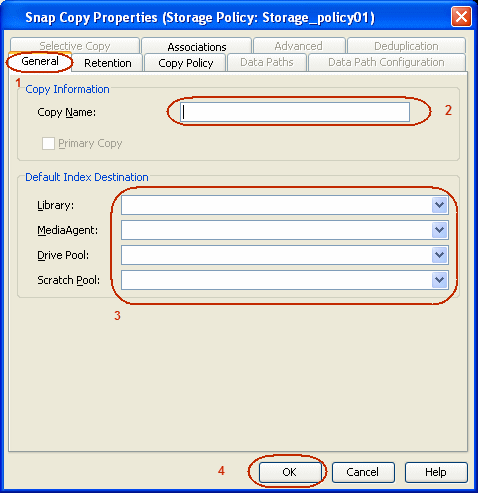
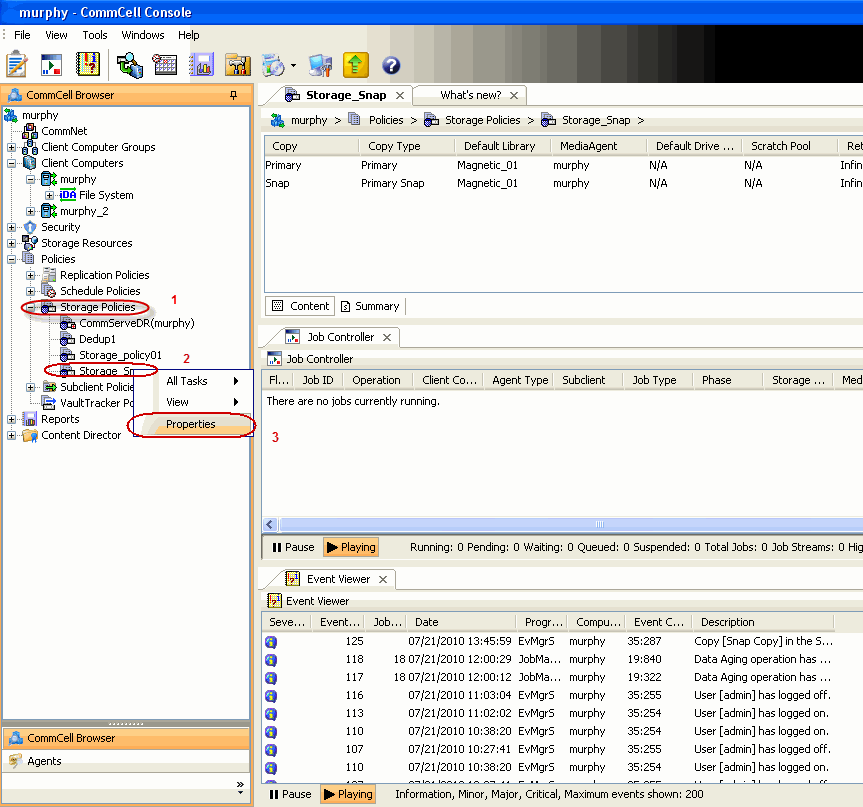
Create a Snapshot Copy |
|
Create a snapshot copy for the Storage Policy. The following section provides step-by-step instructions for creating a Snapshot Copy.
| 1. |
|
 |
| 2. |
|
 |
Follow the steps given below to configure Backup Copy for moving snapshots to media.
| 1. |
|
 |
| 2. |
|
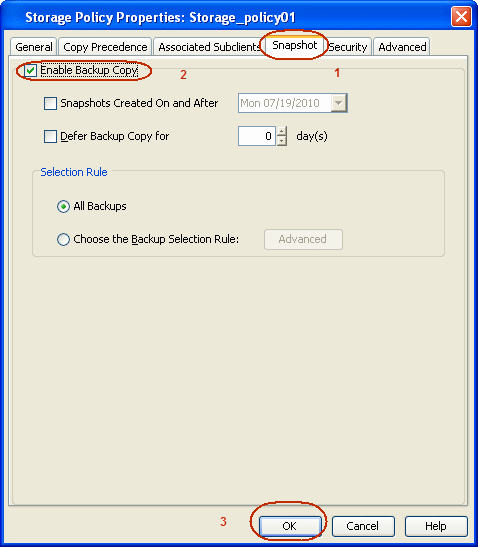 |
|
|