For Unix machines, log on to the Unix client as root.
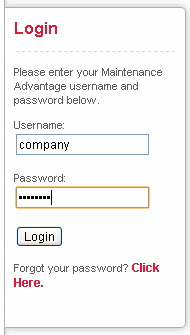
Enter your user account credentials.
Click Login.
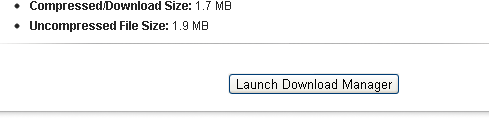
Click Service Pack link.

Click Launch Download Manager.

For Unix machines, use the tar command to decompress the files.
Download Service Pack from Maintenance Advantage Site
Installing the Service Pack on Windows
Installing the Service Pack on Unix/Linux/Macintosh
Installing Update on Unix/Linux/Macintosh
| 1. | Login to your client computer on which you wish to
install the Service Pack. For Unix machines, log on to the Unix client as root. |
|
| 2. | Enter Maintenance Advantage Site URL in the browser. Enter your user account credentials. Click Login. |
|
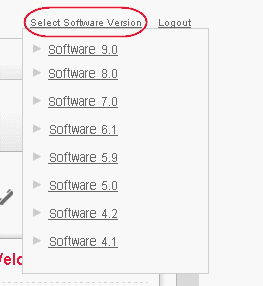
| 3. | Select software version from the Select Software Version menu. |
|
| 4. | Click Downloads & Packages tab. Click Service Pack link. |
|
| 5. | Click Download Manager Java Applet link. | |
| 6. | Select appropriate Service Pack depending up on your
operating system. Click Launch Download Manager. |
|
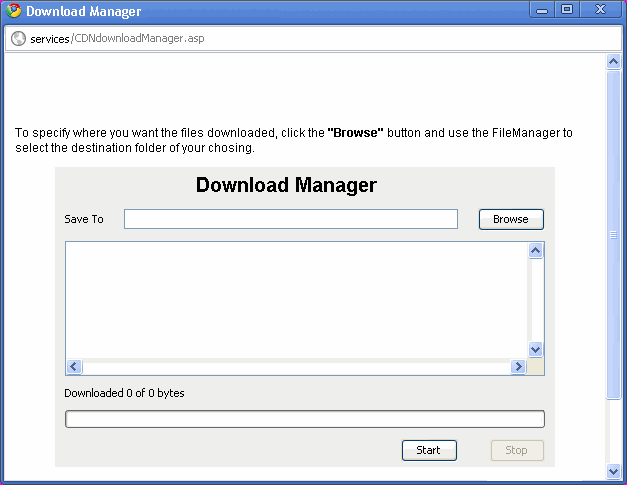
| 7. | Click Browse to provide the location to download the Service Pack. |
|
| 8. | Click Start to download. |
|
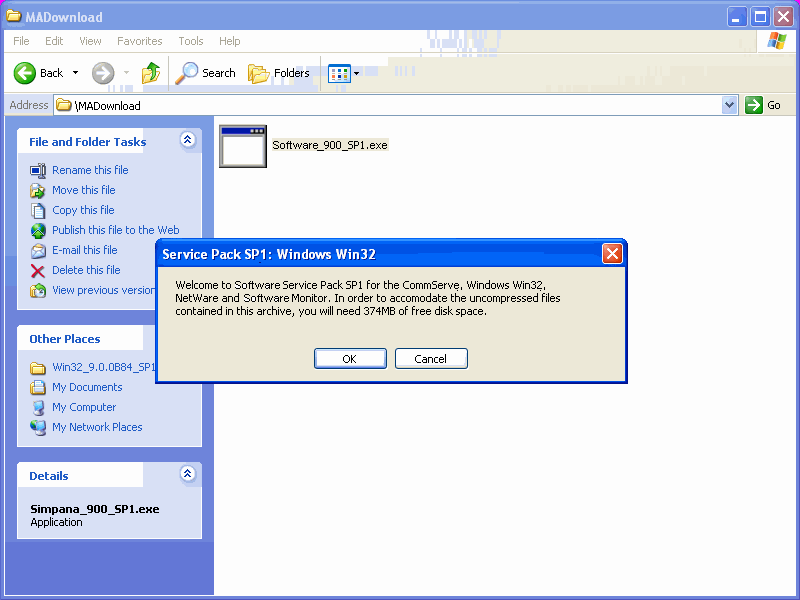
| 9. | Once the download completes, right-click the executable
Service Pack file and
then click Open to extract all updates. For Unix machines, use the tar command to decompress the files. |
|
You can now install the service pack interactively.
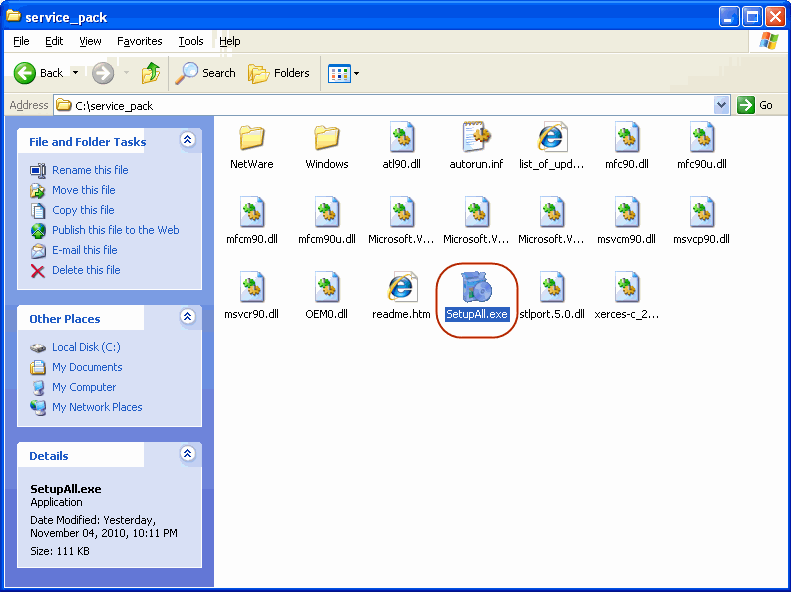
| 1. |
Browse the folder where the executable Service Pack file decompressed
the updates and double click SetupAll.exe.
|
 |
||
|
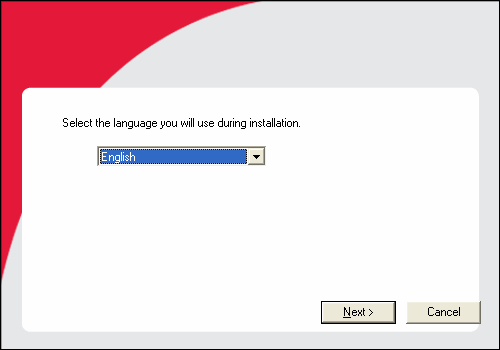
If you have the software disc, place it into the computer’s disc drive.
This will launch the service pack installation. If the Language Selection screen does not appear:
|
||||
| 2. | Click Next. |
 |
||
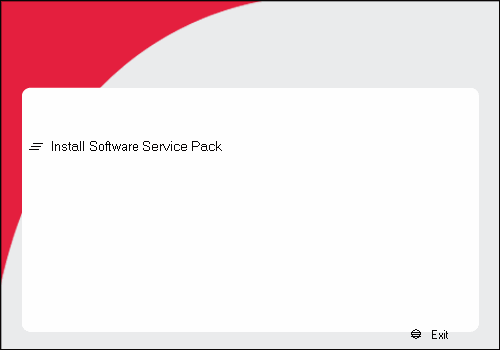
| 3. | Select Install Calypso Service Pack. |
 |
||
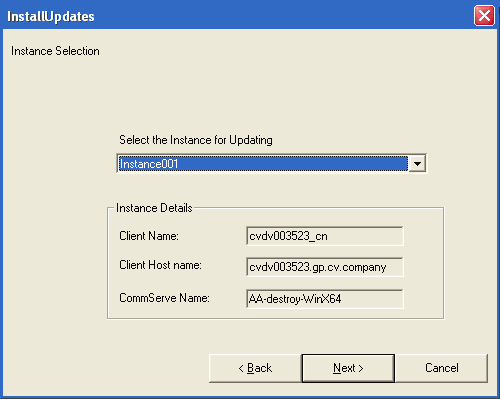
| 4. |
Skip this step if you don't have multiple instances installed on the computer.
|
 |
||
| 5. |
Click
Next. Services are stopped and the service pack installation starts. |
 |
||
| 6. |
Click OK. The Service Pack is installed and the CommServe Database updated. You may need to restart your computer. |
 |
||
| 7. | For a clustered environment, repeat the procedure for each node in the cluster. |
| 1. |
Browse the directory where the Service Pack files decompressed and
execute the
InstallUpdates
command. For Macintosh, open the Terminal window, navigate to the disc, and type InstallUpdates. |
 |
| If you have the software disc, place it into the client’s disc drive and mount the disc. | ||
| 2. |
Skip this step if you don't have multiple instances installed on the
computer.
|
|
| 3. |
Services are stopped and the service pack installation
starts. Enter y to continue with the installation. |
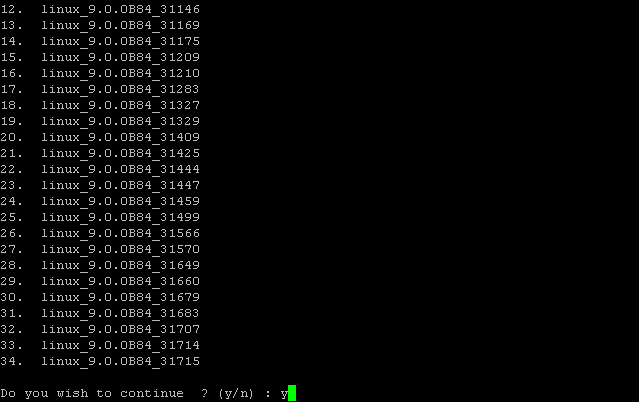 |
| 4. | Press <ENTER> to continue. |
 |
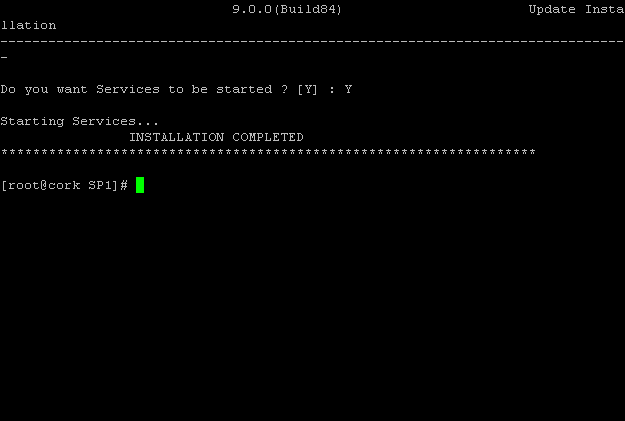
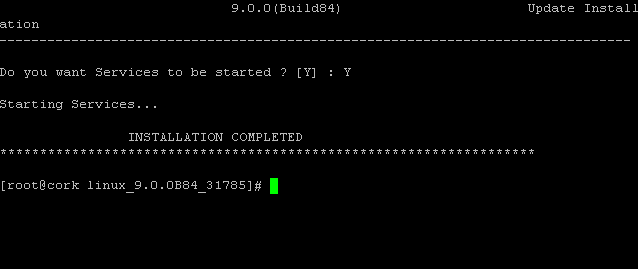
| 5. |
Enter Y to start the services. The Service Pack is installed and the CommServe Database updated. |
 |
| 6. | For a clustered environment, repeat the procedure for physical machine in the cluster. |
| For database applications (Oracle, DB2 iDataAgent) on Windows, a reboot of a client is required when application services are running. It is recommended to install the updates when application services are not running. |
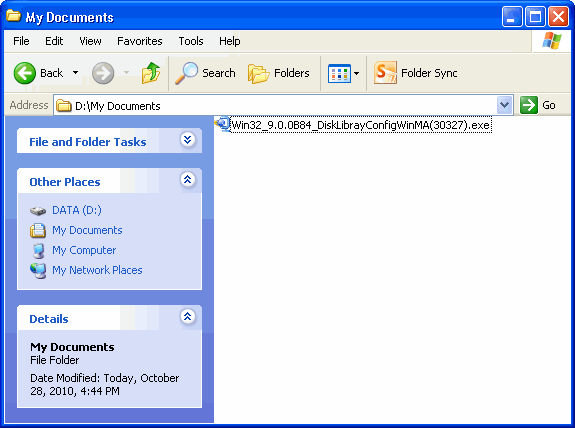
| 1. | Navigate to the folder where the update you want to install was downloaded. |
 |
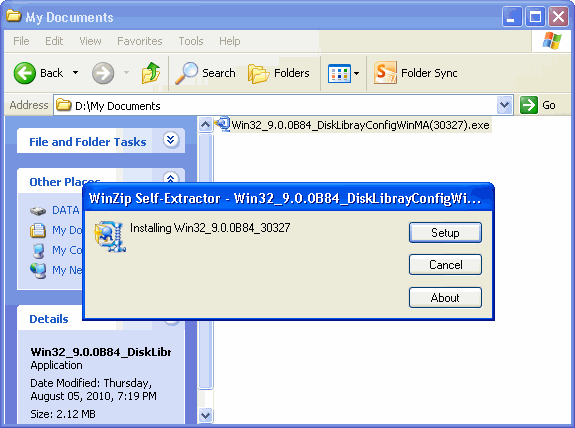
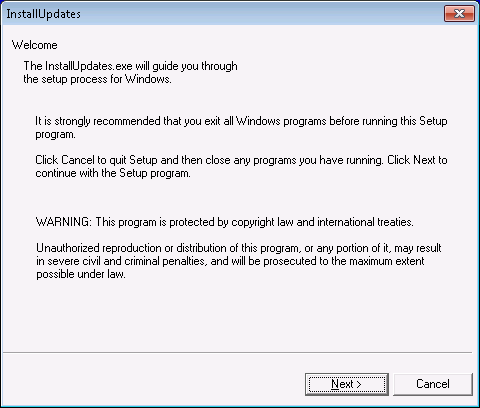
| 2. | Double click on the update executable, <update>.exe. This will launch the installation; click Setup. |
 |
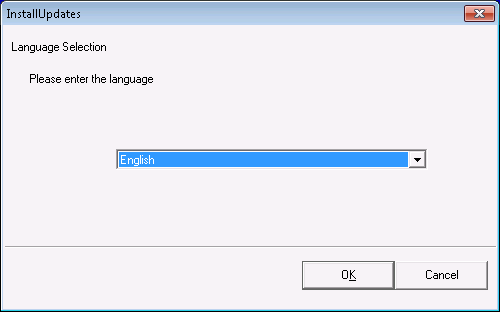
| 3. | Select the language for the installation from the
dropdown box. Click OK. |
 |
| 4. | Click Next. |
 |
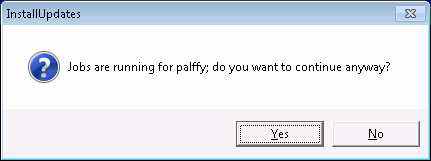
| 5. | Click Yes. NOTES:
|
 |
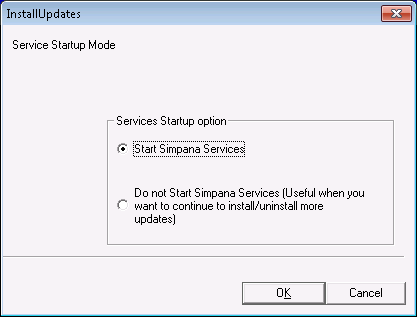
| 6. | Click OK to start the Services. |
 |
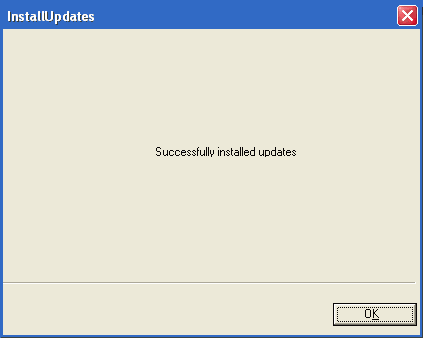
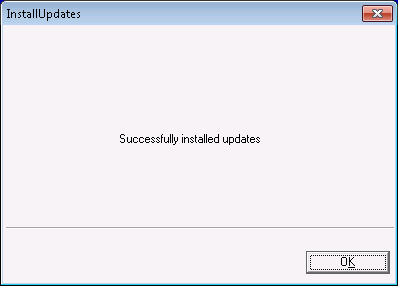
| 7. | Click OK. Update is successfully installed. |
 |
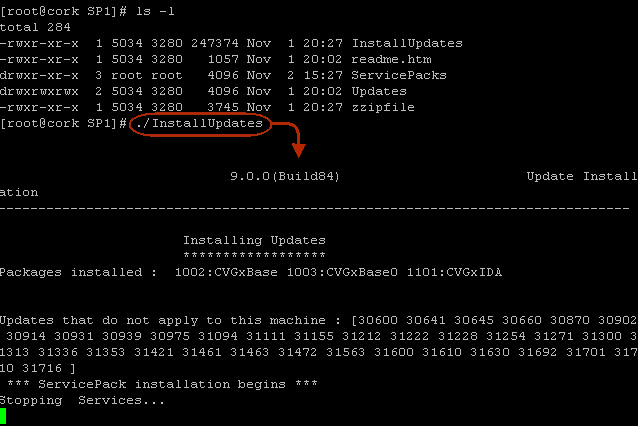
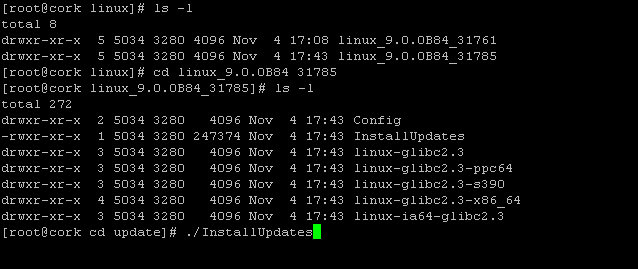
| 1. |
Browse the directory where the update file is located and
execute the
InstallUpdates
command. For Macintosh, open the Terminal window, navigate to the disc, and type InstallUpdates. |
 |
| If you have the software disc, place it into the client’s disc drive and mount the disc. | ||
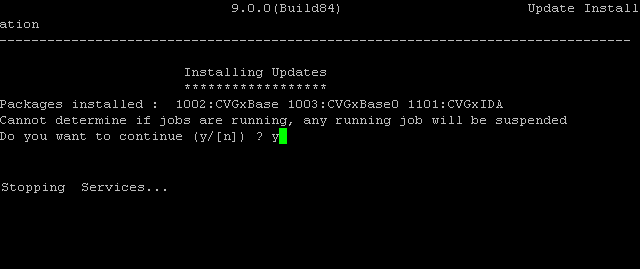
| 2. |
Enter y to continue. Services are stopped. |
 |
| 3. |
Skip this step if you don't have multiple instances installed on the
computer.
|
|
| 4. |
Verify the update you selected to install. Enter y to continue with the installation. |
 |
| 5. | Press Enter to continue. |
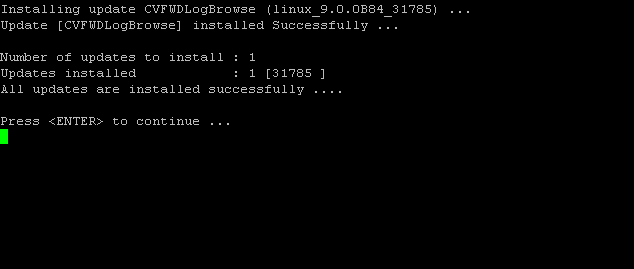 |
| 6. |
Enter Y to start the services. The update is installed and the client computer updated. |
 |