|
|
It is recommended that you perform a recovery operation of an archived file after your first archive operation to understand the process. Follow the steps given below to perform a restore of a file or multiple files from a Unix terminal or console window.
| 1. |
|
 |
| 2. |
|
 |
| 3. |
|
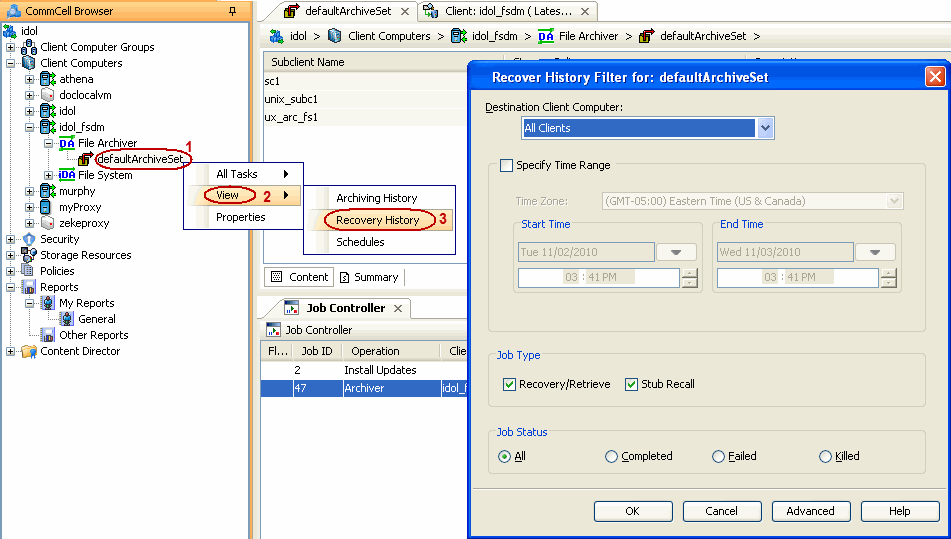 |
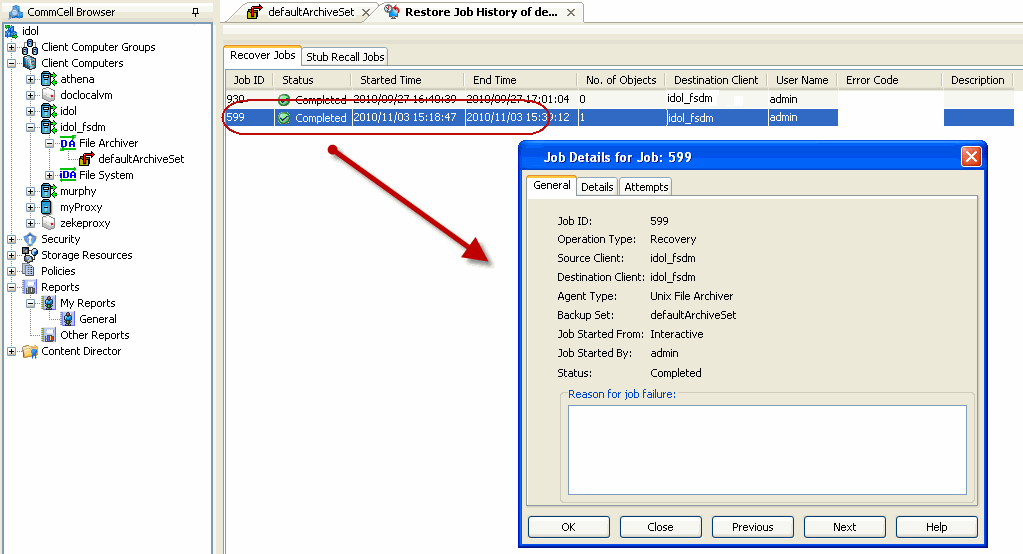
| 4. |
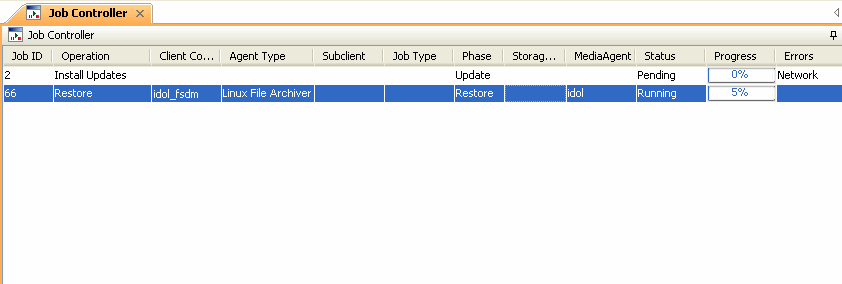
Right-click the job and select View Job Details.
|
 |
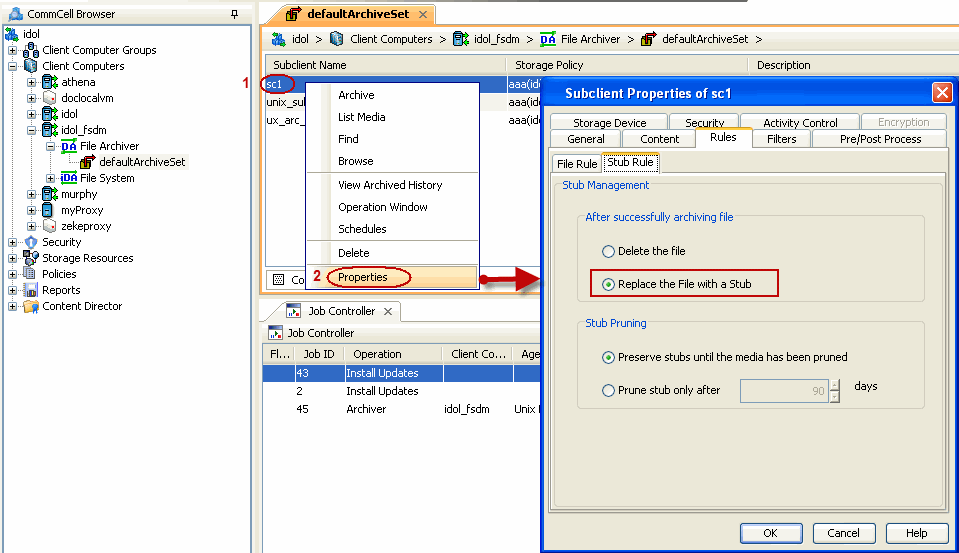
| 5. | If the subclient is configured to create stubs, by choosing the option Replace the File with a Stub, files that qualify the archiving rule will get stubbed. You can restore stubs following the same steps listed above (step 1 - step 4). |
 |
| 6. |
After recovery, stubs are replaced by files in the location
specified.
|
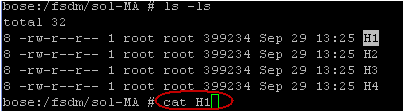
Stubbed files:
Recovered files:
|
|
|