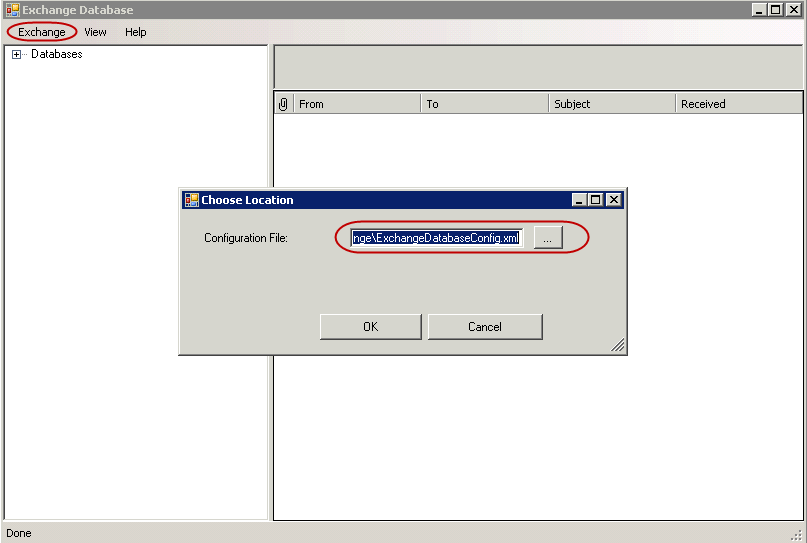
| 3. |
- From the Exchange menu, click Open.
- Type in or browse to the Configuration File.
- Click OK.
|
 |
| 4. |
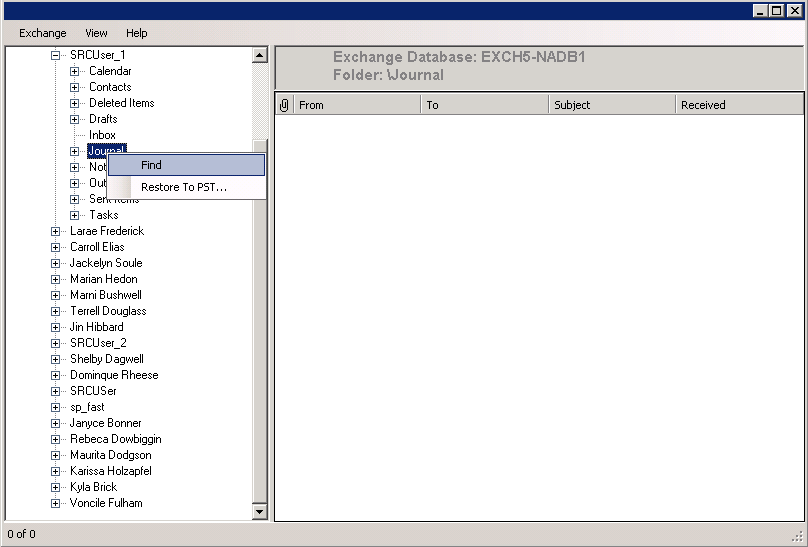
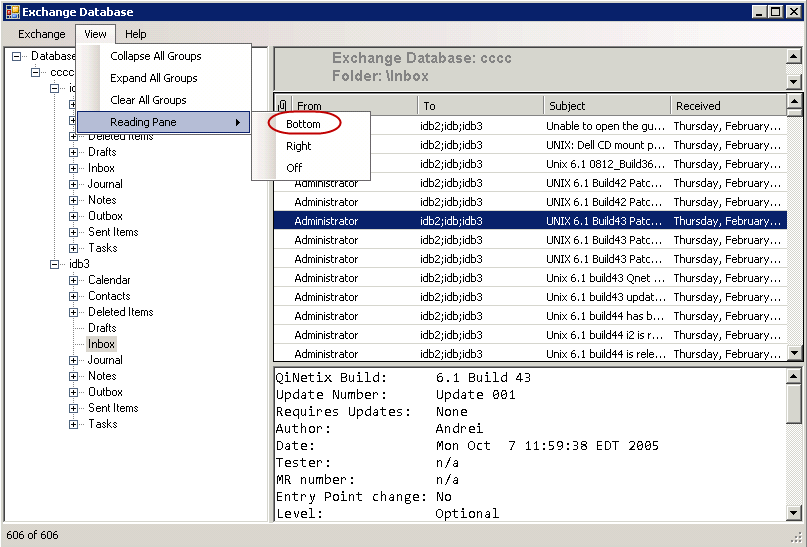
From the left pane, expand the Databases | Mailbox and select
a mailbox. |
 |
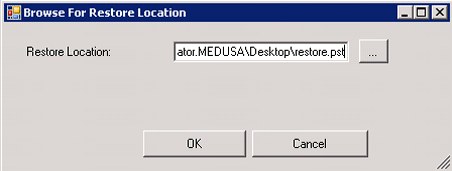
| 5. |
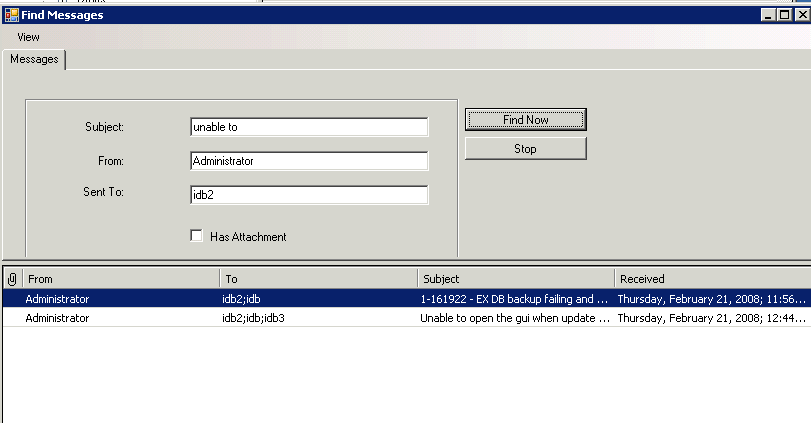
Right-click a range of messages and select Restore As PST. |
 |
| 6. |
|
 |
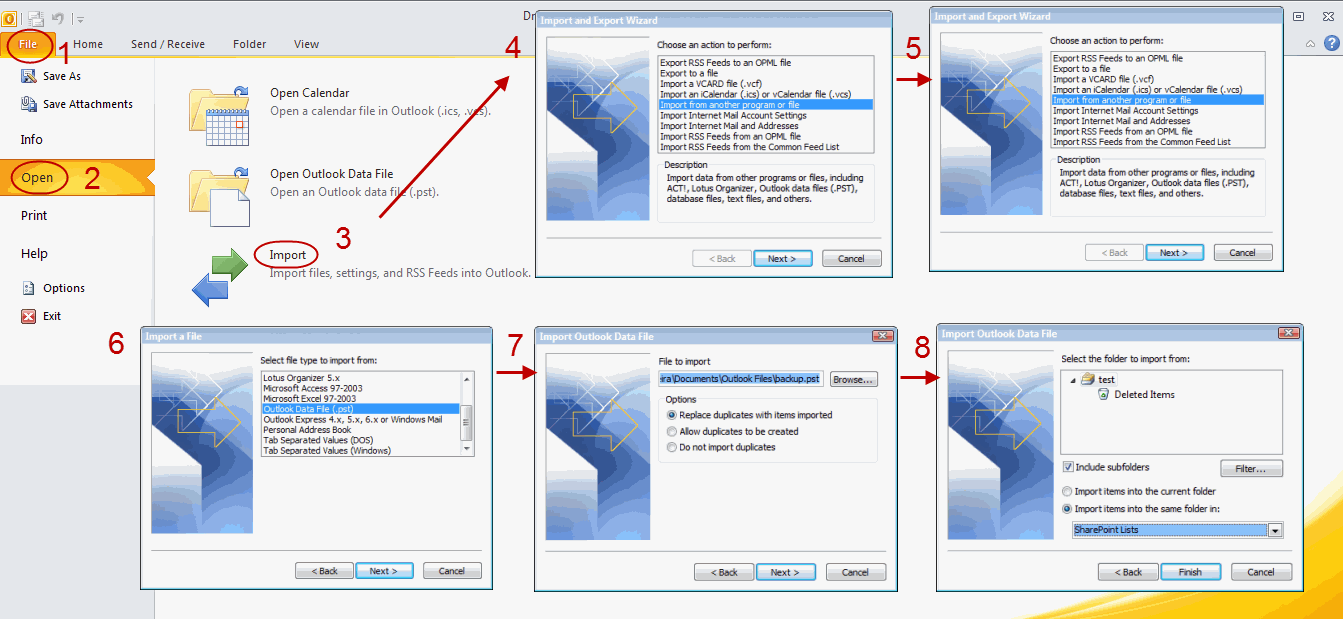
| 7. |
Follow the steps given below to view the restored .pst
file:
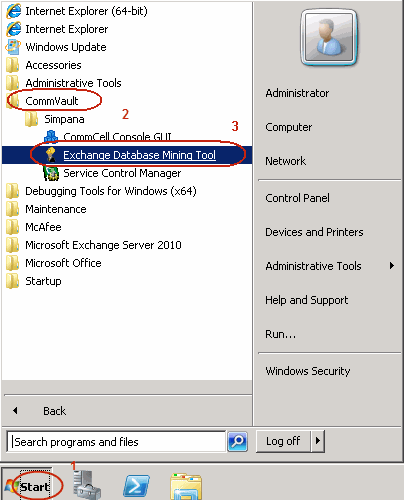
- Navigate to Start | Outlook.
- Click File and then click Open.
- Click Import.
- Select Import from another program or file option and
click Next.
- Under File Type, select Outlook Data File (.pst)
and click Next.
- Click Browse and choose the .pst that was restored and
click Next.
- Choose to import the file to the current folder or choose
another folder and click Finish.
| |
When Import items into the same folder is selected, the
data from the imported file will be added to the same folder in
Outlook if the folder matches. If the folder doesn't match in
Outlook, it will be created. |
|
 |
| 8. |
Right-click the database and select Close Database. |
 |