Follow the steps below to restore the NAS data backed up from a NetApp or EMC
Celerra/VNX/VNXe file server to a Windows or Unix client computer:
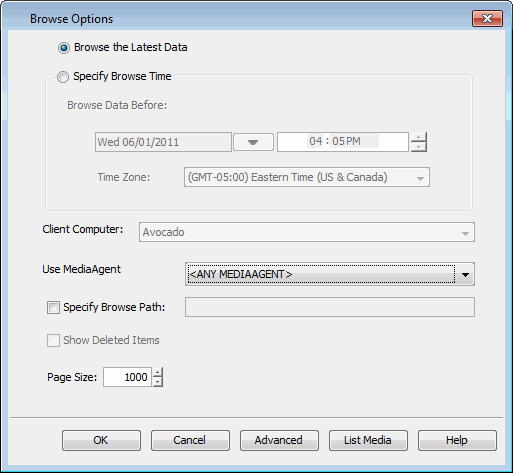
| 1. |
- From the CommCell Console, navigate to <Client> |
<File Server> NAS NDMP.
- Right-click the backup set and click All Tasks
| Browse Backup Data.
|
 |
| 2. |
Click OK. |
 |
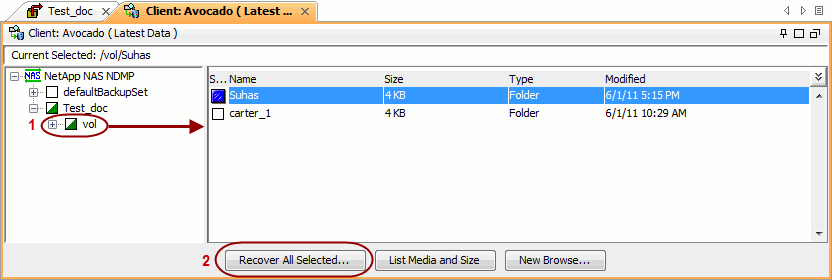
| 3. |
- Expand the backup set node in the left pane. Select the
NAS data you want to restore.
|
If the path of the files to be restored has a
length greater than 1024 characters, you must select a directory at a
higher directory level in the file system hierarchy. |
- Click Recover All Selected.
|
 |
| 4. |
- Select the client computer where the File System NDMP Enabler
was installed from the Destination client drop-down list.
- Specify the destination path by clicking Browse.
- Click OK.
|
 |
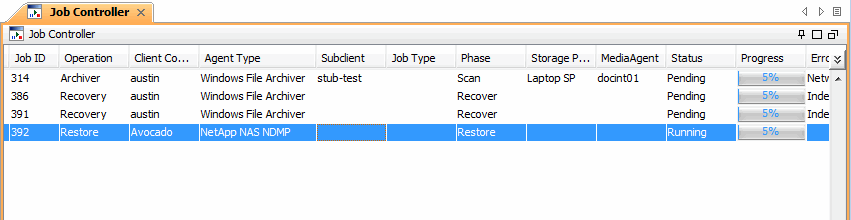
| 5. |
You can track the progress of
the job from the
Job Controller window. |
 |
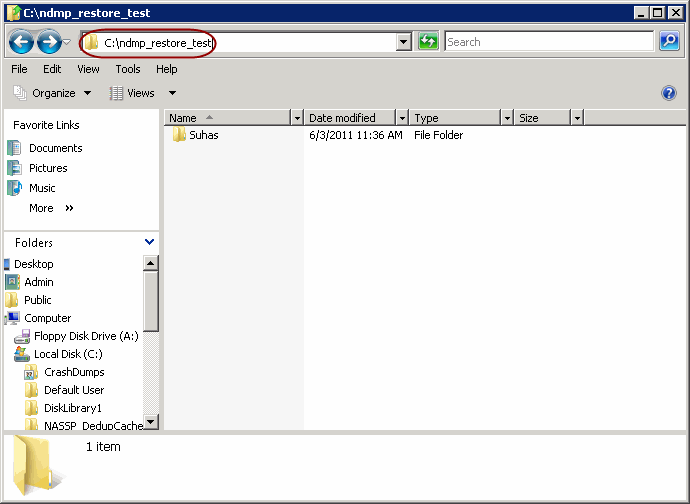
| 6. |
Verify that the
restored NAS data is available in the restore destination
specified
during step 4. |
 |

