

|
|
It is recommended that you perform a restore operation immediately after your first full backup to understand the process.
The following sections describe the steps involved in restoring a virtual machine to a different Virtual Center/ESX Server.
| 1. |
|
 |
| 2. |
Click OK.
|
 |
| 3. |
|
 |
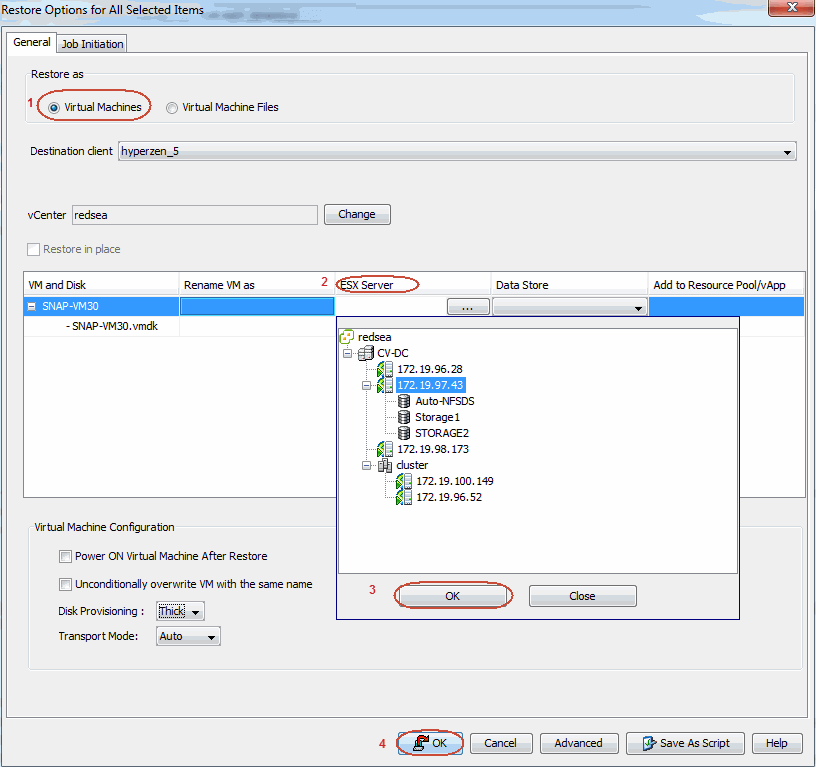
| 4. | Select the Destination ESX Server to which the virtual machine will be restored. |
 |
| 5. |
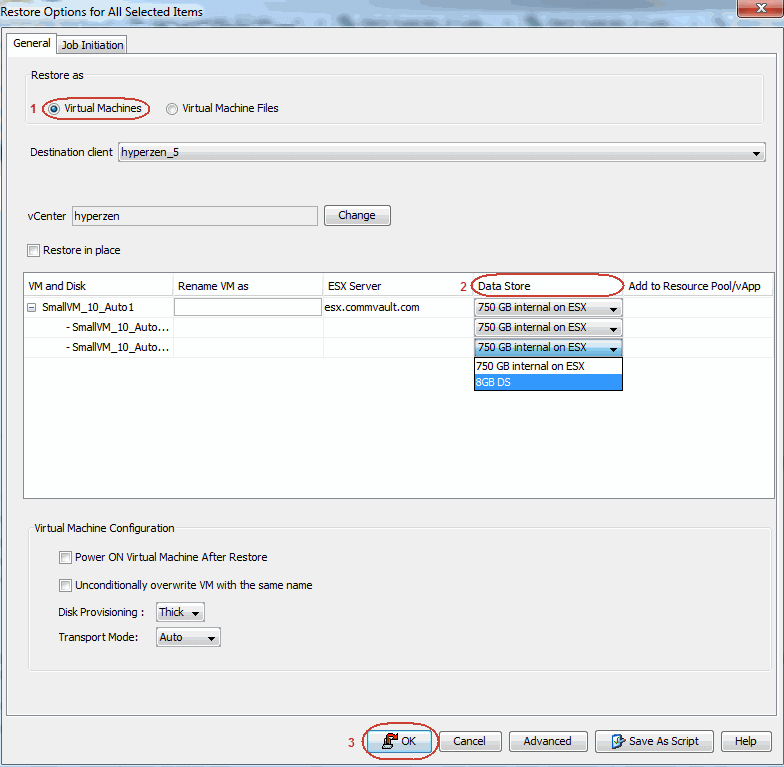
Select the Datastore to which the disk will be restored. If the selected datastore does not meet the minimum requirements needed to restore the virtual machine, you can repeat this step until an acceptable datastore is found. |
 |
| 6. |
Enter the VM Name for the virtual machine. Ensure that you provide a fully qualified name for the virtual machine. Entering an IP address will cause the restore operation to fail.
|
 |
| 7. |
|
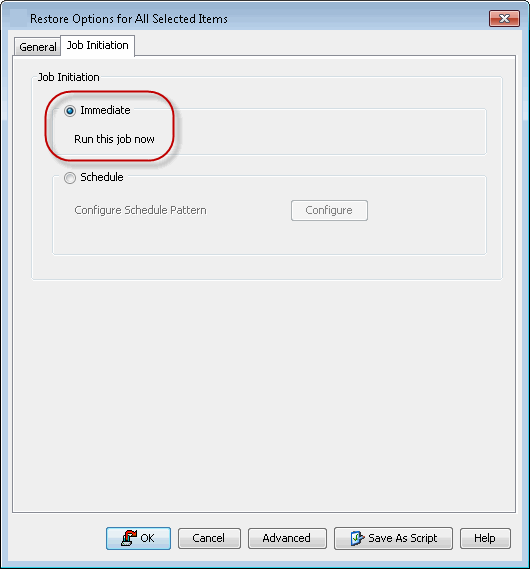 |
| 8. | You can monitor the progress of the restore job in the Job Controller or Event Viewer window of the CommCell Console. |
 |
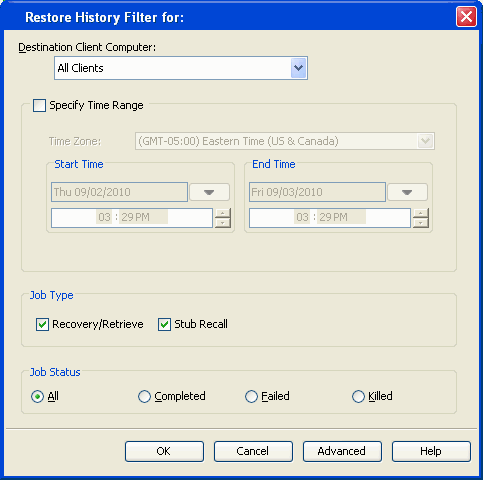
| 9. | Once the restore job has completed, right-click the entity
(e.g. agent, instance) and click View
| Restore History. If the entity chosen is the client computer, click View | Job History. |
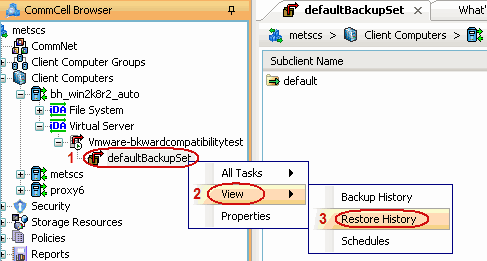 |
| 10. | Click OK. |
 |
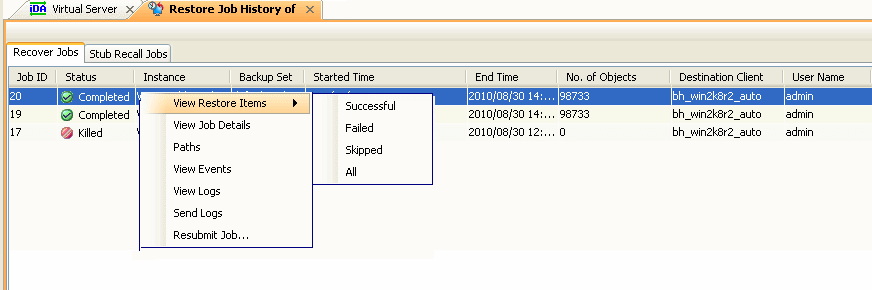
| 11. | You can view the
following details about the job by right-clicking the job:
|
 |
| 12. | Once the virtual machine is restored, it is automatically mounted to the virtual center/ESX Server you selected. |
 |
If you want to further explore this Agent's features read the Advanced sections of this documentation.
|
|