Pre-Installing Software on a Client (Decoupled Install)

Windows Unix Advanced  

Decoupled install is performed without involving the CommServe until you are ready to add the Client and/or MediaAgent to the CommCell. Once all necessary physical connections are established, the computer can be added to the CommCell. This feature can be useful, for instance, if you want to pre-image computers with the software at a central location, then ship them to where they will be used in the enterprise. For the list of Agents and Common Technology Engine components that can be installed, see Decoupled Installation - Support.

Note that the following is not supported:

Install Procedure

Use the following procedure to install the components in decoupled mode.

1. Log on to the client as local Administrator or as a member of the Administrators group on that computer.  
2. Run Setup.exe from the Software Installation Package.  
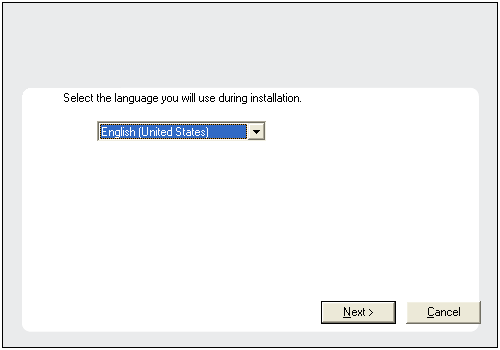
3. Click Next.
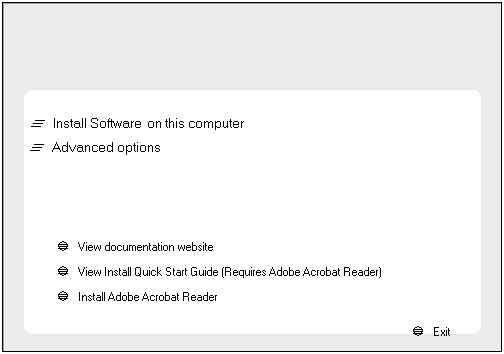
4. Select the Advanced options to install software.
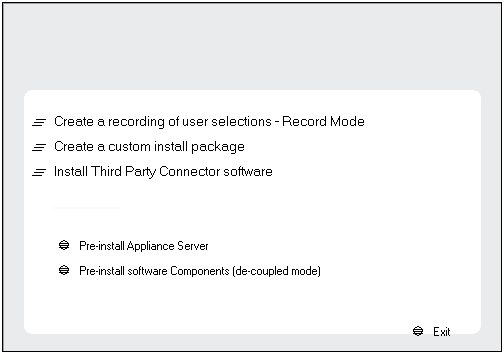
5. Select Pre-install software Components [de-couple mode] option to start the the install.
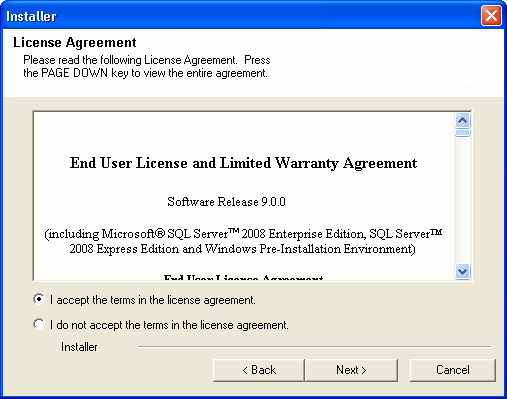
6. Select I accept the terms in the license agreement option and then click Next.
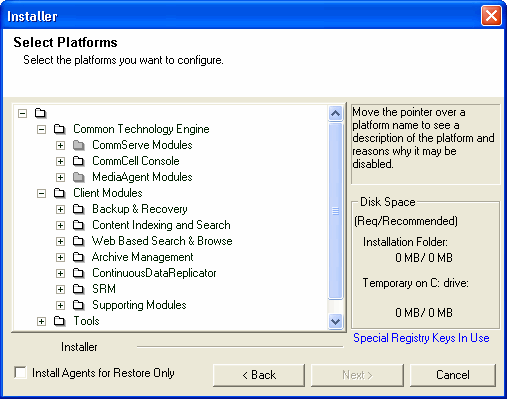
7. Select the component(s) to install.

NOTES

  • Your screen may look different from the example shown.
  • Components that either have already been installed, or which cannot be installed, will be dimmed. Hover over the component for additional details.
  • If you wish to install the agent software for restore only, select Install Agents for Restore Only checkbox. See Installing Restore Only Agents for more information.
  • The Special Registry Keys In Use field will be highlighted when GalaxyInstallerFlags registry key is enabled. Move the mouse pointer over this field to see a list of registry keys that have been created in this computer.

Click Next to continue.
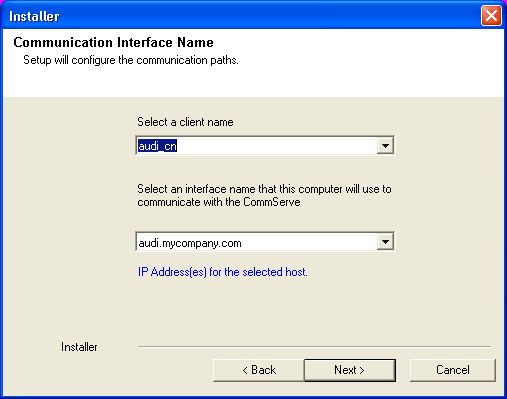
8. Enter the following:
  • The local (NetBIOS) name of the client computer.
  • The TCP/IP IP host name of the NIC that the client computer must use to communicate with the CommServe Server.

NOTES

  • Do not use spaces when specifying a new name for the Client.
  • The default network interface name of the client computer is displayed if the computer has only one network interface. If the computer has multiple network interfaces, enter the interface name that is preferred for communication with the CommServe Server.
  • If a component has already been installed, this screen will not be displayed; instead, the install program will use the same name as previously specified.

Click Next to continue.
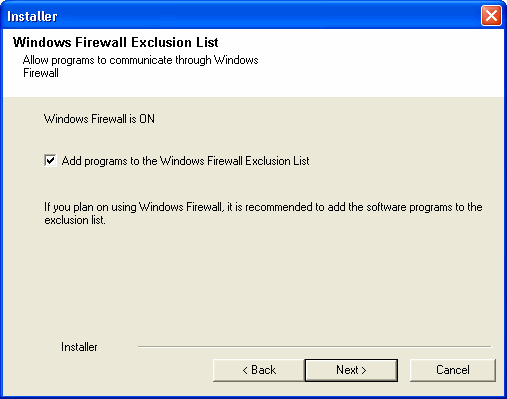
9. Select Add programs to the Windows Firewall Exclusion List, if you wish to add CommCell programs and services to the Windows Firewall Exclusion List.

NOTES:

  • If Windows Firewall is enabled on the computer, this option is selected by default and must be enabled to proceed with the installation.
  • If Windows Firewall is disabled on the computer, you can select this option to add the programs and services to enabled CommCell operations across the firewall, if the firewall is enabled at a later time.

    You can either select this option during install or add the programs and services after installation. For adding the programs and services after installation, see Configure Windows Firewall to Allow CommCell Communication.

Click Next to continue.
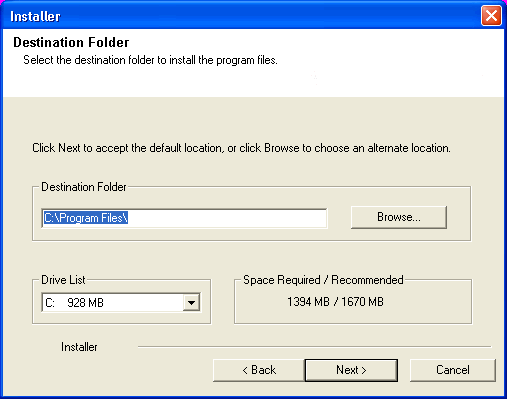
10. Specify the location where you want to install the software.

NOTES

  • Do not install the software to a mapped network drive.
  • Do not use the following characters when specifying the destination path:
     / : * ? " < > | #
    It is recommended that you use alphanumeric characters only.
  • If you intend to install other components on this computer, the selected installation directory will be automatically used for that software as well.
  • If a component is already installed in this computer, this screen may not be displayed. The software will be automatically installed in the same location that was previously specified.

Click Browse to change directories.

Click Next to continue.
11. Verify the summary of selected options.

NOTES

  • The Summary on your screen should reflect the components you selected for install, and may look different from the example shown.

Click Next to continue or Back to change any of the options.

The install program now starts copying the software to the computer. This step may take several minutes to complete.

12. Click Next to continue.

NOTES

  • Schedules help ensure that the data protection operations for the Agent are automatically performed on a regular basis without user intervention. For more information, see Scheduling.
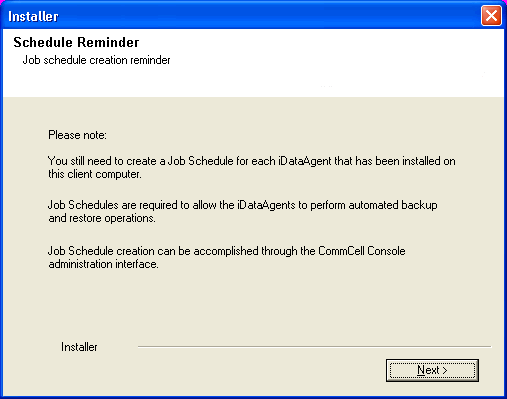
13. Installation is not complete and the client is not functional until you register this client with the CommServe computer.

To perform the procedure see Register the Client Computer.

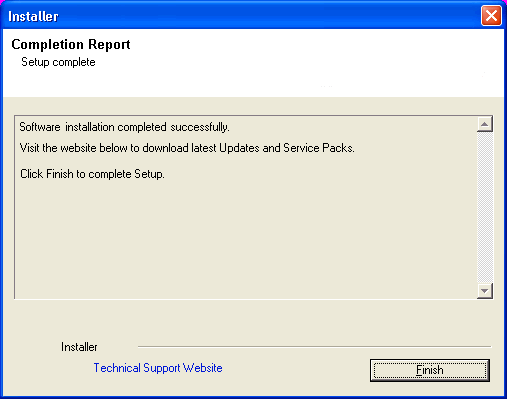
14. Click Finish.

Register the Client Computer

  Use one of the following methods to register your client computer.

Method 1: Register The Client Using the CommCell Console

1. From the CommCell Browser, right-click the Client Computers icon, then select Register Client.
2. The Register a new Client wizard is displayed.
3. Select Connect to a client and get its configuration.

Specify the Host Name and the port number to be used by the Bull Calypso Communications Service (CVD).

  • If the client is protected with in the firewall then make sure to open this port number on the firewall.
  • Do not use spaces when specifying a new name for the Client.

Click Next.

4. Click Next.
To type a different Client name  from the one specified during the Decoupled Install, select  Override the Client name check box and click Next.

To type a different Host name from the one specified during the Decoupled Install, select Override the Host name check box and click Next. Ensure that the Host name you supply can be resolved from the CommServe.

5. Verify that the information is correct, then click Finish.
6. The Progress screen is displayed until all the steps complete successfully.
7. Refresh the CommCell Console to see the newly registered Client. To refresh, select the View menu, then click Refresh.

Method 2: Register The Client from the Command Line

Use the following steps to register client computers with the CommServe after a Decouple Install.

  1. Login to any client computer.
  2. From the command prompt, navigate to following location:

    Windows: <Software_Installation_Directory>\Base\

    Unix: /<install_path>/calypso/Base/

  3. Login to the CommServe using the qlogin command and commcell credentials.

    Windows: C:\Company\Software\Base\> qlogin -cs commserve_name -u user_name

    Unix: [root@localhost Base]# ./qlogin -cs commserve_name -u user_name

  4. Run the following register operation using qoperation

    Usage:

    Windows:

    qoperation register [-cs commserver] [-hn client host name] [-port Bull Calypso Communications Service port number] [-ocn Display name override] [-dock yes/no] [-h]

    Unix:

    ./qoperation register [-cs commserver] [-hn client host name] [-port Bull Calypso Communications Service port number] [-ocn Display name override] [-dock yes/no] [-h]

    Examples:

    Where:

    -cs Commserver host name
    -hn Complete host name or IP address of the client being registered. This is the display name in the CommCell.
    -port Bull Calypso Communications Service port number on the client used by the server to connect to and get the PreImageModeFile.xml file created by the installer during the decoupled install. Default value is 8400.
    -file Path of the XML file with installation details.
    -ocn Client display name override
    -dock (y/n) Flag to confirm client registration immediately after the client is registered
    -h Displays help

Back To Top