

| Deployment | Configuration | Recovery | Troubleshooting | FAQ |
|
Table of Contents |
Before You Begin |
|
1-Touch Recovery allows you to recover the entire computer system without installing the Operating system or any other software. Perform the following to enable 1-Touch Recovery: Install 1-Touch Server Software Configure a Remote Software Cache For 1-Touch Server Download and Install Software Updates on 1-Touch Server Apply Updates in 1-Touch Server Cache to 1-Touch Live CD Boot image Install Windows File System iDataAgent on the Client Computer |
Download the latest software package to perform the install. The software package is also available on the software installation discs. System Requirements for 1-Touch Server and Client Verify that the computer in which you wish to install the 1-Touch Software satisfies the System Requirements. Provides comprehensive information about 1-Touch feature
|
Install 1-Touch Server software on the computer that satisfies the minimum system requirements. This computer is referred as the 1-Touch Server.
| 1. | Run Setup.exe from the Software Installation Disc on the computer that satisfies the minimum system requirements. | |||
| 2. |
Select the required language. Click Next. |
 |
||
| 3. |
Select the option to install software on this computer. NOTES
|
 |
||
| 4. |
Select I accept the terms in the license agreement. Click Next. |
 |
||
| 5. |
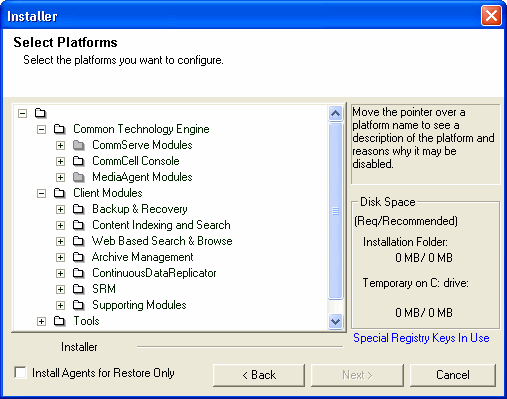
Expand Client Modules | Backup & Recovery
| File System and select 1-Touch Server. Click Next. |
 |
||
| 6. |
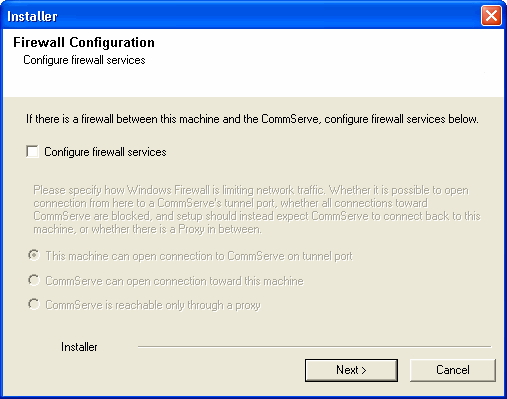
If this computer and the CommServe is separated by a firewall, select the Configure
firewall services option and then click Next.
For firewall options and configuration instructions, see Firewall Configuration and continue with the installation. If firewall configuration is not required, click Next. |
 |
||
| 7. |
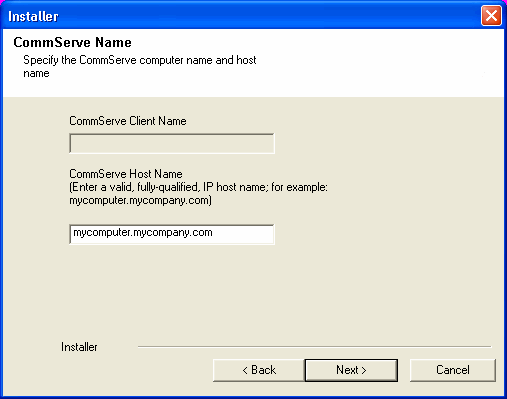
Enter the fully qualified domain name of the CommServe
Host Name. Click Next.
|
 |
||
| 8. | Click Next. |
 |
||
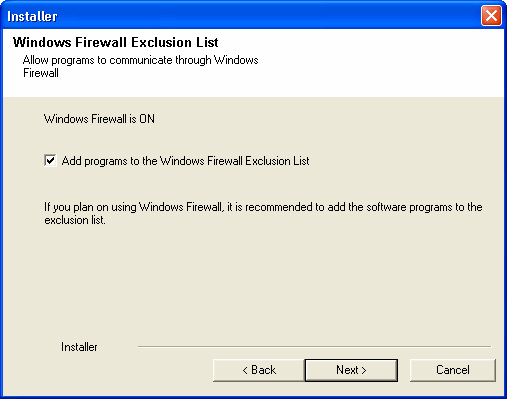
| 9. |
Select Add programs to the Windows Firewall Exclusion
List, to add CommCell programs and services to the Windows Firewall
Exclusion List. Click Next.
|
 |
||
| 10. |
Verify the default location for software installation. Click Browse to change the default location. Click Next.
|
 |
||
| 11. | Click Next. |
 |
||
| 12. | Click Next. |
 |
||
| 13. | Click Next. |
 |
||
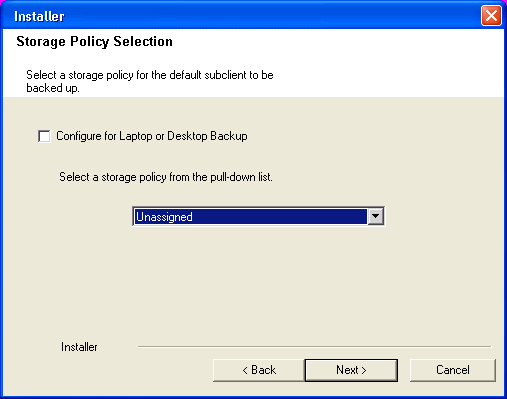
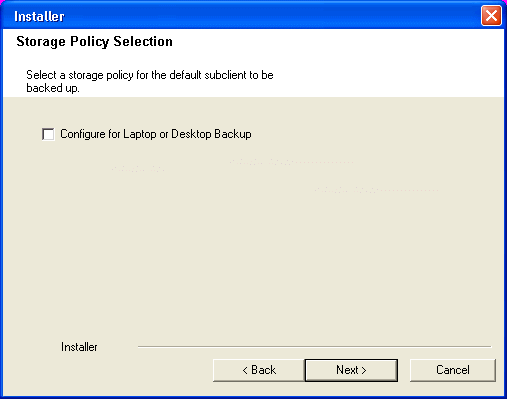
| 14. |
Select a Storage Policy. Click Next. |
 |
||
|
If you do not have Storage Policy created, this message will be
displayed. Click OK.
|
 |
|||
| 15. |
Enter the path for 1-Touch Server distribution folder. Click Next. NOTES This folder will contain the following:
|
 |
||
| 16. | Click Next. |
 |
||
| 17. | Click Next. |
 |
||
| 18. | Select Do not launch 1-Touch Options now. I will prepare the 1-Touch
Server at a later time. Click Next. |
 |
||
| 19. | Click Finish. |
 |
||
 |
If you already have a storage policy selected in
step 14, click the
Next
button available on the bottom of the page to proceed to the
Configuration section. If you do not have Storage Policy created, continue with the following step. |
|||
| 20. | Create a Storage Policy:
|
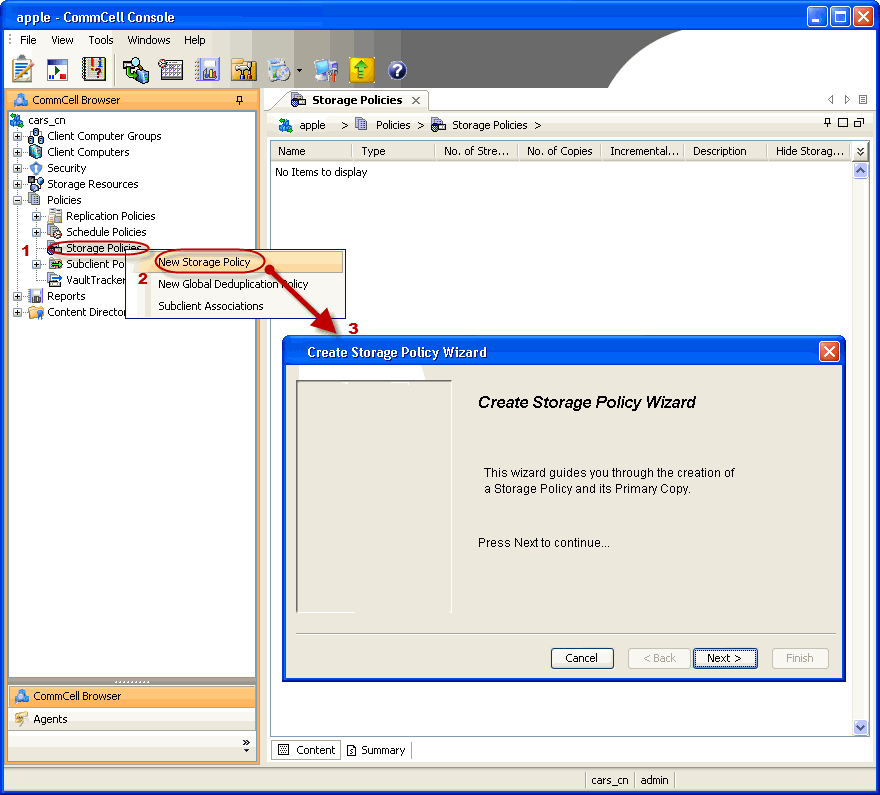 |
The 1-Touch server will be used to create the 1-Touch Live CD required for 1-Touch recovery. The 1-Touch Live CD boots the client computer and and installs Bull Calypso on the client computer during 1-Touch recovery. You must download and install all the latest updates for Bull Calypso and WinPE on the 1-Touch server.
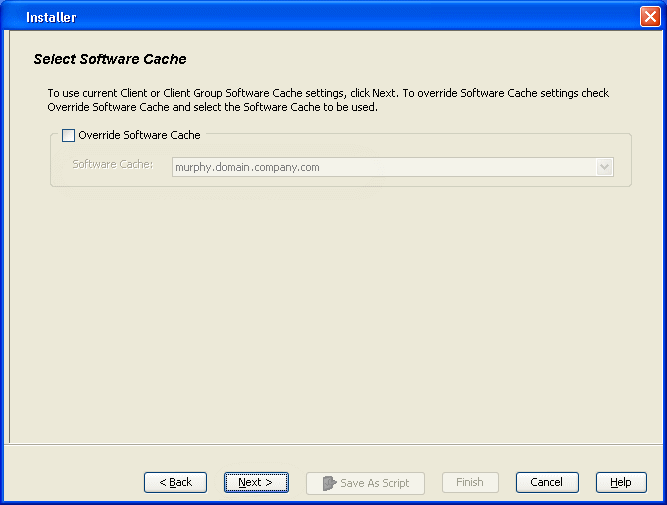
When the 1-Touch Server software is not installed on a CommServe, you must configure a remote cache for the 1-Touch server. A remote cache will store all the updates for 1-Touch Server software, Windows File System iDataAgent and WinPE. You can skip this configuration if 1-Touch server is installed on the CommServe.
| 1. | From the CommCell Console, right click the CommServe computer and click All Tasks | Add/Remove Software | Add/Remove Software Configuration. |
 |
| 2. |
|
 |
| 3. |
|
 |
Before creating the 1-Touch Live CD, download all the software updates for 1-Touch Server software, Windows File System iDataAgent and WinPE.
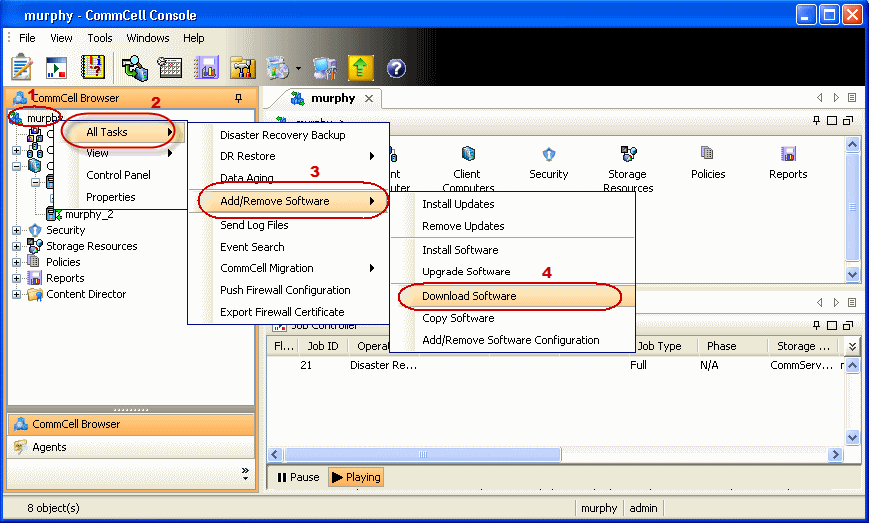
| 1. | From the CommCell Browser, right-click on the CommServe computer node, and click All Tasks -> Add/Remove Software -> Download Software. |
 |
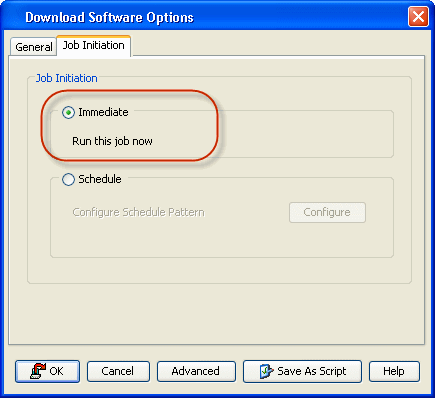
| 2. | Click OK. |
 |
| 3. |
|
 |
| 4. | You can track the progress of the job from the Job Controller window. The software updates are stored automatically in the CommServe Cache and 1-Touch Server cache. |
 |
| 5. | From the CommCell Browser, right-click on the 1-Touch Server computer node, and click All Tasks -> Add/Remove Software -> Install Updates |
 |
| 6. |
|
 |
Follow the steps given below to mount the 1-Touch Live CD and apply the software updates to the ISO:
| 1. |
|
 |
| 2. |
All the software updates are copied to 1-Touch server cache and then integrated with 1-Touch ISO for each type of processor. |
 |
Install Windows File System iDataAgent on the computers that satisfies the minimum system requirements. The computer is referred as the 1-Touch Client.
The software can be installed using one
of the following methods:
|
| 1. | Run Setup.exe from the Software Installation Disc on the computer that satisfies the minimum system requirements. | |
| 2. | Select the required language. Click Next. |
|
| 3. |
Select the option to install software on this computer. NOTES
|
|
| 4. | Select I accept the terms in the license agreement. Click Next. |
|
| 5. | Expand Client Modules | Backup & Recovery
| File System and select Windows File System
iDataAgent. Click Next. |
|
||
| 6. |
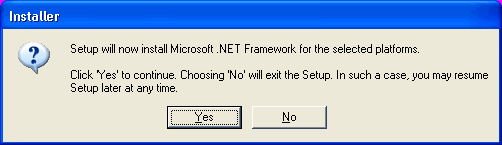
Click YES to install Microsoft .NET Framework package.
|
 |
||
| 7. |
If this computer and the CommServe is separated by a firewall, select the Configure
firewall services option and then click Next.
For firewall options and configuration instructions, see Firewall Configuration and continue with the installation. If firewall configuration is not required, click Next. You cannot perform 1-Touch restore and VirtualizeMe operations if you configure firewall between CommServe and the client computer. |
|
||
| 8. |
Enter the fully qualified domain name of the CommServe
Host Name. Click Next.
|
|
||
| 9. | Click Next. |
|
||
| 10. |
Select Add programs to the Windows Firewall Exclusion
List, to add CommCell programs and services to the Windows Firewall
Exclusion List. Click Next.
|
|
||
| 11. |
Verify the default location for software installation. Click Browse to change the default location. Click Next.
|
|
||
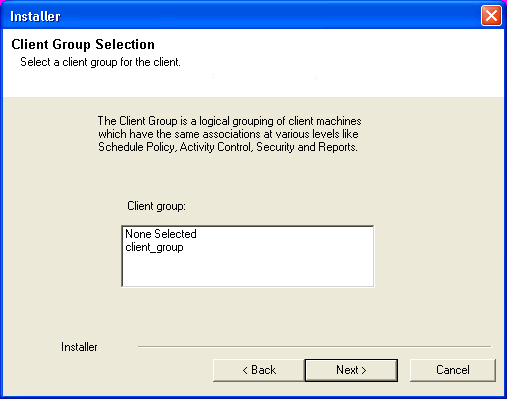
| 12. |
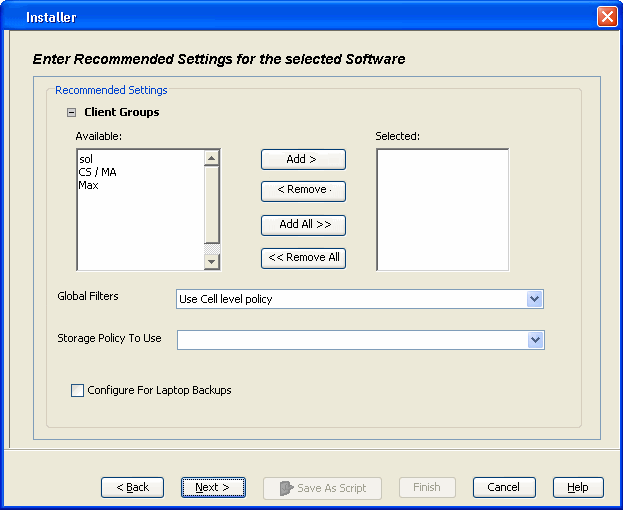
Select a Client Group from the list. Click Next.
|
|
||
| 13. | Click Next. |
|
||
| 14. | Click Next. |
|
||
| 15. | Select a Storage Policy. Click Next. |
|
||
|
If you do not have Storage Policy created, this message will be
displayed. Click OK.
|
|
|||
| 16. | Click Next. |
|
||
| 17. | Click Next. |
|
||
| 18. | Click Finish. |
|
||
|
If you already have a storage policy selected in
step 15, click the
Next
button available on the bottom of the page to proceed to the
Configuration section. If you do not have Storage Policy created, continue with the following step. |
|||
| 19. | Create a Storage Policy:
|
|
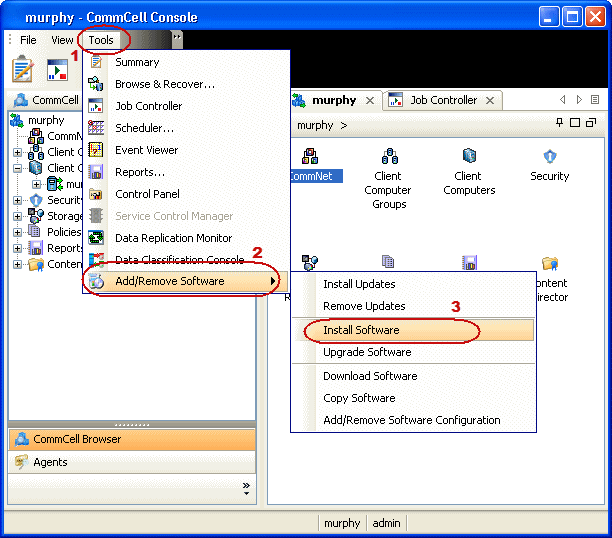
| 1. | From the CommCell Browser, select Tools | Add/Remove Software | Install Software. |
 |
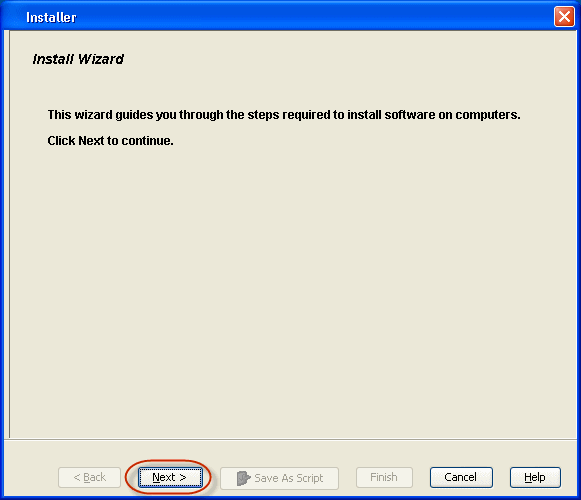
| 2. | Click Next. |
 |
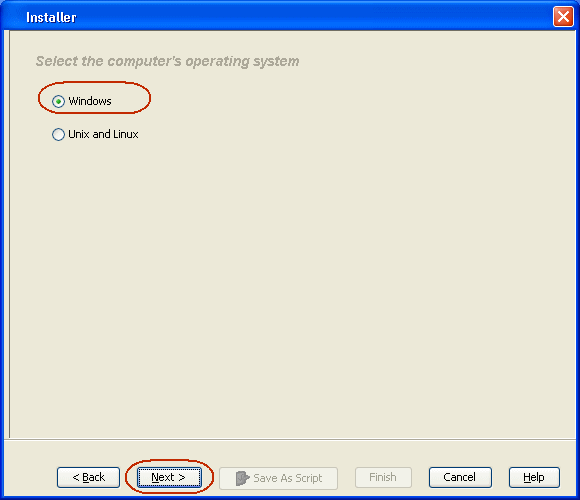
| 3. | Select Windows. Click Next. |
 |
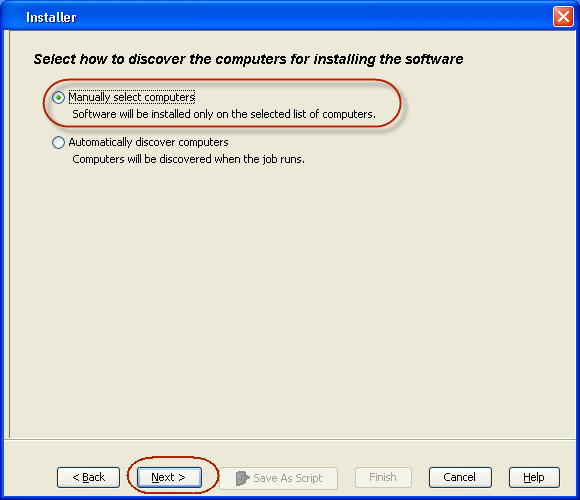
| 4. | Select Manually Select Computers. Click Next. |
 |
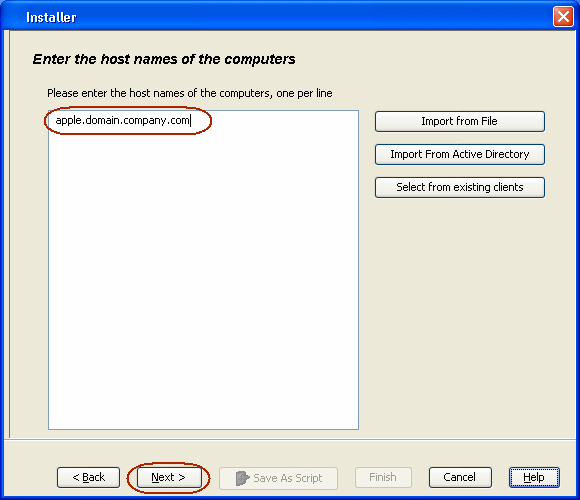
| 5. | Enter the fully qualified domain name of the computer in
which you wish to install. For example: apple.domain.company.com Click Next. |
 |
| 6. | Click Next. |
 |
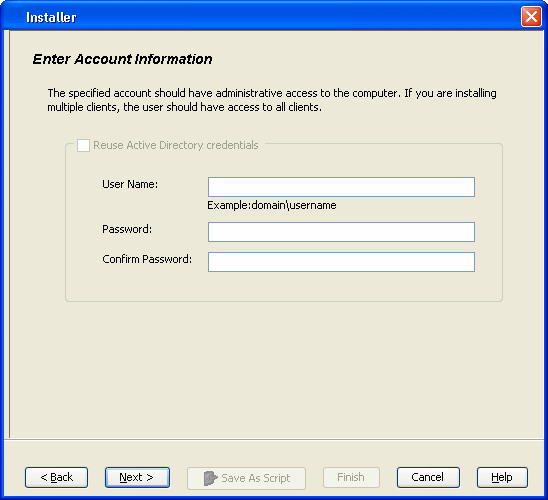
| 7. | Specify UserName and Password. Click Next. |
 |
| 8. |
Select Windows File System iDataAgent. Click Next. |
 |
| 9. | Click Next. |
 |
| 10. | Click Next. |
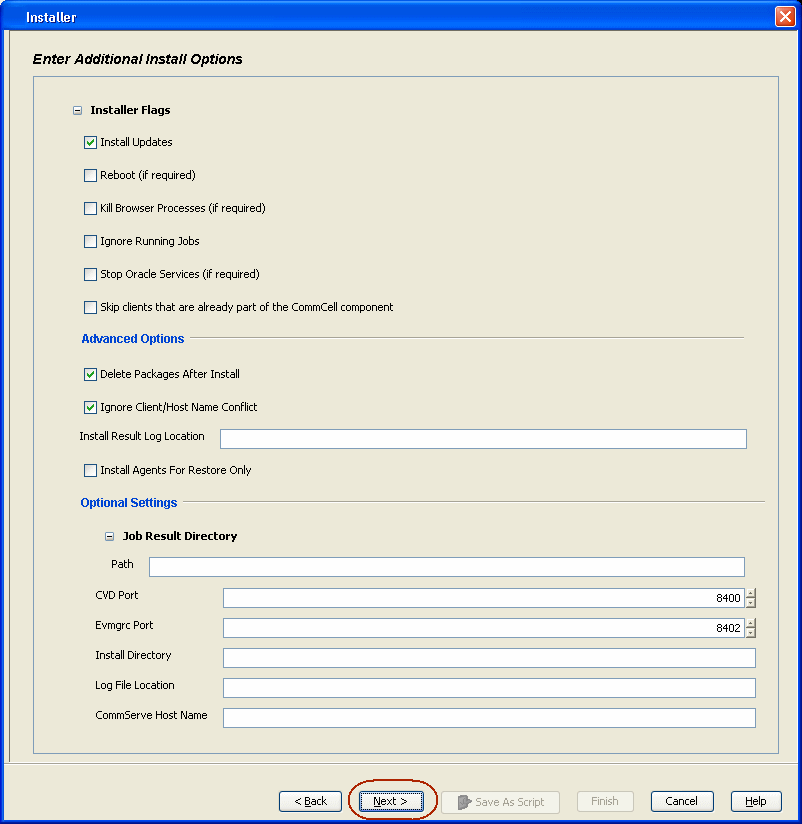 |
| 11. |
Select Immediate. Click Next. |
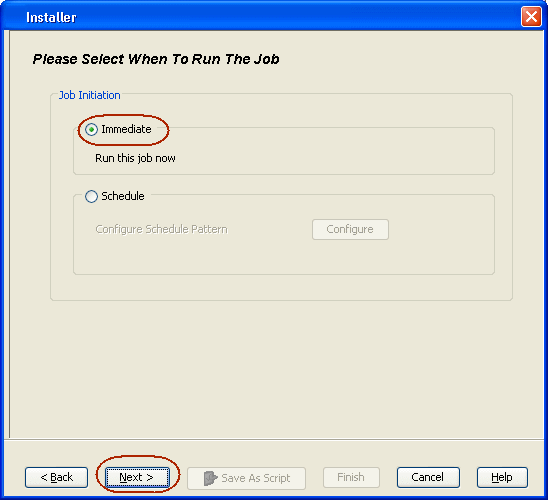 |
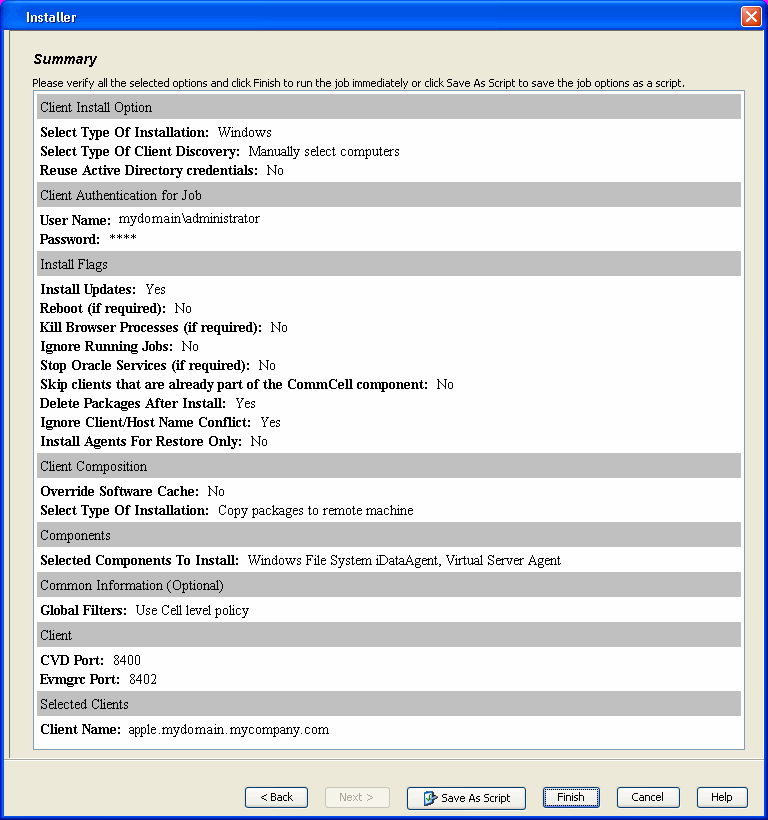
| 12. | Click Finish. |
 |
| 13. | You can track the progress of the job from the Job Controller or Event Viewer window. |
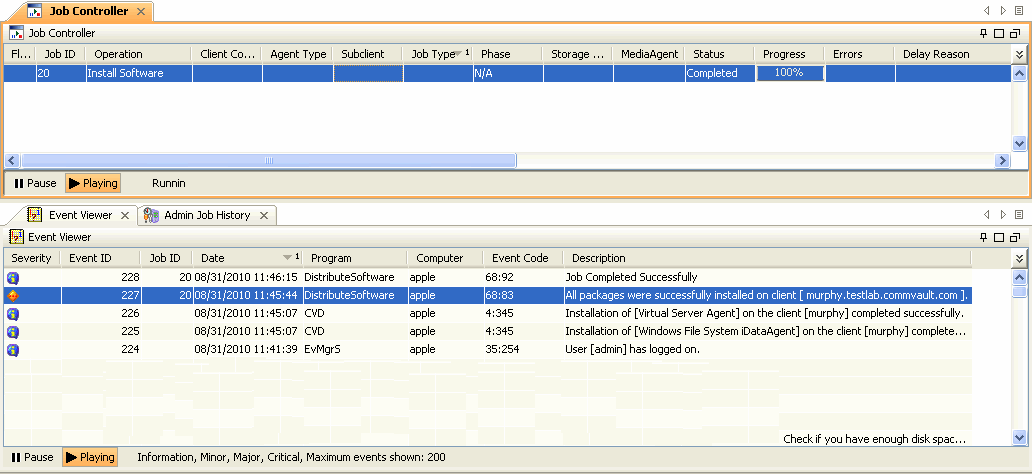 |
| 14. | Once the job is complete, right-click the CommServe computer, click View and then click Admin Job History. |
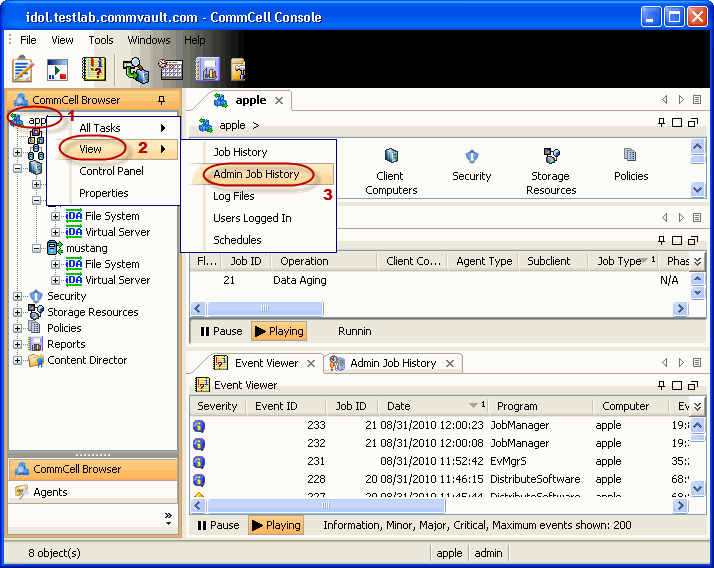 |
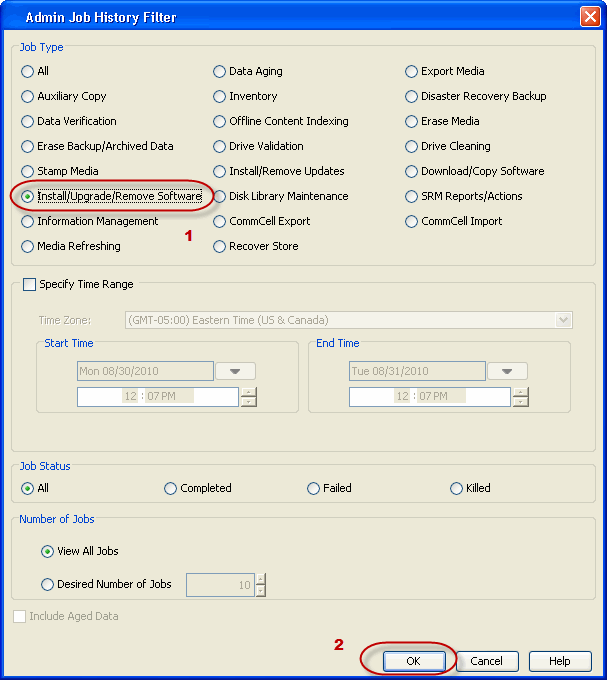
| 15. | Select Install/Upgrade/Remove Software. Click OK. |
 |
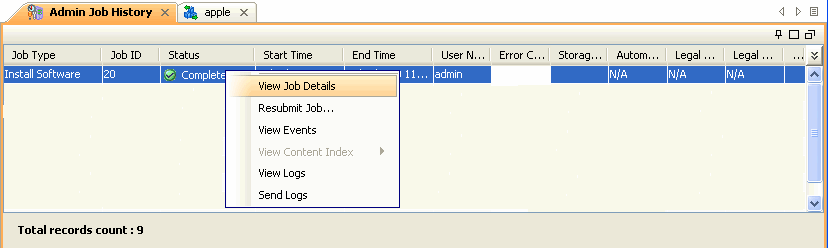
| 16. |
You can view the following details about the job by right-clicking
the job:
|
 |
|