Upgrade Requirements
The following procedure describes the steps involved in installing the software on a passive node.
Before You Begin
- The active node must be upgraded prior to upgrading the passive node.
Upgrade Procedure
NOTES
- This screen will only appear when the bAllow32BitInstallOn64Bit registry key has been created and enabled on this computer.
NOTES
- The options that appear on this screen depend on the computer in which the software is being installed.
Click Next to continue, if no other applications are running.

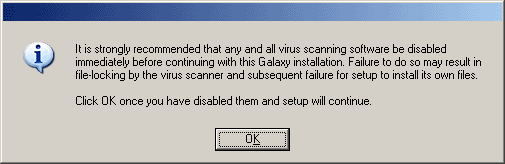
Click OK to continue, if virus scanning software is disabled.
Click Next to continue.

Click Next to continue.

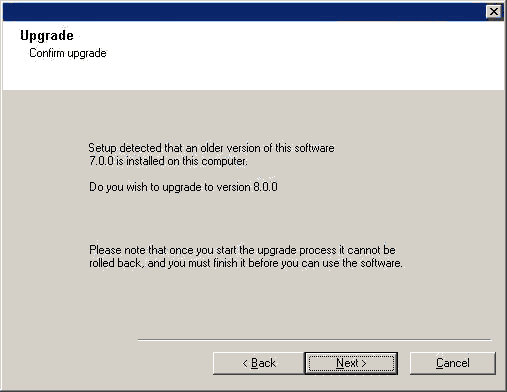
NOTES
- New components from this version can only be installed after upgrading the existing components.
- The older version number depends on the version in the computer and may look different from the example shown.
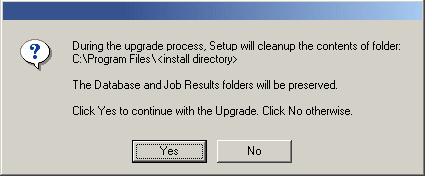
NOTES
- The upgrade process deletes and replaces this folder with newer files.
To preserve files or folders within the <software installation path> folder, move them to another location before clicking Yes.
- Clicking No will exit the upgrade program.
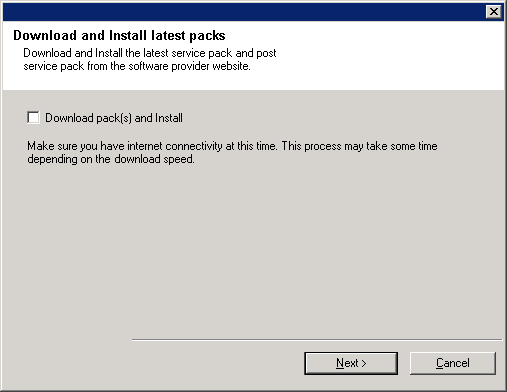
NOTES
- Internet connectivity is required to download updates.
- This step is applicable when installing on the first instance.
- Updates are downloaded to the following directory:
<software installation>/Base/Temp/DownloadedPacks.
They are launched silently and installed automatically for the first instance.
Click Next to continue.
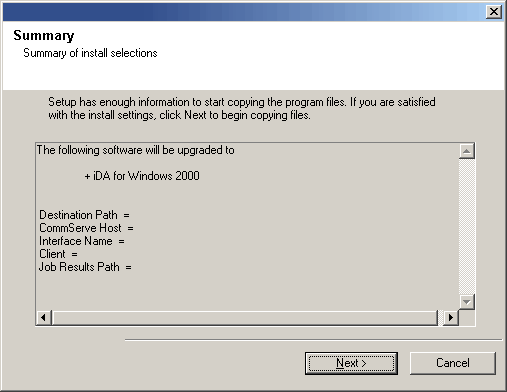
NOTES
- The Summary on your screen will reflect the components installed on the computer, and may look different from the example shown.
The upgrade program now starts the upgrade process. This step may take several minutes to complete.
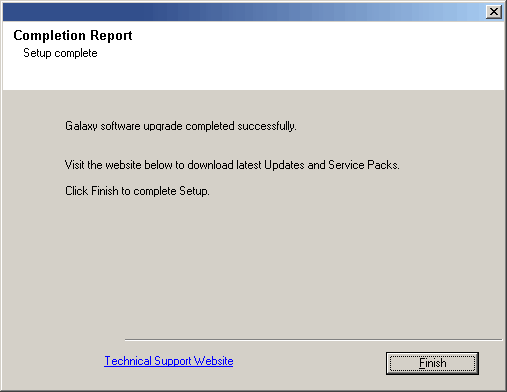
NOTES
- The Completion Report will reflect the components upgraded on the computer, and may look different from the example shown.
The upgrade is now complete.
Post-Upgrade Considerations
-
If the CommServe is configured to communicate across a firewall, the following firewall
related files must be manually copied from the active node to all the passive
nodes:
- <software installation path>/<software installation folder>/Base/FwHosts.txt
- <software installation path>/<software installation folder>/Base/FwPeers.txt
- <software installation path>/<software installation folder>/Base/FwPorts.txt
If for some reason the passive node is currently active, make sure to stop and restart Services after copying the files.