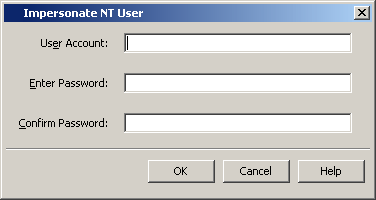
- You should have administrative privileges.
- You have an available license on the CommServe for each Oracle iDataAgent you wish to add to the RAC nodes.
-
For the Oracle, Oracle RAC or SAP for Oracle iDataAgent, if you have custom SQL settings, you must turn off these settings to ensure that the instance browse works correctly and that the instance status is correctly fetched. To do this, create and edit the cvlogin.sql file with the appropriate contents at ORACLE_HOME/sqlplus/admin. For example, run the following command:
edit file $ORACLE_HOME/sqlplus/admin/cvlogin.sql
Then include the following contents in the cvlogin.sql file:
set heading on;
set pause off;
1.
Name of the Oracle iDataAgent instance(s) along with the name of the associated physical client for each Oracle iDataAgent:__________________________________________________________________________________
Path to the Oracle home directory:_______________________________________________________________
Oracle User Account and Password (for Windows):___________________________________________________
Oracle User Name (for Unix):____________________________________________________________________
Database connect string:________________________________________________________________________
Catalog connect string for the catalog database:_____________________________________________________
____________________________________________________________________________________________
Path to the TNS Admin directory (optional):_________________________________________________________
Block size for backup and restore operations for each Oracle instance (optional):__________________________
____________________________________________________________________________________________
Pass-phrase to enable data encryption for RMAN command line backups (optional):________________________
____________________________________________________________________________________________
2.
Storage policy to be used by the default subclient for data:____________________________________________
Storage policies to be used by the instance for user command backups and archive log backups:_____________
____________________________________________________________________________________________
1.
From the CommCell Console, right-click Client Computers and click New Client.
2.
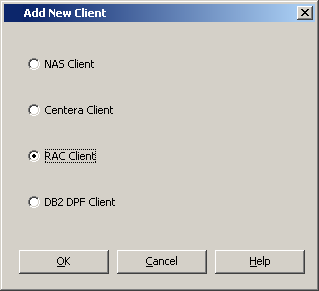
From the Add New Client dialog box, click RAC Client and then click OK.
3.
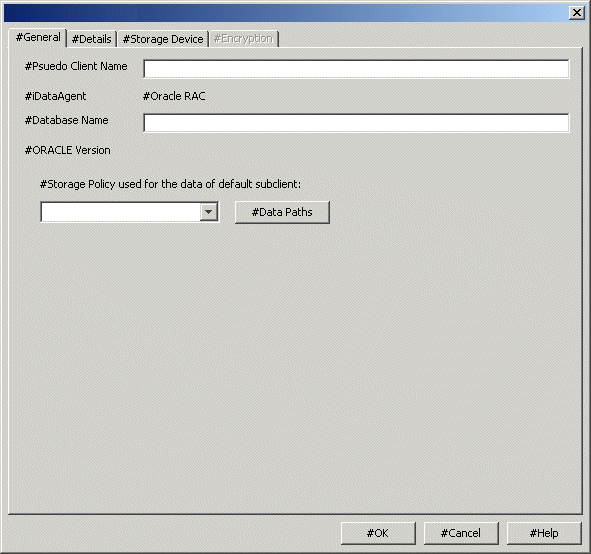
In the Create RAC Client (General) dialog box, type or select values for the fields as appropriate. Then click Details.
4.
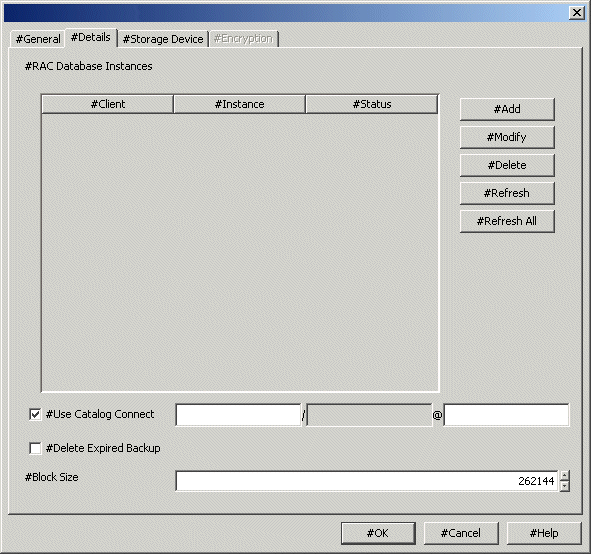
In the Create RAC Client (Details) dialog box, type or select values for the fields at the bottom of the dialog box as appropriate.
To create a RAC client for Windows, go to step 6.
To create a RAC client for unix, go to the next step.
5.
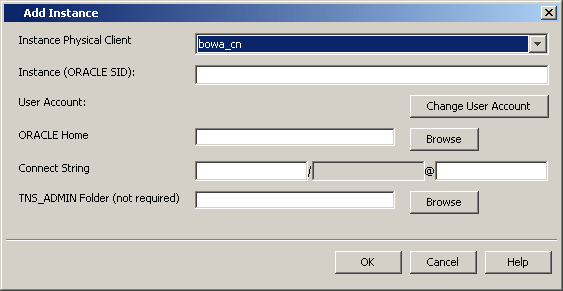
To create a RAC client for Unix, in the Create RAC Client (Details) dialog box, click Add. In the Add Instance dialog box, select an Unix physical client containing the Oracle iDataAgent instances that you want to include in the Oracle RAC node.
Thereafter, type or browse values for the fields as appropriate. Then click OK. Repeat this step for each Oracle iDataAgent instance that you want to include.
Note:
Based on the type of Oracle instance added initially (Unix or Windows), you can only select the same type of instances in the subsequent additions.
Once you have added the instances, go to step 7.

Click Change User Account and type the Oracle user name and password credentials and click OK.
Thereafter, type or browse values for the fields as appropriate. Then click OK. Repeat this step for each Oracle iDataAgent instance that you want to include.
Note:
Based on the type of Oracle instance added initially (Unix or Windows), you can only select the same type of instances in the subsequent additions.
7.
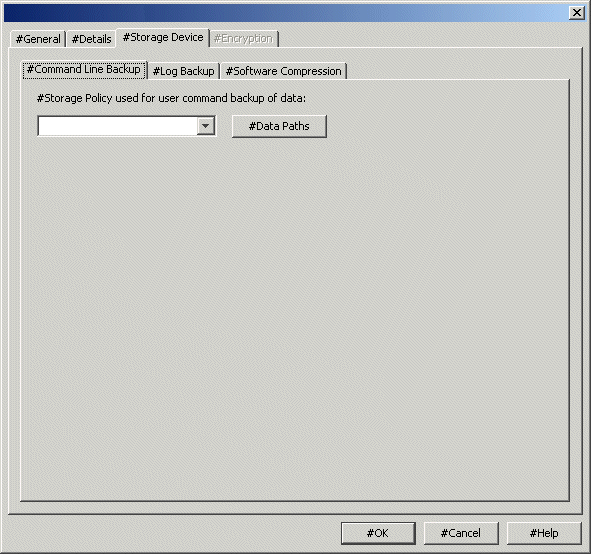
From each tab in the Create RAC Client (Storage Device) dialog box, select values for the fields as appropriate.
8.
If Encryption is enabled, click Encryption and select the appropriate value.
9.
After you configure all your instances as appropriate, click OK.
This task is now complete.
