Pre-Installing SQL Database for CommServe

Non Cluster Cluster  

Table of Contents

Overview

Before You Begin

Install Procedure

Installing SQL Server and creating the BullCalypso instance

Installing SQL Server Service Pack

Overview

The following procedures describes the steps for pre-installing the Microsoft SQL Server Enterprise Edition and create the BullCalypso instance and then install the Service Pack for Microsoft SQL Server.

Before You Begin

Log on to the computer as local Administrator or as a member of the Administrators group on that computer.

Install Procedure

Installing SQL Server and creating the BullCalypso instance

1. Install the .NET Framework package from the Software Installation Discs. The package is available in the following folder:

<Software Installation Disc>\Common\Bin\DotNetFramework\3.5\dotnetfx35.exe

2. From the appropriate Software Installation Disc run the following program:

\SQL2008\SQL_Enterprise_Edition\Servers\Setup.exe
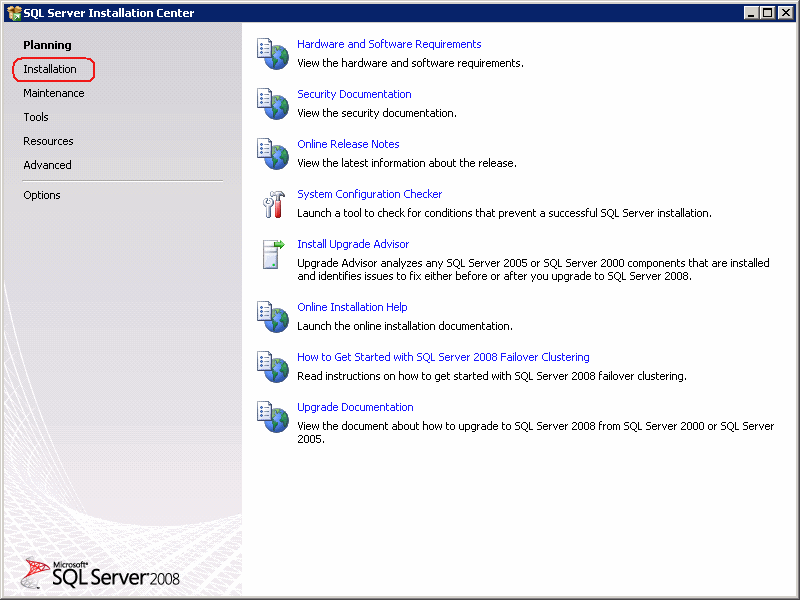
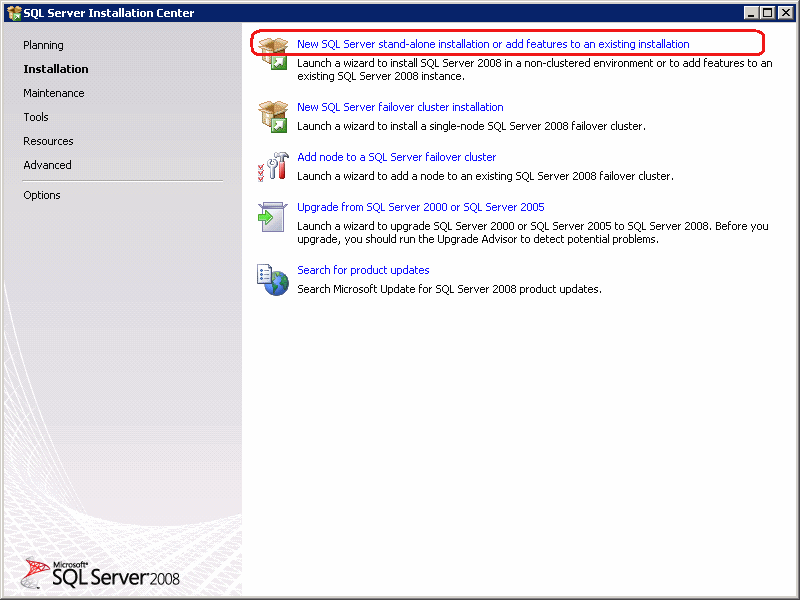
3. Click Installation to continue with the setup.
4. Click New SQL Server stand-alone installation or add features to an existing installation  to launch a wizard to install SQL Server.
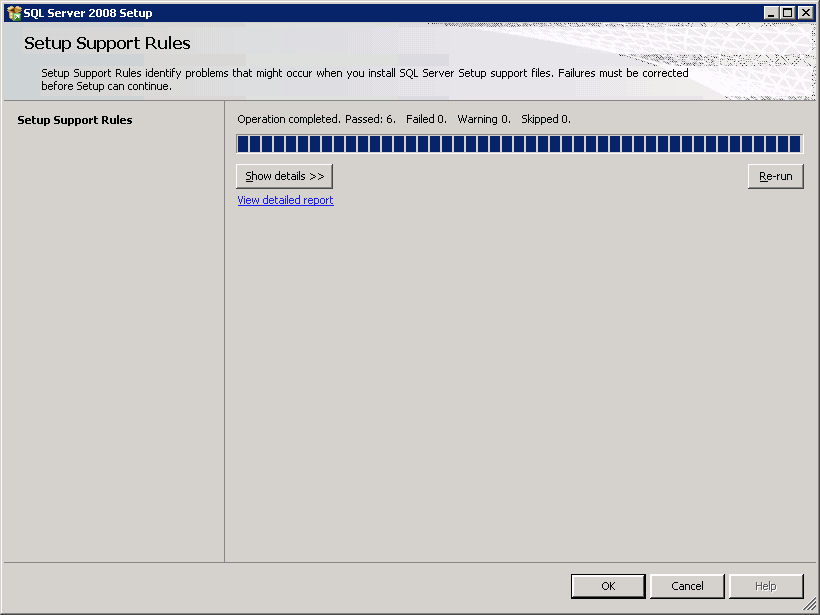
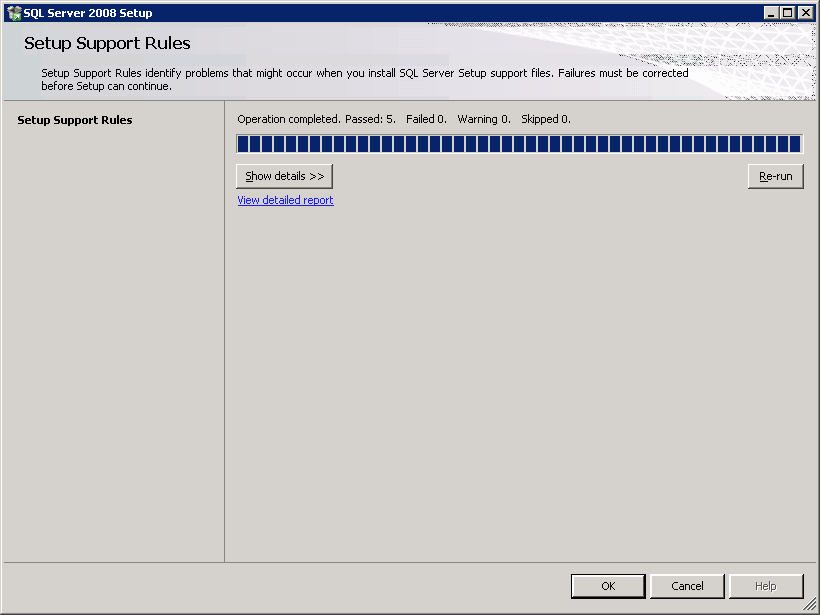
5. Click OK to start the setup of support rules.
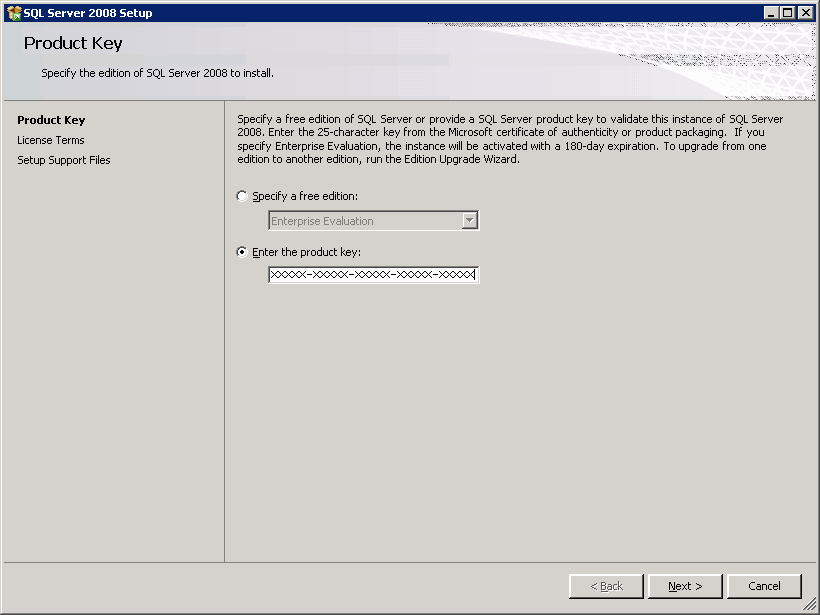
6. Click Next to continue.
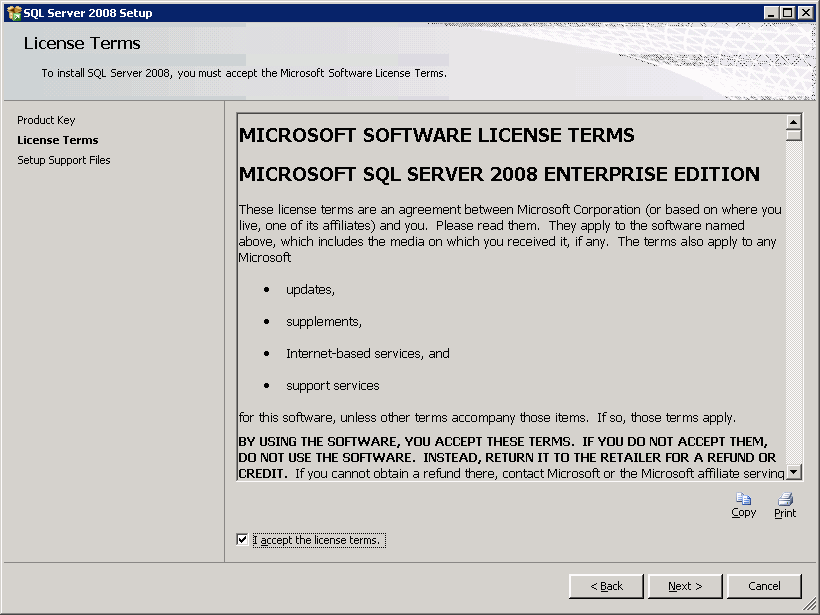
7. Select I accept the license terms and click Next to continue.
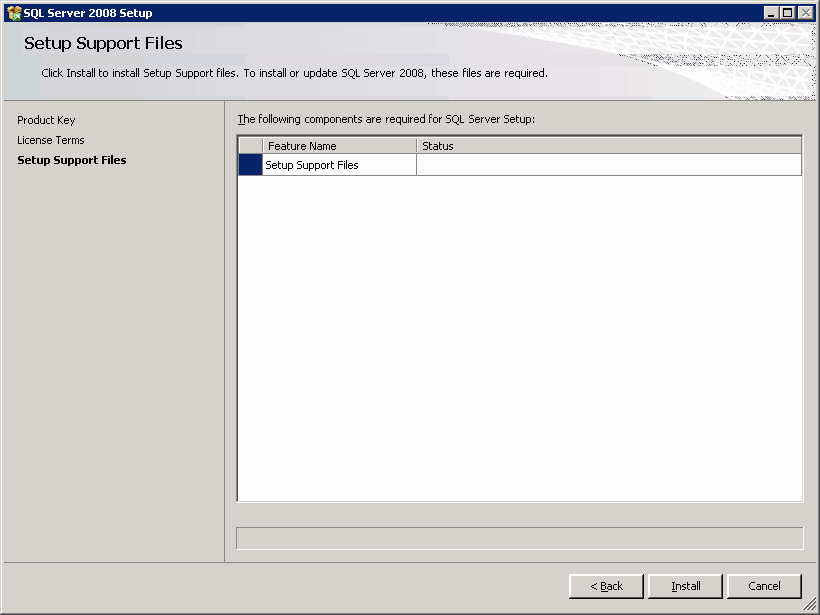
8. Click Install to setup support components.
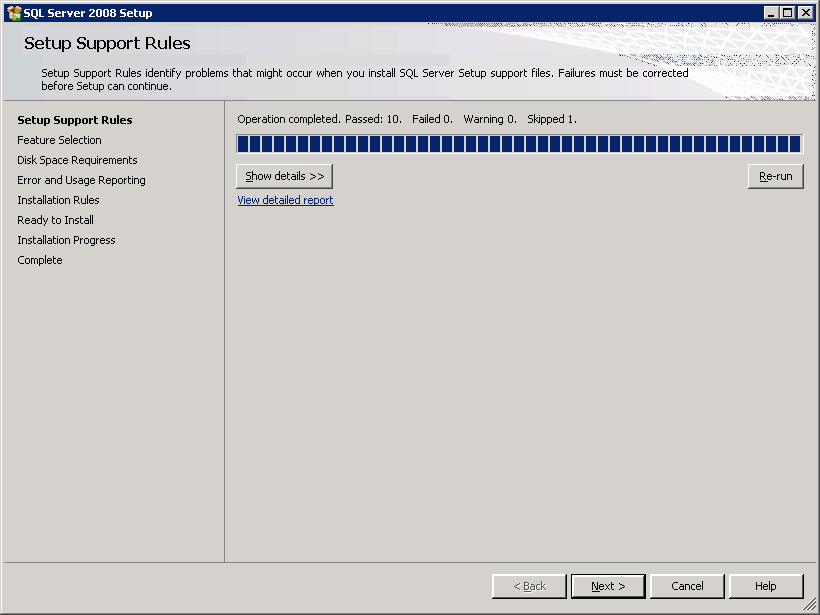
9. Click Next to continue.
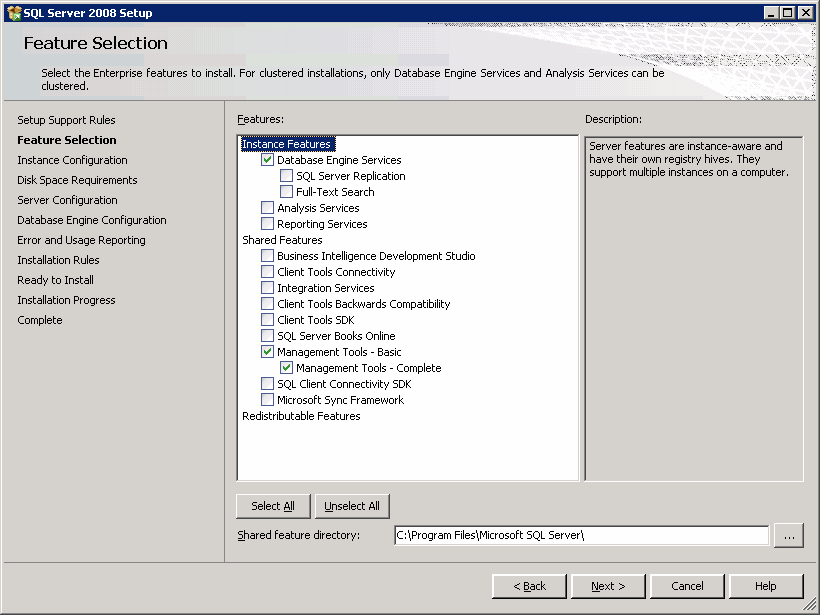
10. Select Database Engine Services and Management Tools - Complete from the features to Install.

Click Next to continue.

11. Perform the following:
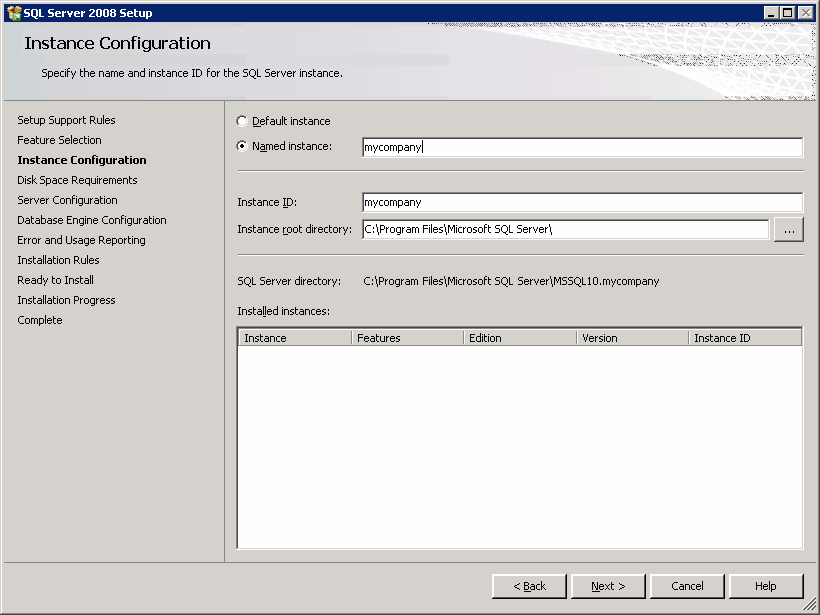
  • Click the Named Instance option.
  • Enter BullCalypso in the Named instance field.
  • If you want to change the default installation location of SQL server, then specify a new location in the Instance root directory box. The SQL server database will be created to the location that you specify here.

Click Next to continue.
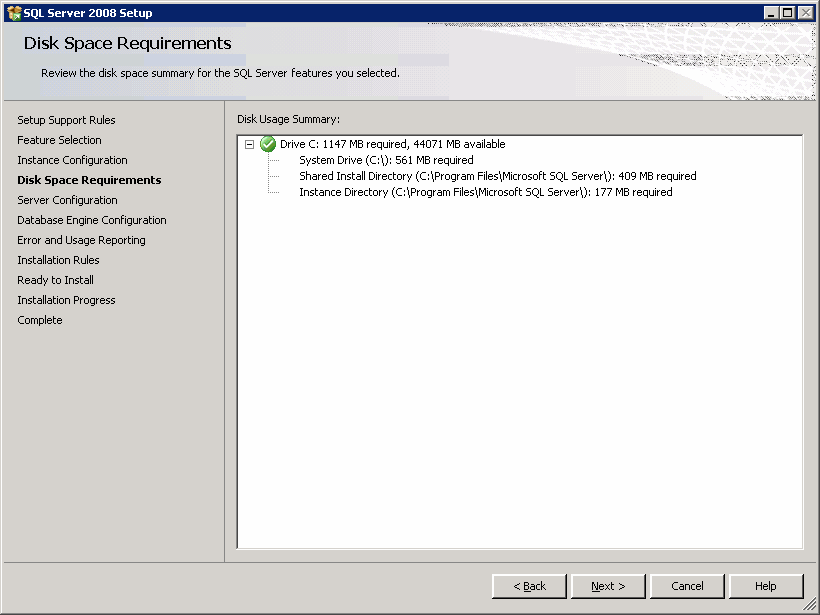
12. Click Next to continue.
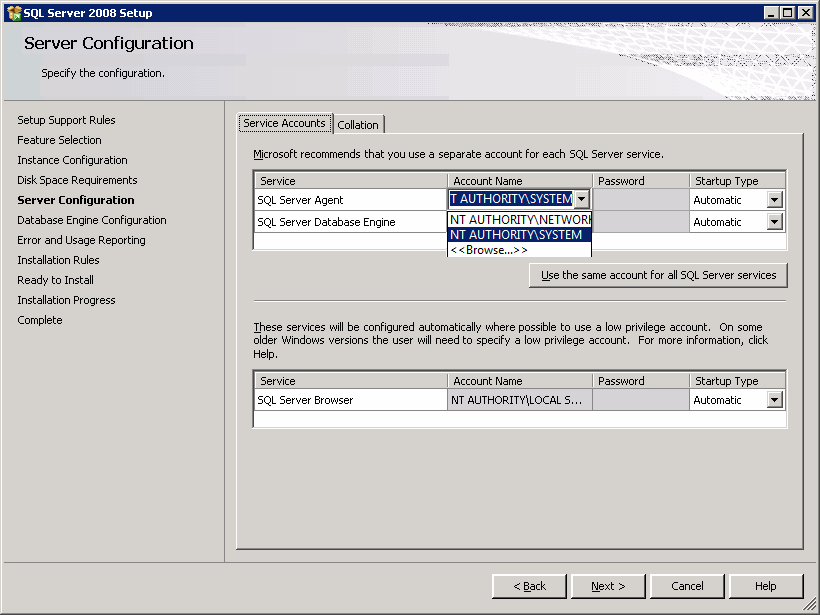
13. Perform the following:
  • In the Services Accounts tab, from the Account Name list, select the local system account (NT AUTHORITY\SYSTEM) for each SQL Server service.

    You can also click the Use the same account for all SQL Server services to use the same username and password for all the services.

  • Click the Collation tab, and set the collation of the TEMPDB to SQL_Latin1_General_CP1_CI_AS.

Click Next to continue.
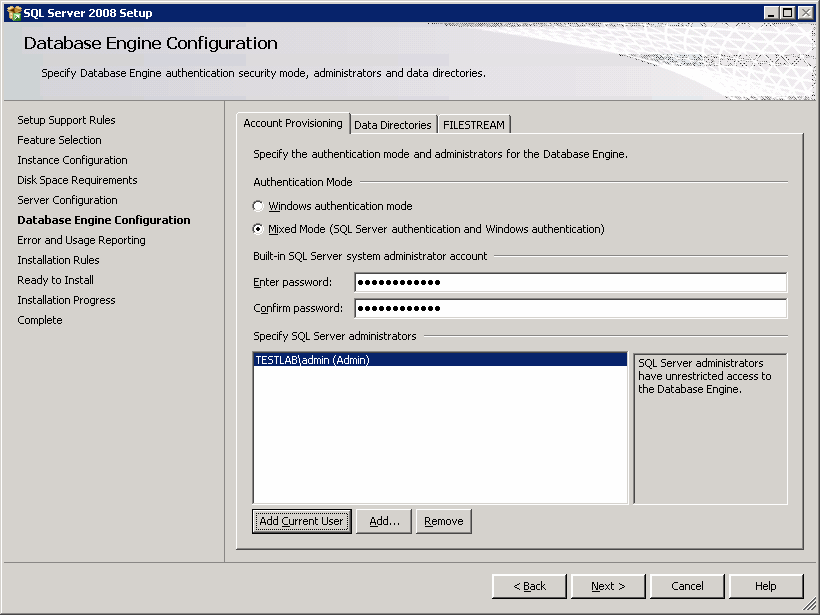
14.
  • For Account Provisioning tab:
    • Choose the Mixed Mode (Windows authentication and SQL Serve authentication) option.
    • Enter and confirm the password in the Enter Password and Confirm password boxes.
    • Click Add Current User button.
  • For Data Directories and FILESTREAM tab accept the default values.

Click Next to continue.
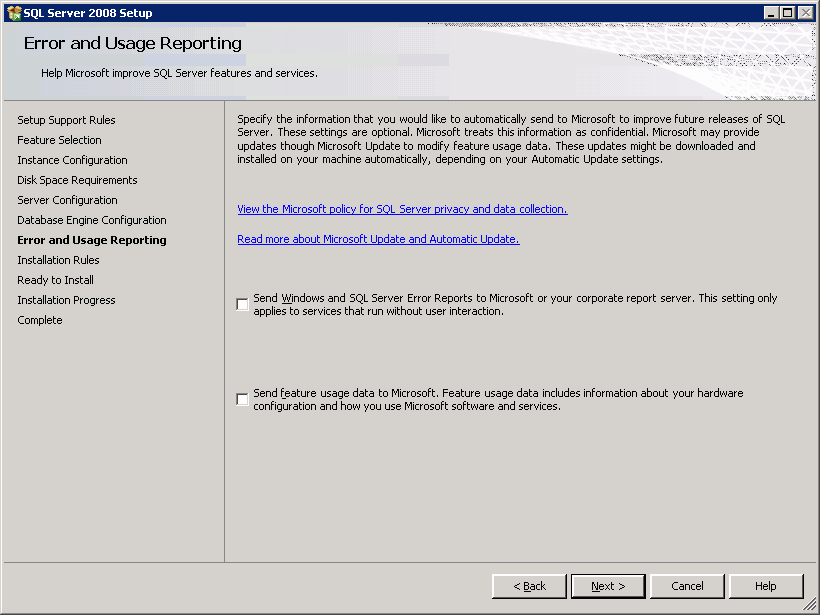
15. Select the Error and Usage Reporting Settings and click Next to continue.
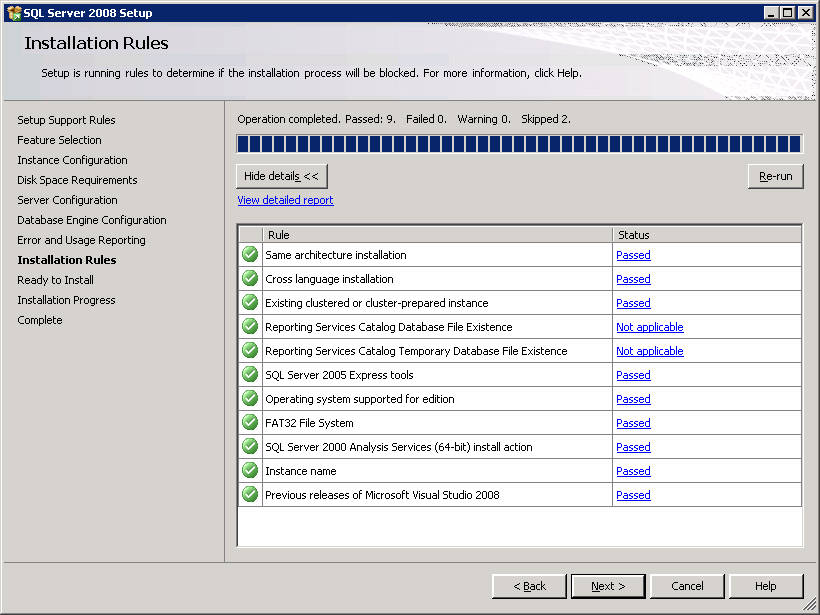
16. Click Next to continue.
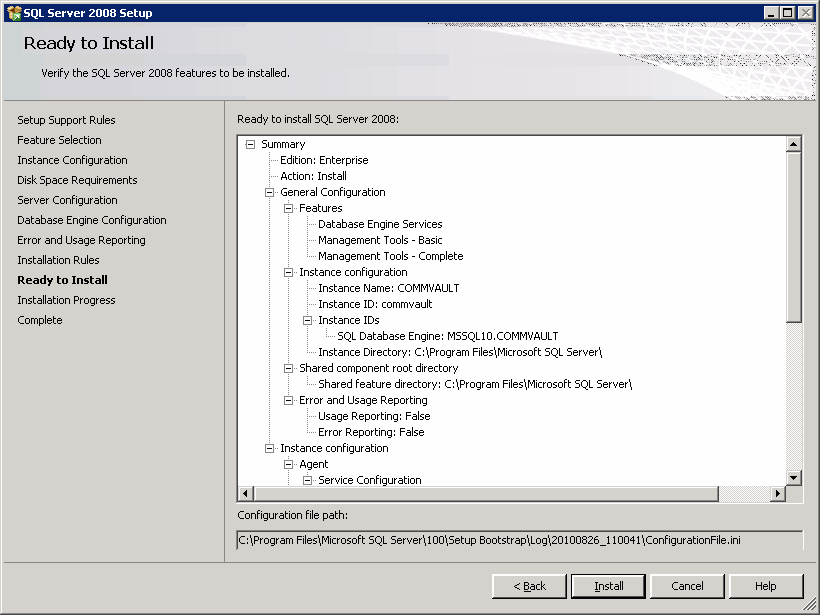
17. Click Install to continue.
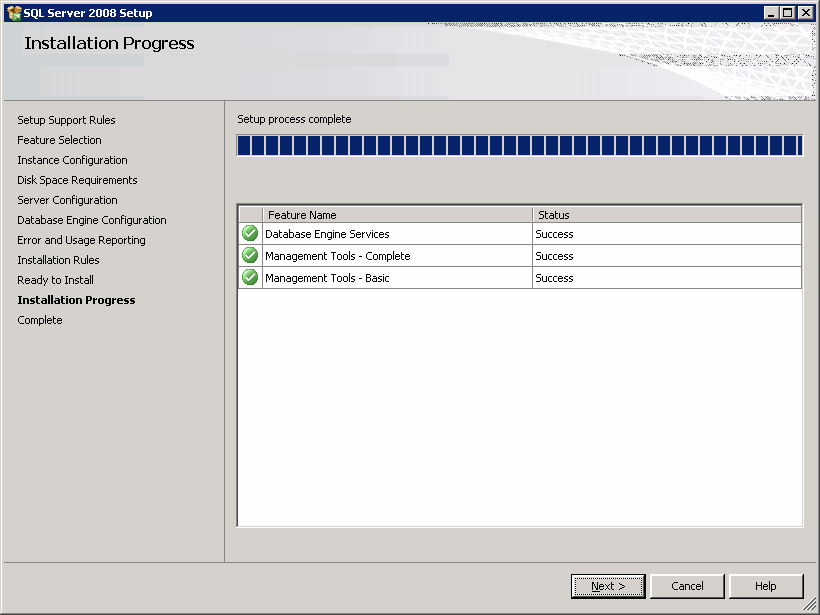
18. Click Next to continue.
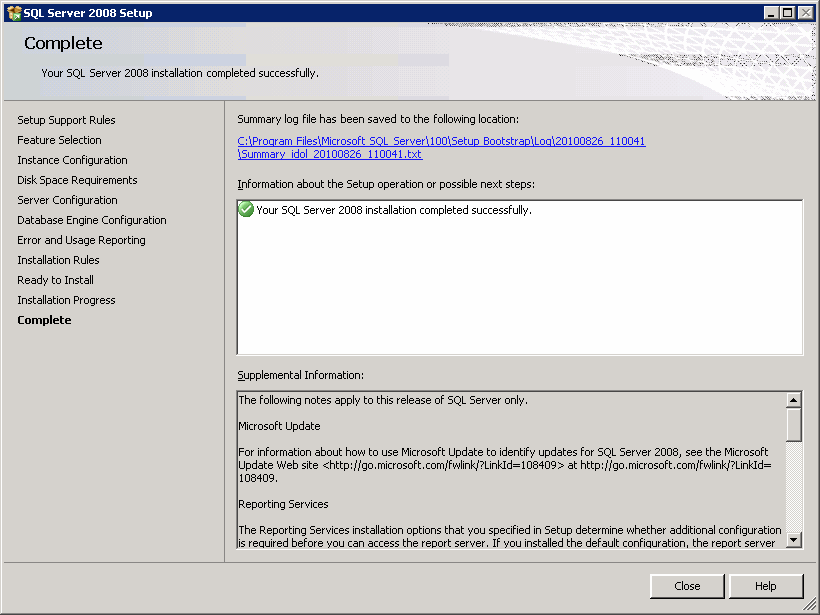
19. Click Close to exit.

Installing SQL Server Service Pack

1. From the appropriate software installation disc run the following program:

\SQL2008\SQL_Enterprise_Edition\PCU\setup.exe

 
2. Click OK to continue.
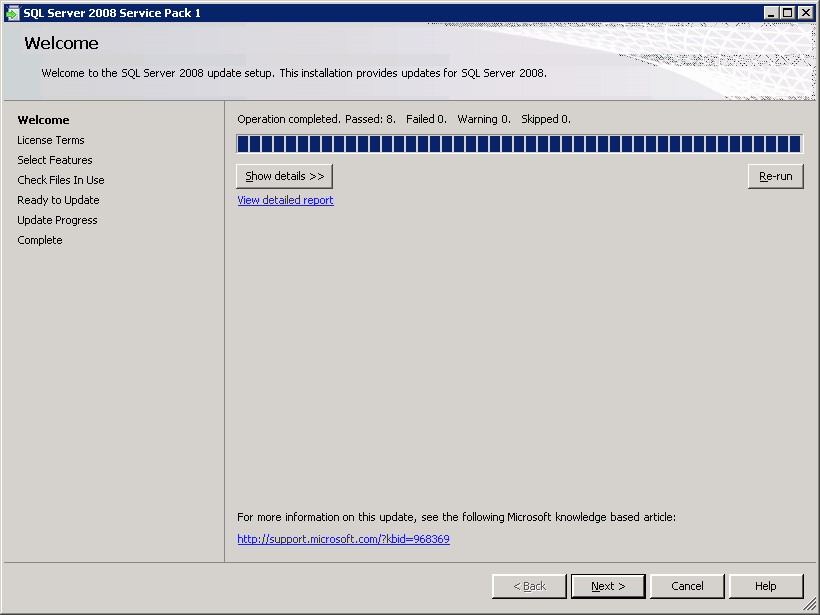
2. Click Next to continue.
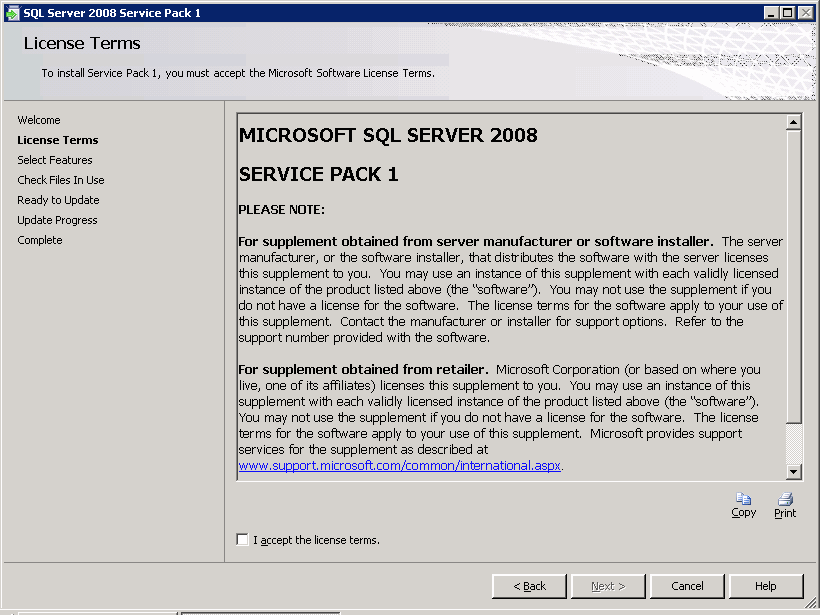
3. Click I accept the agreement and then click Next to continue.
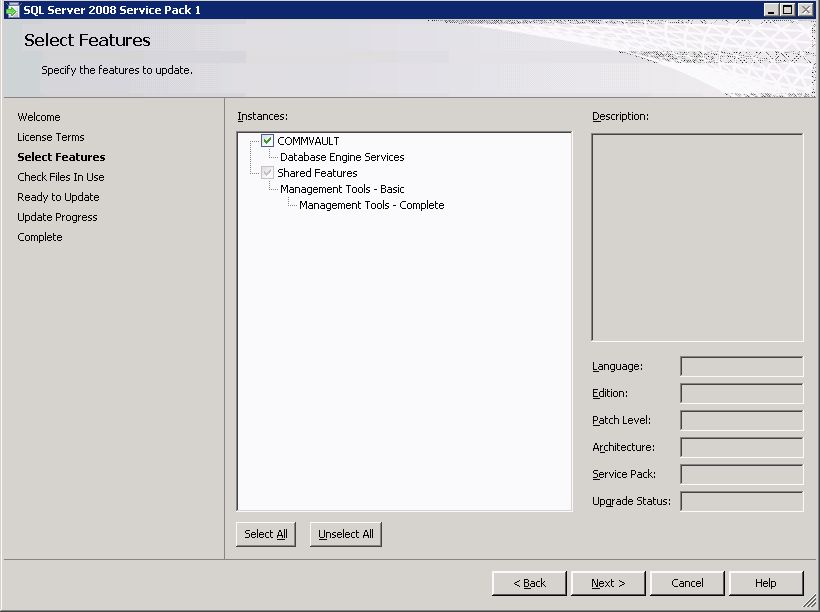
4. Select the features to update and click Next to continue.
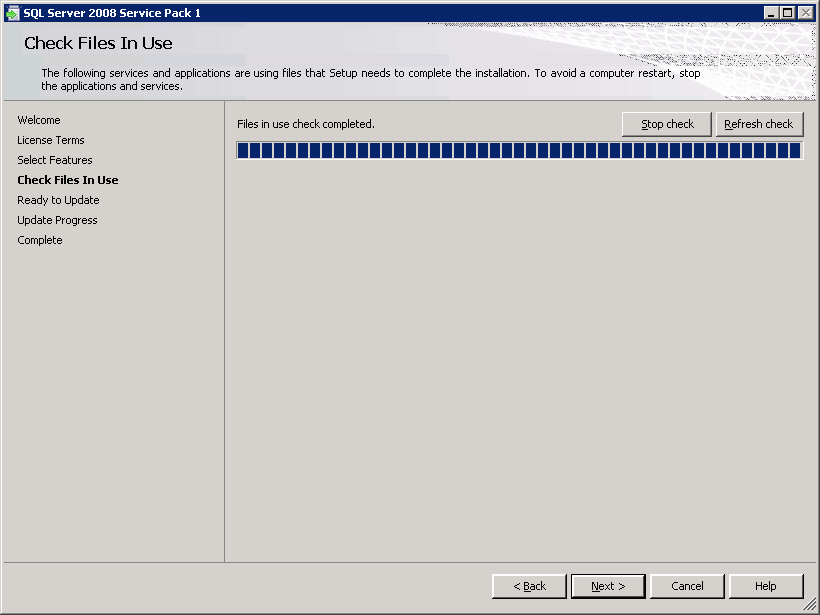
5. Click Next to continue.
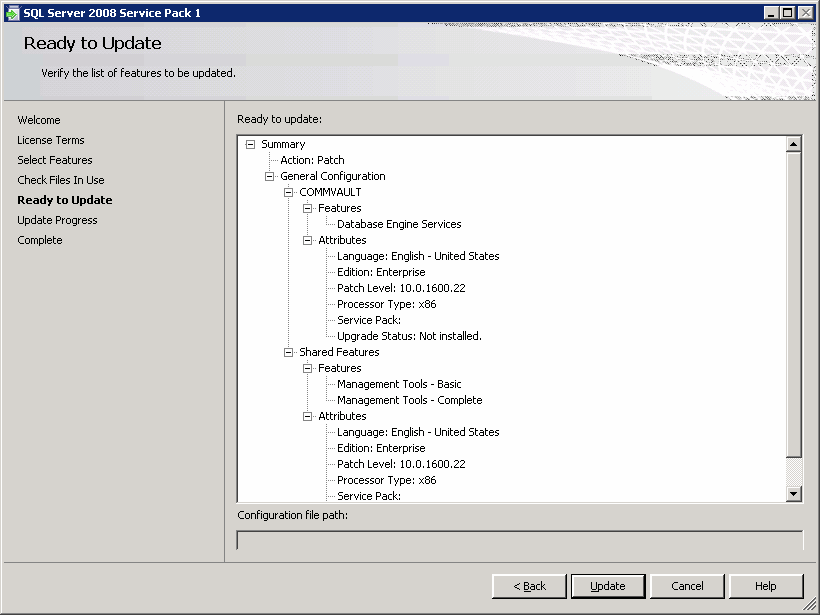
6. Verify that all the configurations are accurate and click Update to continue.
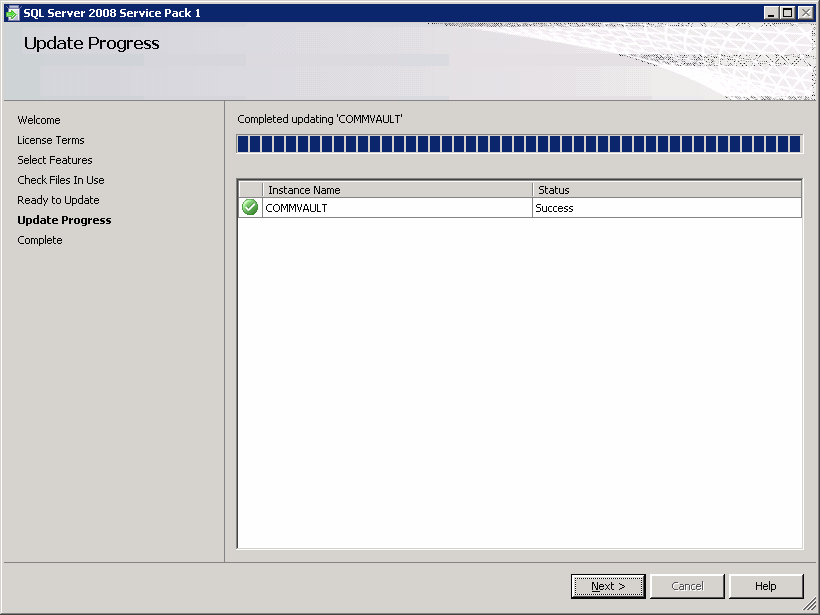
7. Click Next to continue.
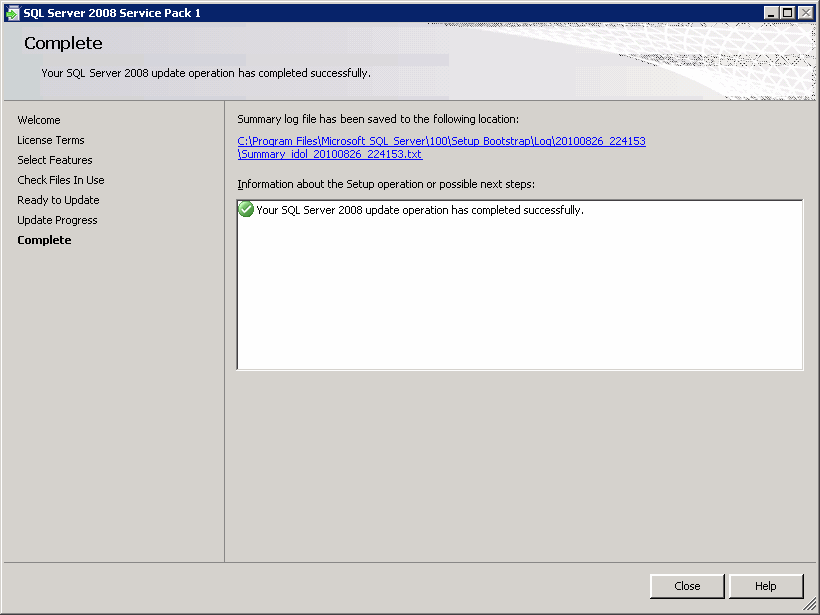
8. Click Close to exit.