Pre-Installing SQL Database for CommServe - Clustered Environment

Non Cluster Cluster  

Table of Contents

Overview

Before You Begin

Install Procedure

Installing SQL Server and creating the instance

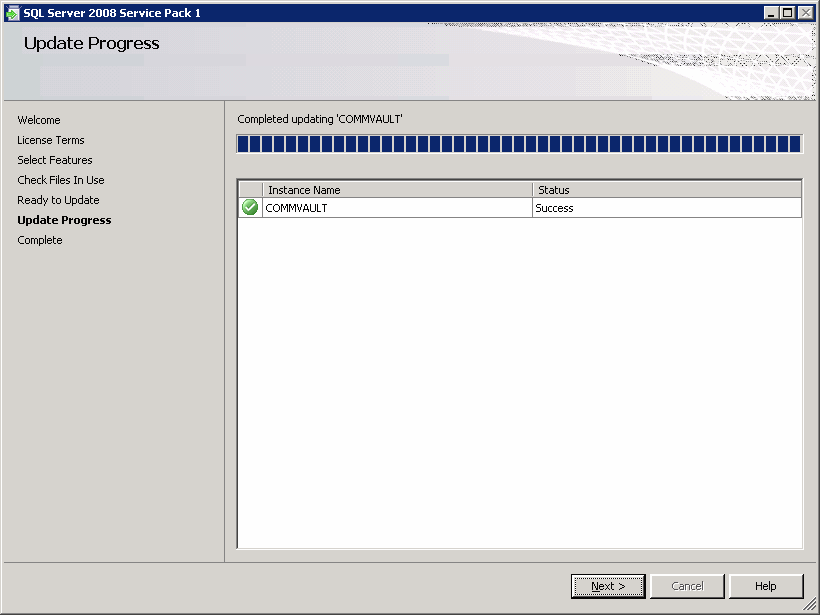
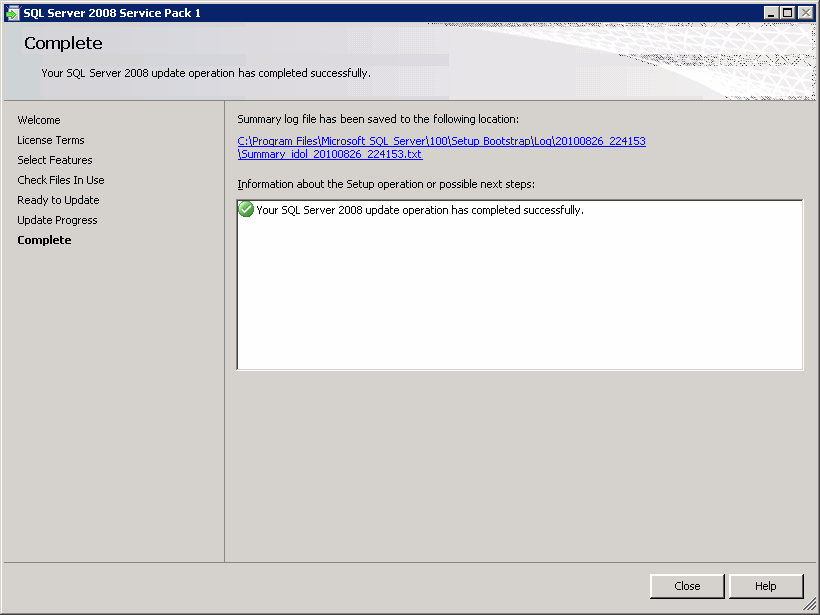
Installing SQL Server Service Pack

Overview

The following procedures describes the steps for pre-installing the Microsoft SQL Server Enterprise Edition in a clustered environment as well as the appropriate service pack.

In a clustered environment, Microsoft SQL Server 2008 (Enterprise Edition) with the appropriate service pack must be installed and clustered prior to installing the CommServe software. The CommServe software automatically uses the default or the named instance created during the SQL installation.

Before You Begin

Install Procedure

Installing SQL Server and creating the instance

1. Install the .NET Framework package from the Software Installation Discs. The package is available in the following folder:

<Software Installation Disc>\Common\Bin\DotNetFramework\3.5\dotnetfx35.exe

2. From the appropriate Software Installation Disc run the following program:

\SQL2008\SQL_Enterprise_Edition\Setup.exe
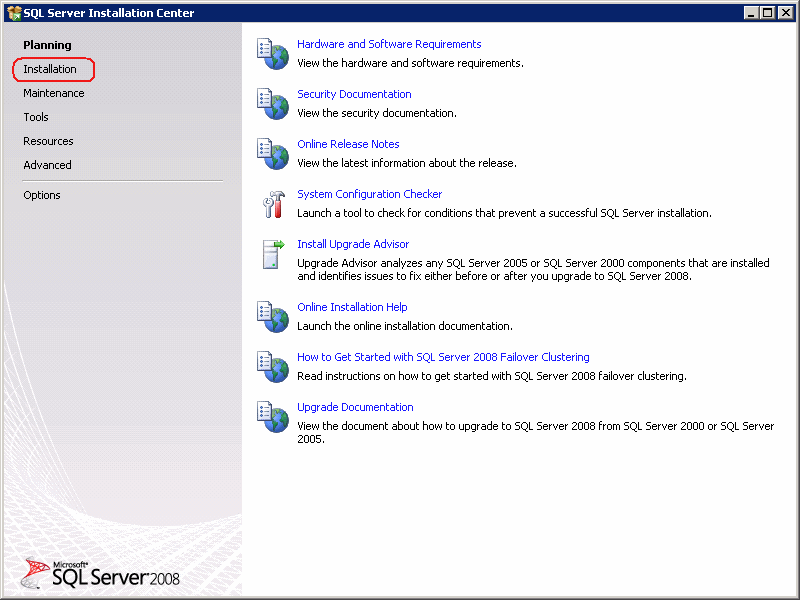
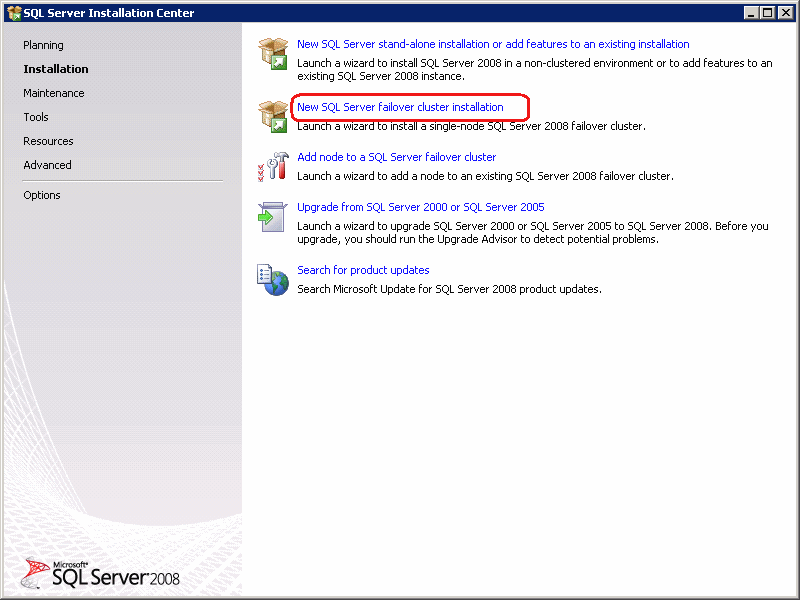
3. Click Installation to continue with the setup.
4. Click New SQL Server Failover Cluster installation to launch a wizard to install SQL Server.
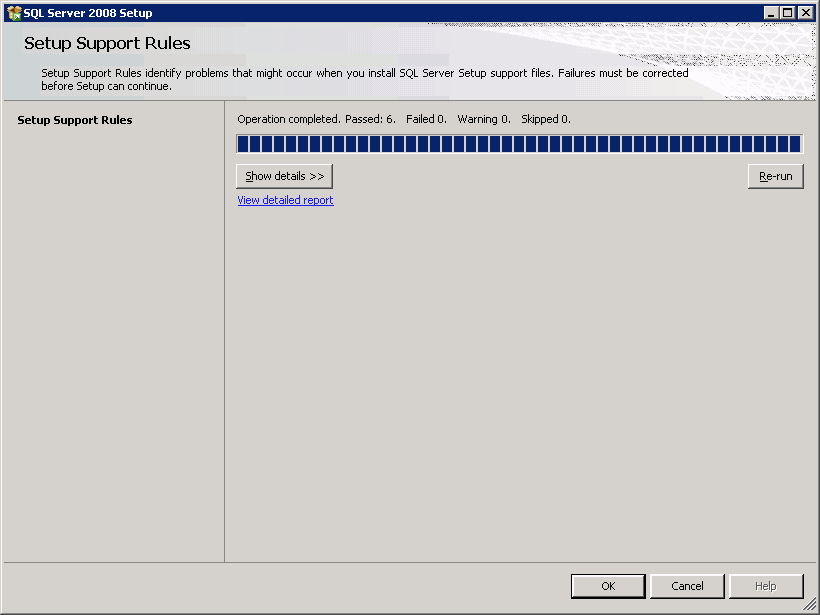
5. Click OK to verify the support rules.
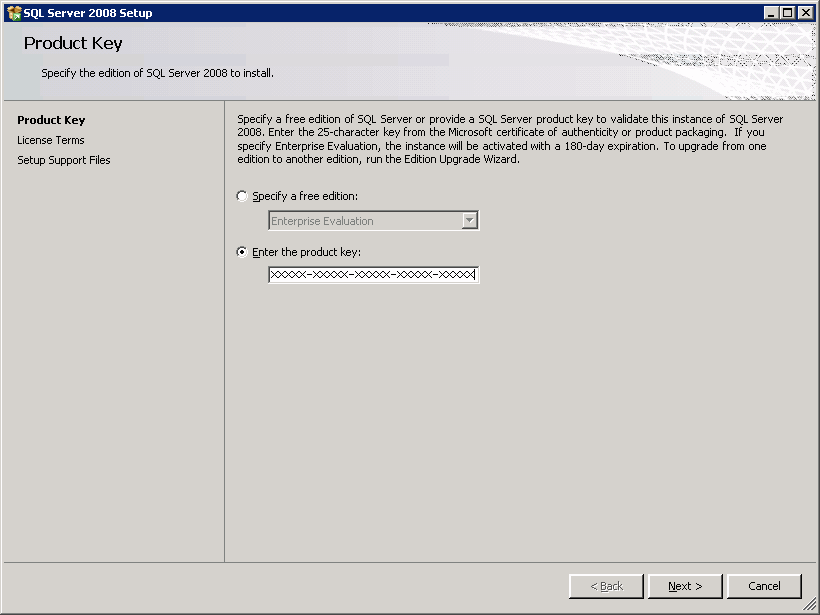
6. Click Next to continue.
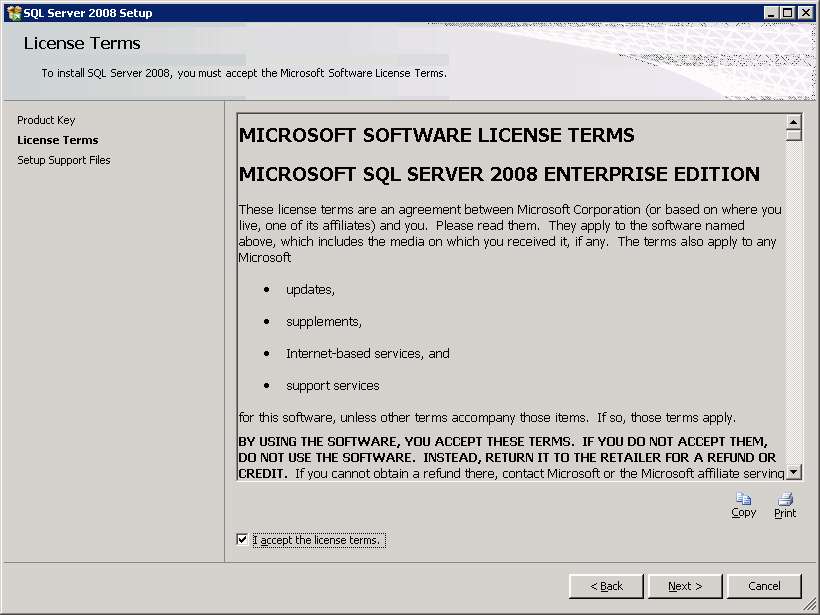
7. Select I accept the license terms and click Next to continue.
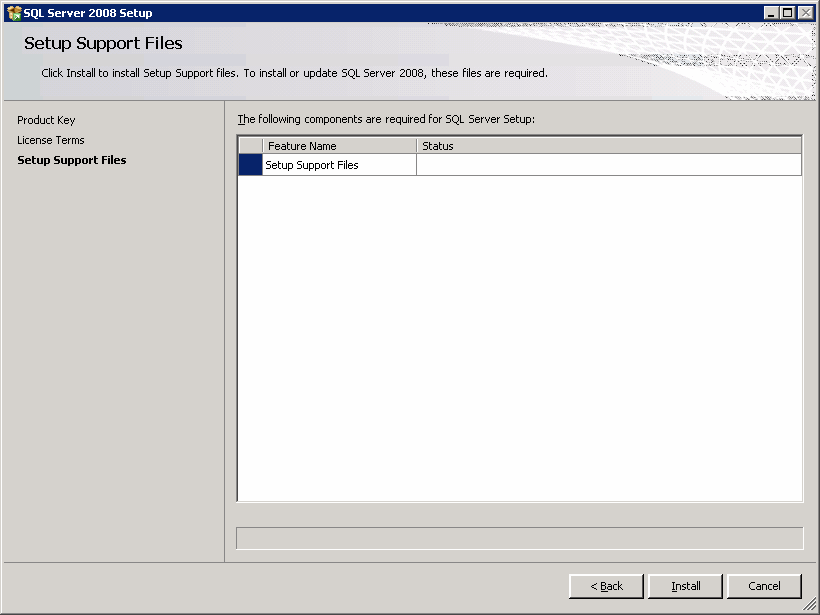
8. Click Install to setup support components.
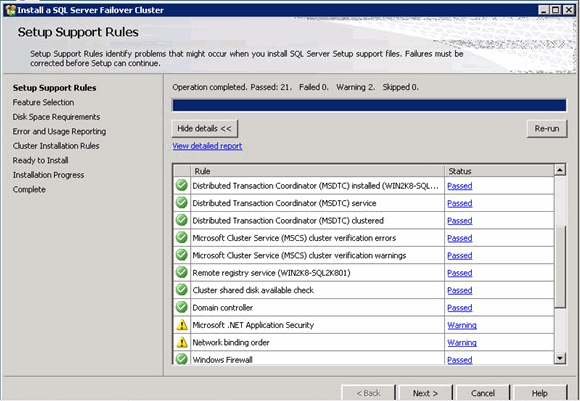
9. Click Install to setup support components. The Verification process should return successful results. If the setup returns a few warnings or failures make sure to fix them before proceeding with the installation.
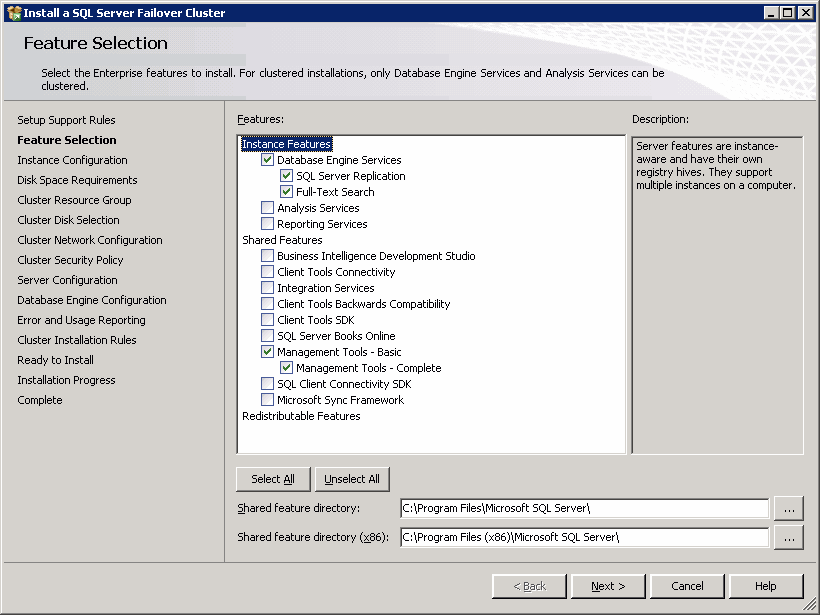
10. Select Database Engine Services and Management Tools - Complete from the features to Install.

Click Next to continue.

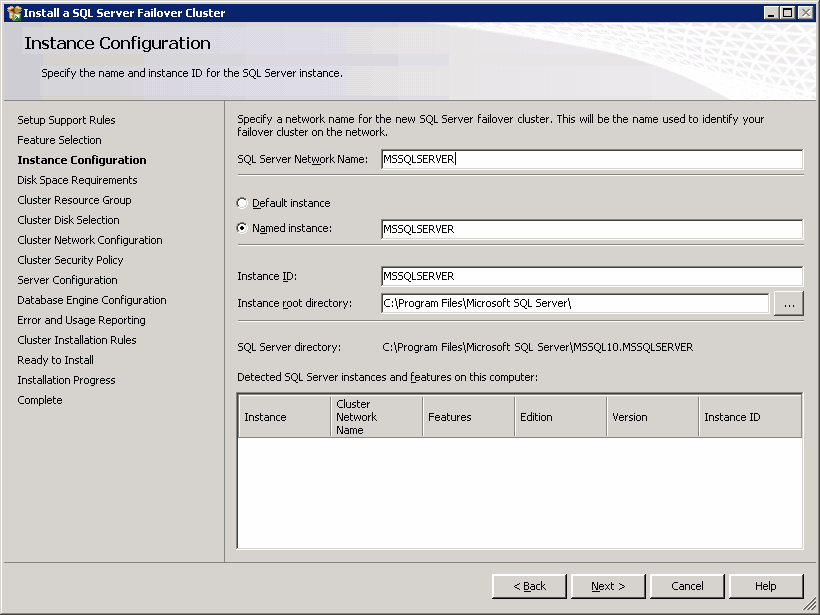
11. Perform the following:
  • Enter the SQL Server Network Name. This is the name that will be available on the network for the clients.
  • Click the Named Instance option.

    Enter BullCalypso as instance name.

Click Next to continue.
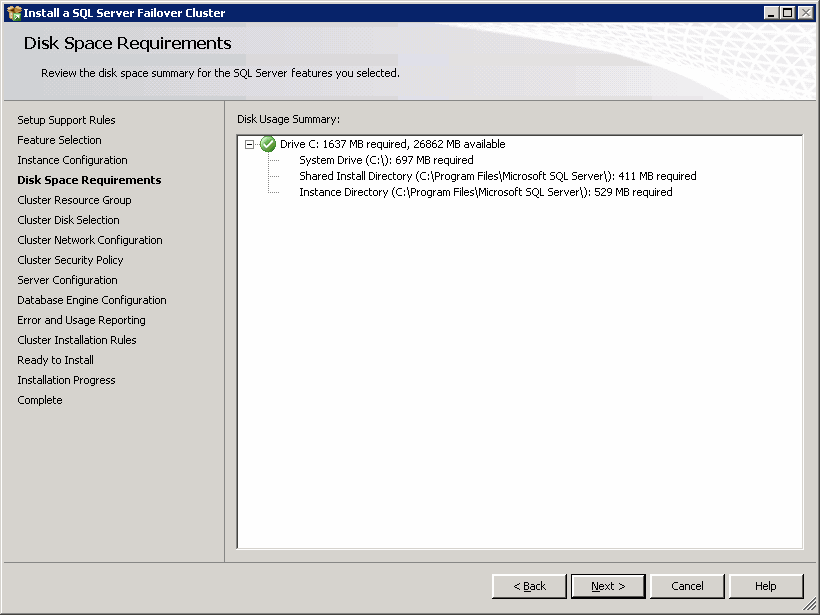
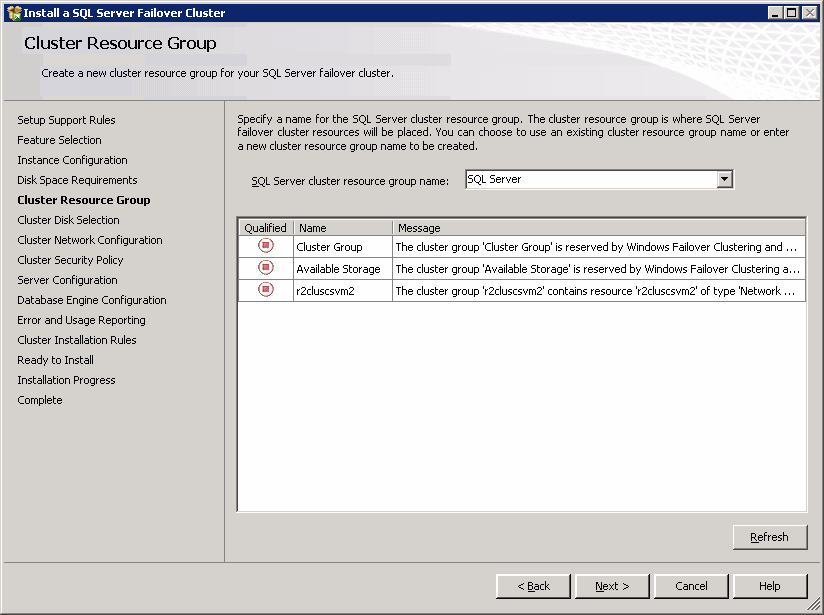
12. Review the disk space requirements and click Next to continue.
13. Click Next to continue.
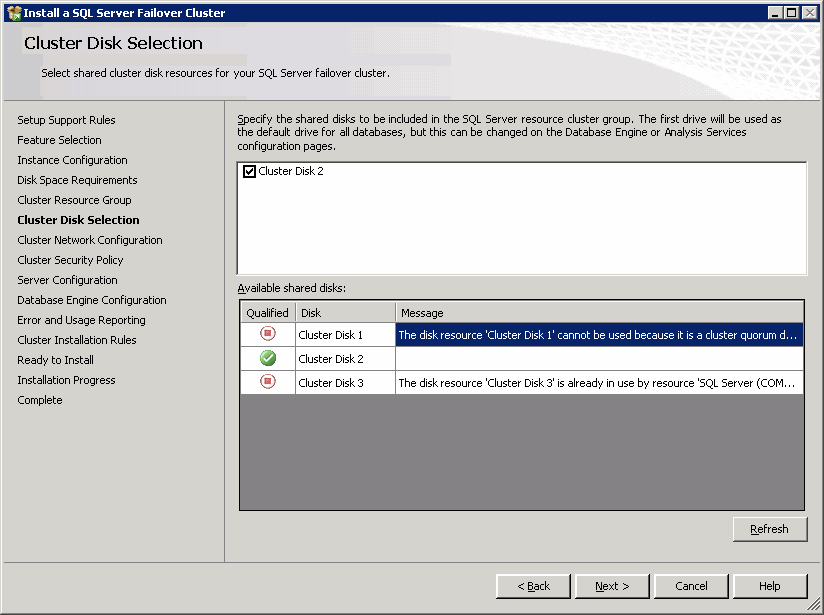
14. Specify the shared disks to be included in the SQL Server resource cluster group.

Click Next to continue.

15.
  • Select the IP Type to specify the network settings for this install.
  • Clear the DHCP option.
  • Enter IP address and Subnet Mask that your SQL Server 2008 cluster will use.

Click Next to continue.
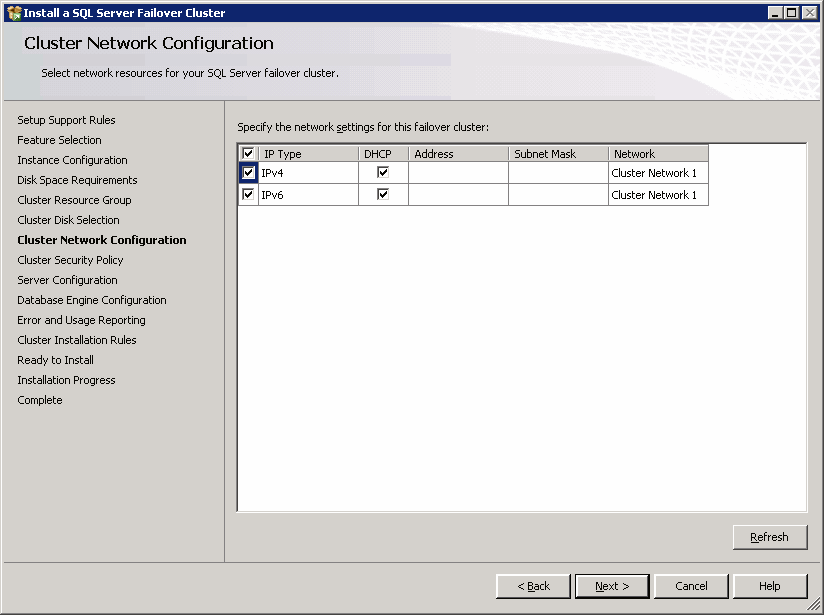
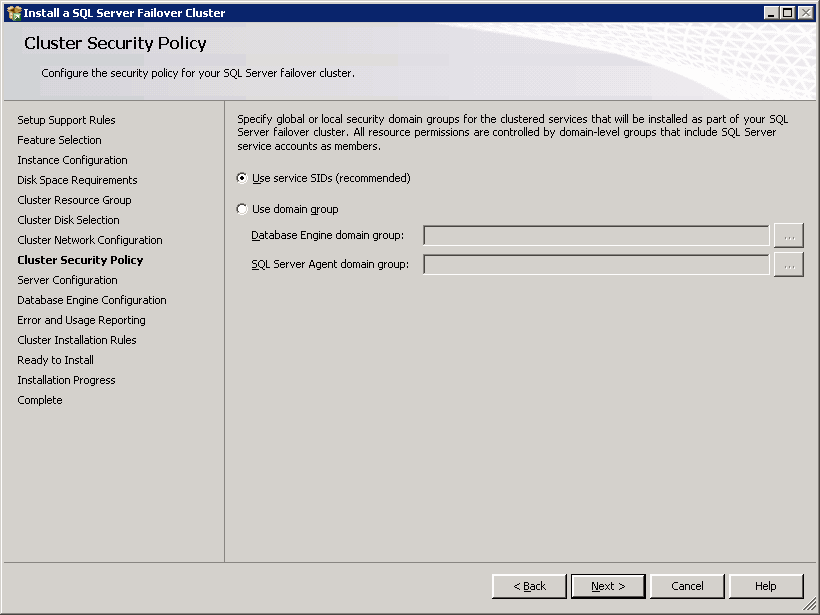
16. Accept the default value and click Next to continue.
17. Perform the following:
  • For the Services, enter the valid username and password in the Account Name and Password field that you will use for your SQL Server service account.
  • You can also click the Use the same account for all SQL Server services to use the same username and password for all the services.

    In the Use the same account for all SQL Server 2008 services dialog, enter a valid username and password.

  • Click the Collation tab, and set the collation of the TEMPDB to SQL_Latin1_General_CP1_CI_AS.

Click Next to continue.
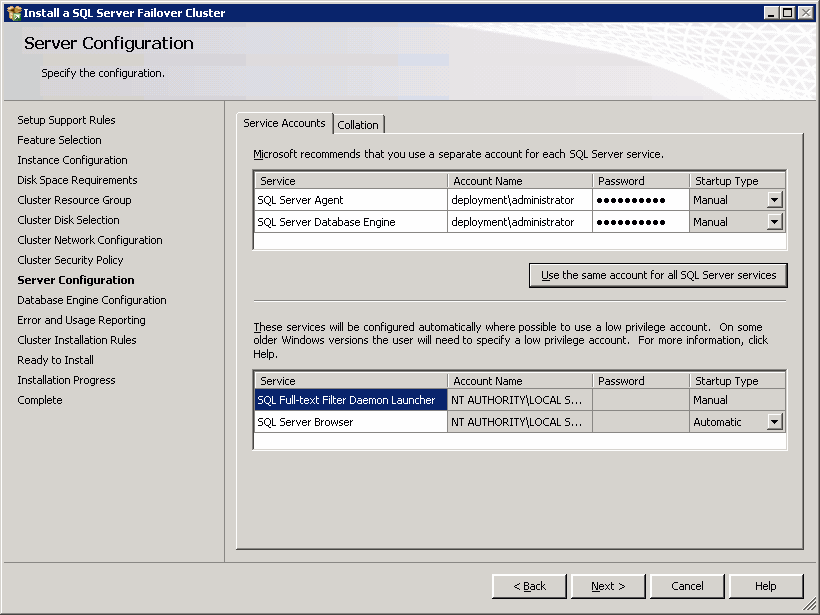
18.
  • For Account Provisioning tab:
    • Choose the Mixed Mode (Windows authentication and SQL Serve authentication) option.
    • Enter and confirm the password in the Enter Password and Confirm password boxes.
    • Click Add Current User button.
  • For Data Directories and FILESTREAM tab accept the default values.

Click Next to continue.
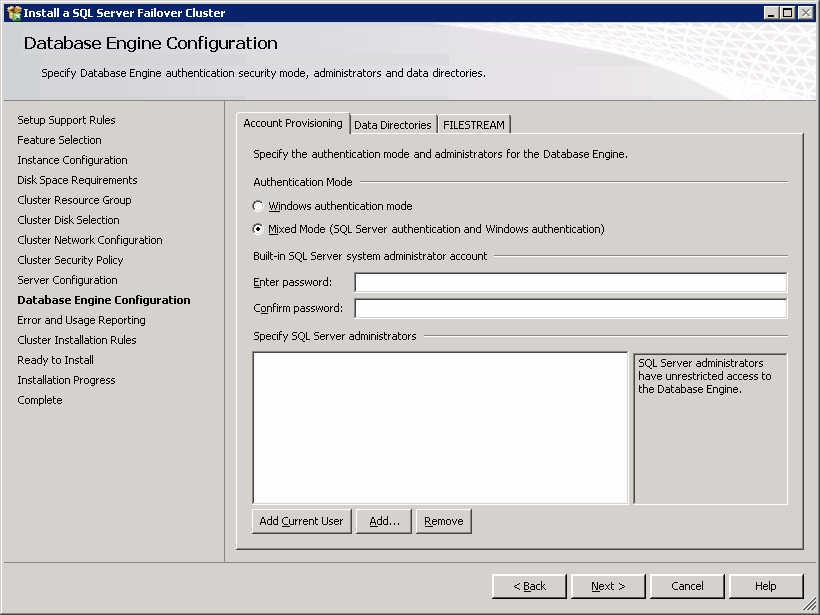
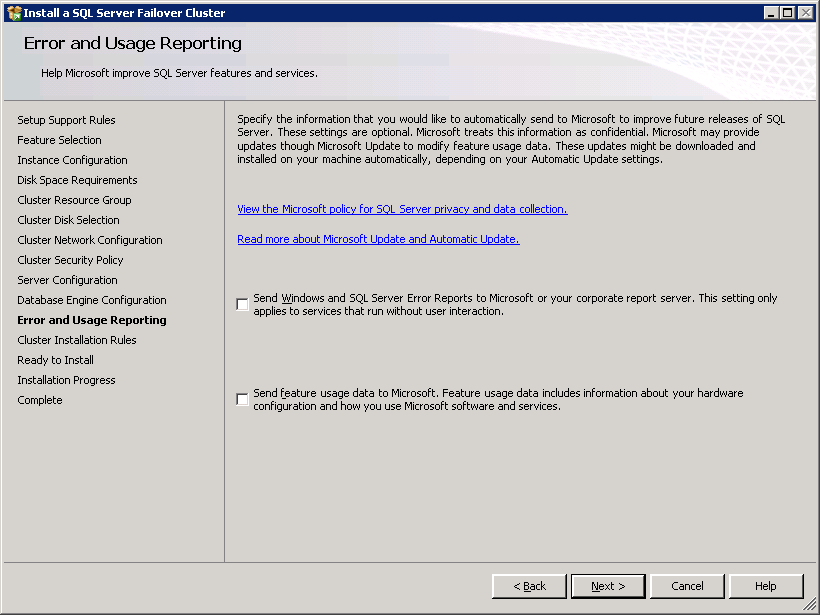
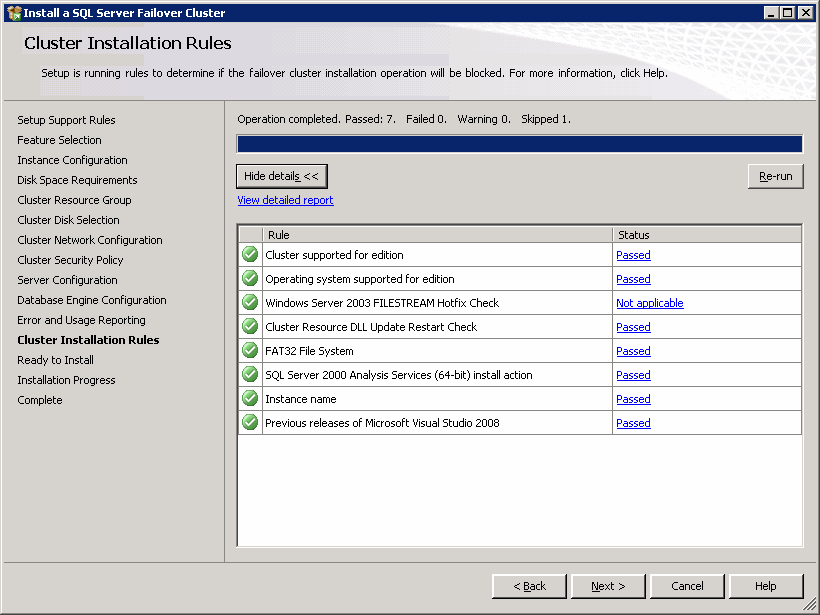
19. Click Next to continue.
20. Click Next to continue.
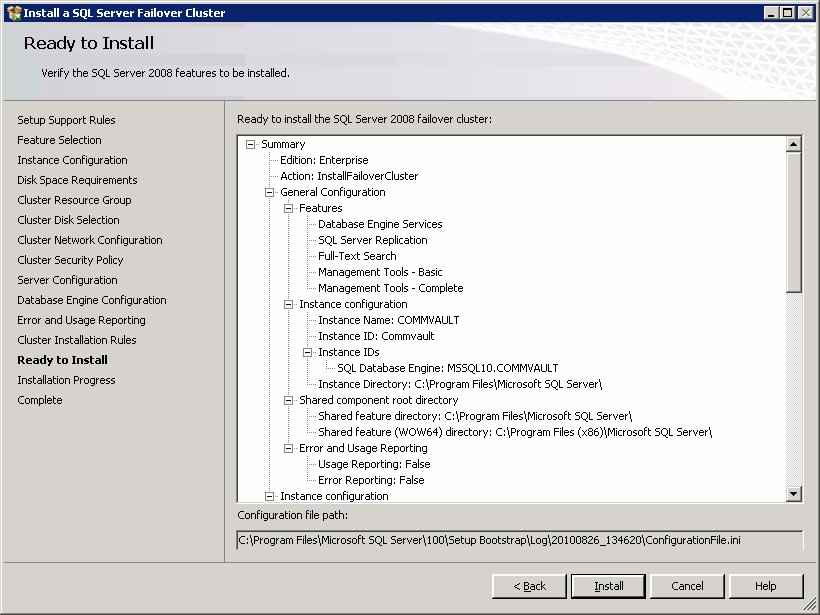
21. Click Install to continue.
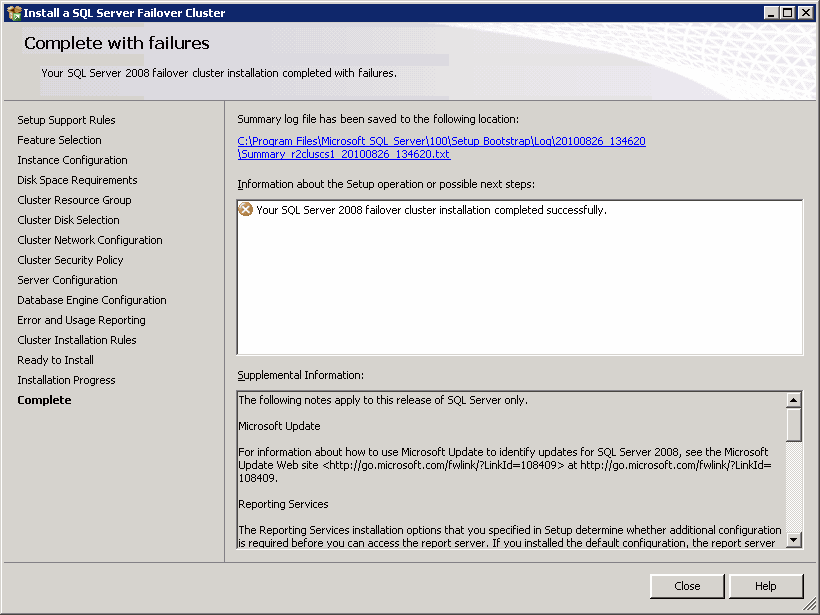
22. Click Close to exit.

Installing SQL Server Service Pack

1. From the appropriate Software Installation Disc run the following program:

\SQL2008\SQL_Enterprise_Edition\PCU\setup.exe

 
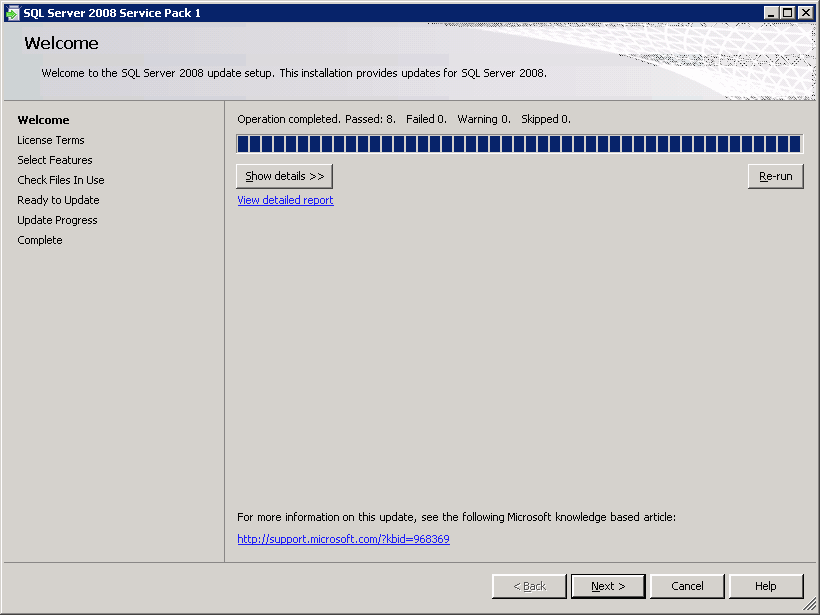
2. Click Next to continue.
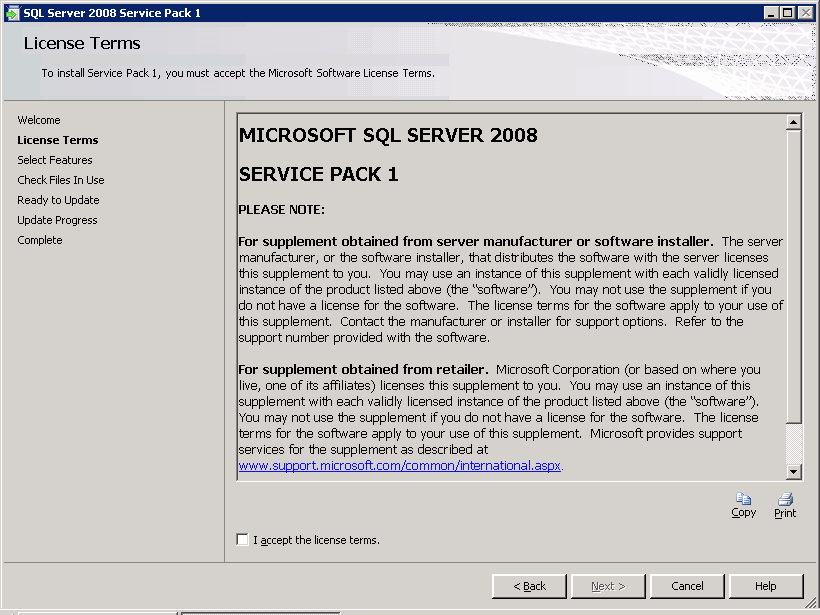
3. Click I accept the agreement and then click Next to continue.
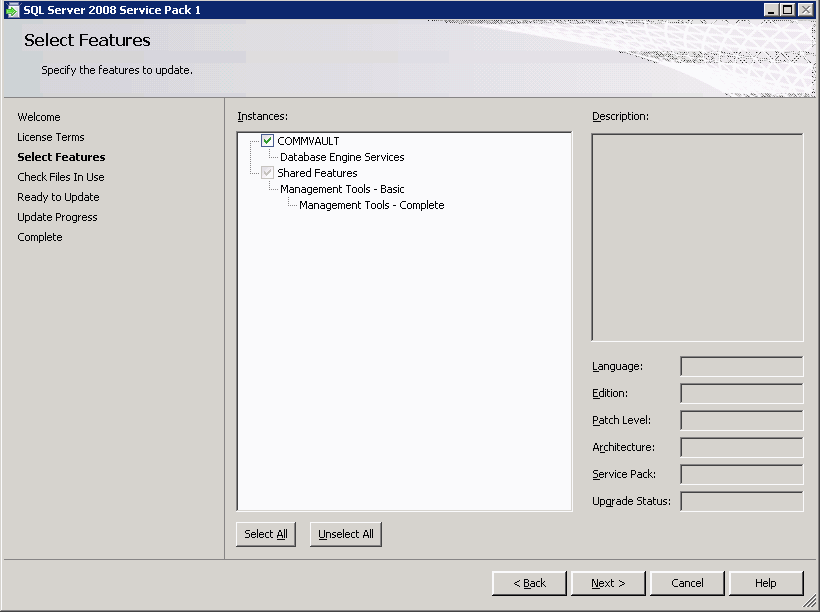
4. Select the features to update and click Next to continue.
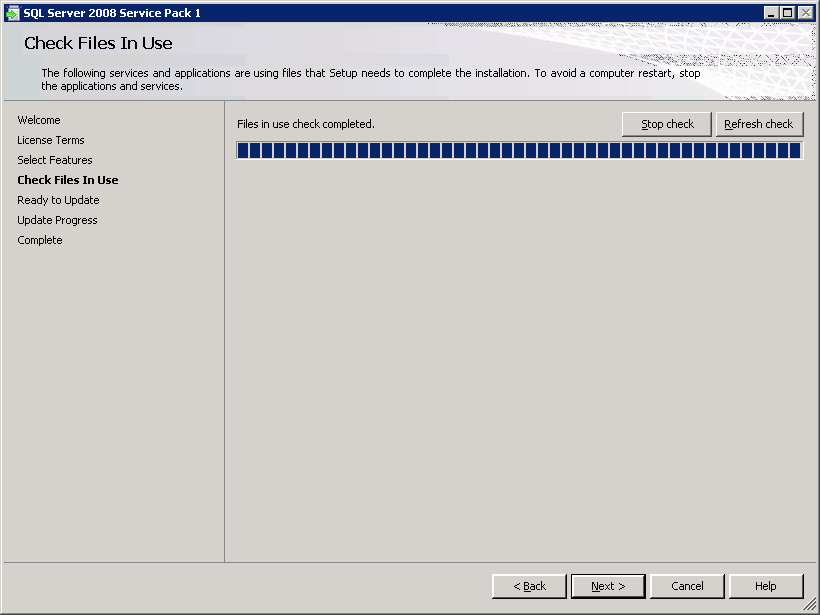
5. Click Next to continue.
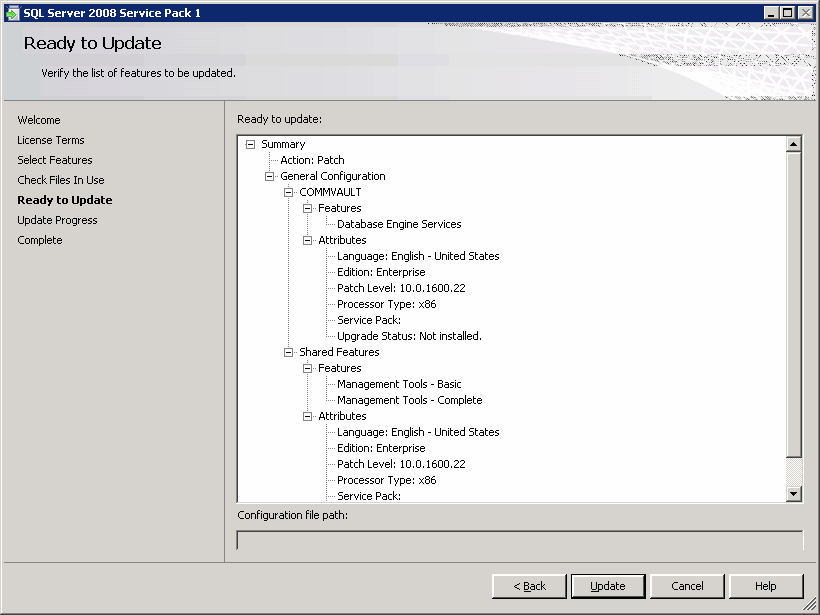
6. Verify that all the configurations are accurate and click Update to continue.
7. Click Next to continue.
8. Click Close to exit.