Before You Begin
- Make sure that the Centera Cluster information is added. See Add Centera Cluster Information for more information.
-
This feature requires a Feature License to be available in the CommServe® Server.
Review general license requirements included in License Administration. Also, View All Licenses provides step-by-step instructions on how to view the license information.
To configure a Centera cluster as a disk library
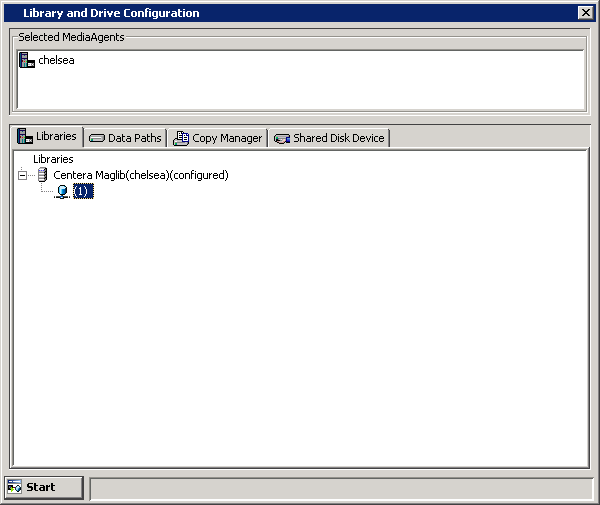
The disk library appears in the Library and Drive Configuration window with the configured status.