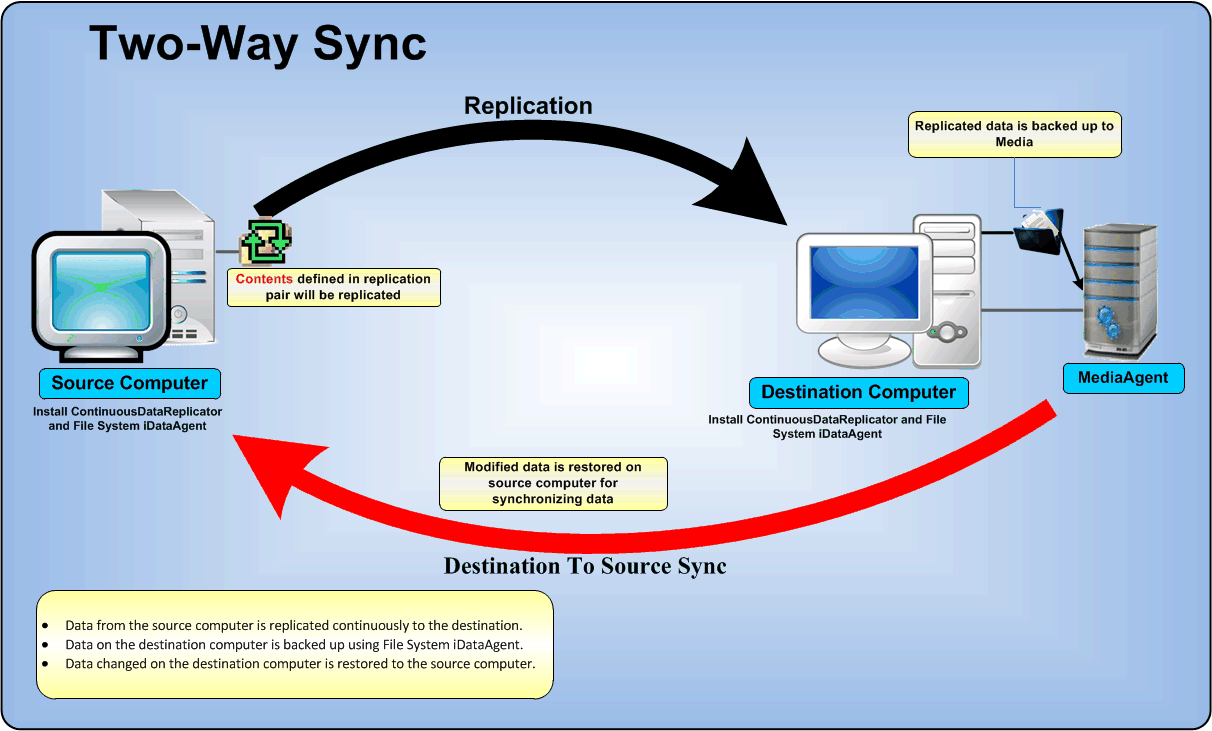
Configure Source To Destination Replication
Configure Destination To Source Sync
Schedule Destination to Source Sync
For
e.g., if the data is being replicated between the head office (source) and the
remote office (destination), the two-way sync will enable synchronization of
data modifications from the head office to the remote office using CDR and from
remote office to head office using the file system backup and restore.
Two-way sync works as follows:
Install ContinuousDataReplicator and File System iDataAgent on the source and destination computers.
Follow the procedure given below to configure two-way sync between the source and the destination computer.
|

 |
Use the following sections to configure the data sync from the destination to source computer.
|
 |
Add the following registry keys on the destination computer to filter Job Results directory from the backup.
Create a map file to be used for the restore operation. Map file is a
text file in the CSV (Command Separated Value) format and can be created
as follows:
|
Sample content of a map file.Unix"/swrlv1/export/Data","/UsbBigMag/export/Data" "/swrlv1/export/home","/UsbBigMag/export/home" "/swrlv1/export/project","/UsbBigMag/export/project" "/swrlv1/export/pub","/UsbBigMag/export/pub" Windows"C:\dir1\file1.txt","E:\dir2\file1.txt" |
||||||||||||||||||||
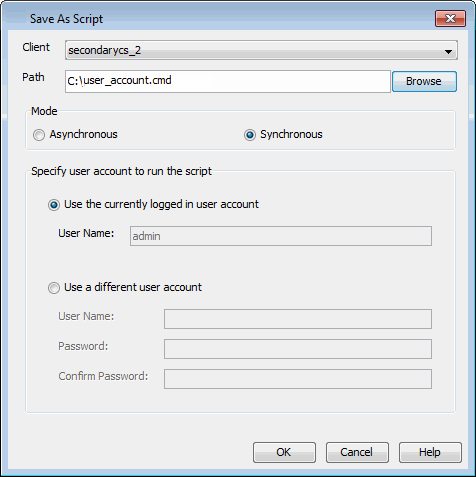
For performing the two-way sync operation, user account information is required to run the jobs.
Use the following steps to obtain the user account information:
|
 |
||
 |
|
Download Sample XML FileThe parameters that need to be changed in the provided XML file are
highlighted in the screenshot below: |
||
|
|||
The backups will now run as per the schedule and once the backup is complete, a restore by job operation will be triggered which will sync the data on the source computer. |
 |
