 The
document describes the process of setting up disaster recovery using the
SQL Server Database Mirroring. This process takes the advantage of SQL Server
automatic failover feature and is easy to
setup and manage.
The
document describes the process of setting up disaster recovery using the
SQL Server Database Mirroring. This process takes the advantage of SQL Server
automatic failover feature and is easy to
setup and manage.Switching the CommServe from Primary to Standby in Case of failures
Setting up an Email Alert to Monitor SQL Database Mirroring
The
document describes the process of setting up disaster recovery using the
SQL Server Database Mirroring. This process takes the advantage of SQL Server
automatic failover feature and is easy to
setup and manage.
This setup requires the following:
To install SQL Server Management Tools - Complete, navigate to <Software Installation Disc>\<CPU_Type>\<SQL_Version>\SQL_Enterprise_Edition\ and run Setup.exe.
The following section outlines the steps for setting up the SQL Server Database Mirroring and managing this setup.
Install and Setup |
||
Setup the Primary CommServe |
||
| 1. | Install the CommServe software on the primary CommServe
computer. The primary CommServe must be setup using the Dual IP license. (See Licensing and Disaster Recovery for more information.) Make sure that all updates are installed on the primary CommServe. |
See Deployment - CommServe for more information on installing the CommServe software. |
Setup the Standby CommServe |
||
| 2. | Install the CommServe software on the standby CommServe
computer.
|
See Deployment - CommServe for more information on installing the CommServe software |
| 3. | Stop all Services on the standby CommServe. You cannot have services running on both the primary and standby computers. |
See Stop Services on Windows for step-by-step instructions. |
Prepare the Database for Mirroring |
||
| 4. | Set the SQL Server services to run using an account
that has administrative permissions on the primary and standby
CommServe. Perform the following steps in both the primary and standby CommServe to change the user account:
|
|
| 5. | Verify that the database uses the Full Recovery model. Perform the following steps to modify the recovery model of a database:
|
 |
| 6. | Perform the following steps to back up the primary
CommServe database to a full database backup:
|
 |
| 7. | Perform the following steps to do a Transaction Log
backup of the SQL database in the primary CommServe:
|
|
| 8. | Copy the backup dump file(s) created in Step 6 and Step 7 to
Standby CommServe using any of the following method:
|
|
| 9. | Perform the following steps to restore the full
database to the Standby CommServe:
|
 |
| 10. | Perform the following steps to restore the Transaction
log to the Standby CommServe:
|
|
Setup the Database Mirroring |
||
| 11. | Perform the following steps on Primary CommServe
database to setup the database mirroring:
|
 |
| 12. | Click Next to configure database mirroring. |
 |
| 13. | Select No to witness
server instance. Click Next to continue. |
 |
| 14. | Ensure that the Principal server instance is primary
CommServe name. Click Next to continue. |
 |
| 15. | Click Connect on the Mirror Server Instance.
Connect to Server window appears, provide the destination server information and click Connect. Click Next to continue. |
 |
| 16. | Ensure that the Service Accounts remain
empty.
Click Next to continue. |
 |
| 17. | Click Finish. |
 |
| 18. | For Specified database mirroring configuration setting, click Do Not Start Mirroring. |
 |
| 19. | Select preferred option for Operating mode:
|
 |
| 20. | Select Start Mirroring to begin mirroring. Once you select Start Mirroring, the primary CommServe gets connected with Standby CommServe. Depending upon the Operating mode the transaction logs are copied and replayed in real time on Standby CommServe. |
|
Switching the CommServe from Primary to Standby in Case of failures |
||
| 1. |
If the primary CommServe is inactive, and the operating mode of the
database is in asynchronous state or in a synchronous state without automatic failover, make the database available by forcing service to fail over to the
standby CommServe. Execute the following command on standby CommServe in SQL Query Analyzer: ALTER DATABASE CommServ SET PARTNER FORCE_SERVICE_ALLOW_DATA_LOSS |
To execute the command open SQL Query Analyzer as follows:
|
|
If the primary CommServe is active and the operating mode of the
database is in synchronous state, you can initiate manual
failover to the standby CommServe by executing the command on Primary
CommServe. Execute the following command on primary CommServe in SQL Query Analyzer: ALTER DATABASE CommServ SET PARTNER FAILOVER |
To execute the command open SQL Query Analyzer as follows:
|
|
| 2. | Make sure that all the post-release updates or Service Packs that may have been released after the release of the software installed in the primary CommServe are also installed on the standby CommServe. | See Automatic Updates for more information on installing the latest service pack. |
| 3. | In the standby CommServe, use the Name Management
option from the Control Panel to switch the CommServe name from the
primary to the standby CommServe. Alternatively, you can update the DNS entry to change IP address of the primary computer to point to the standby computer, and then use the ipconfig /flushdns command to update the clients of the CommServe name change. |
See Informing Clients of CommServe Name Change for set-by-step instructions to inform the clients of the CommServe change. |
| 4. | Install the other software components, e.g., iDataAgents, MediaAgents, etc., on the standby CommServe. | See Installation for more information on installing the components. |
In a disaster recovery setup where the SQL Server Database Mirroring process is used, it is recommended to configure an alert which will notify the user when any of the participating mirrored servers, either the Primary or Standby server, undergo a state change. For example, from the synchronized state to a suspended or disconnected state.
This alert will allow you to monitor the Database Mirroring process for any mirrored database that is found in an abnormal state. To setup the alert, follow the steps described in the sections below:
This section provides the steps to create a mail profile and associate it with a SMTP account. Skip this section if you already have a Database Mail profile configured.
This section provides the steps to configure the alert job for monitoring the mirrored servers.
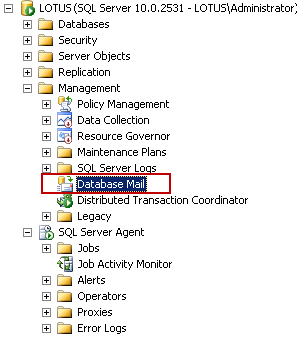
| 1. |
On the Primary server, open the Microsoft SQL Server Management Studio. Navigate to <Server Instance> | Management and double-click Database Mail. |
 |
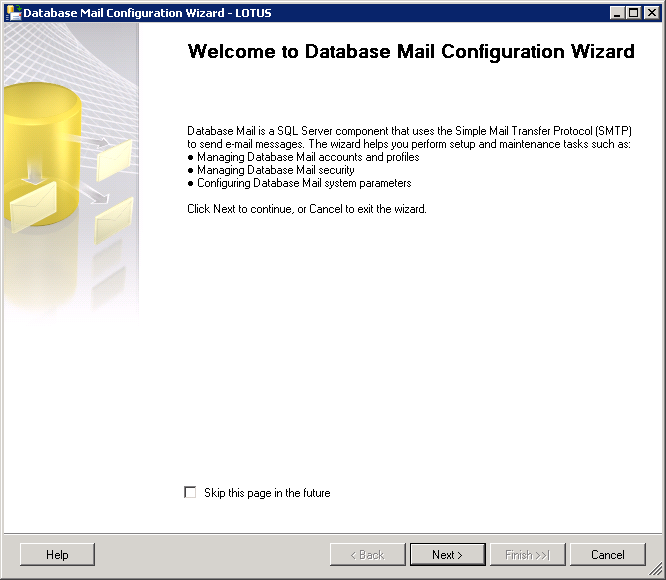
| 2. | Click Next. |
 |
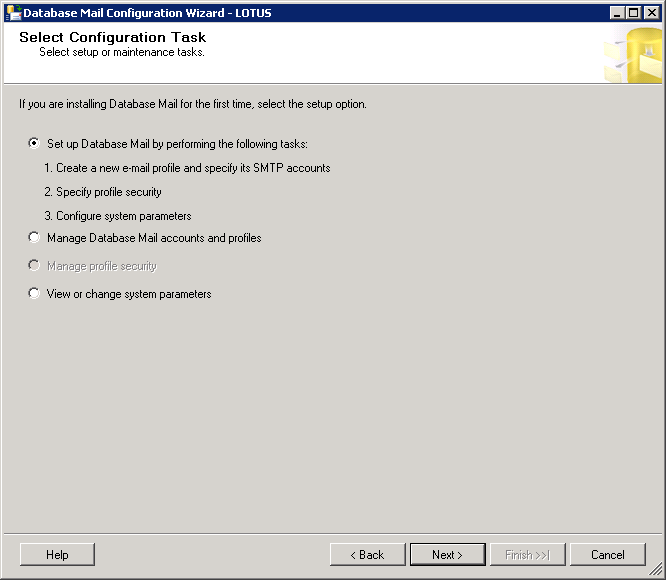
| 3. | The setup option is selected by default. Click Next. |
 |
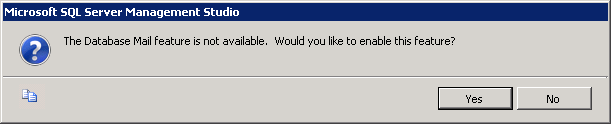
| If the Database Mail feature is not enabled, click Yes to enable it. |
 |
|
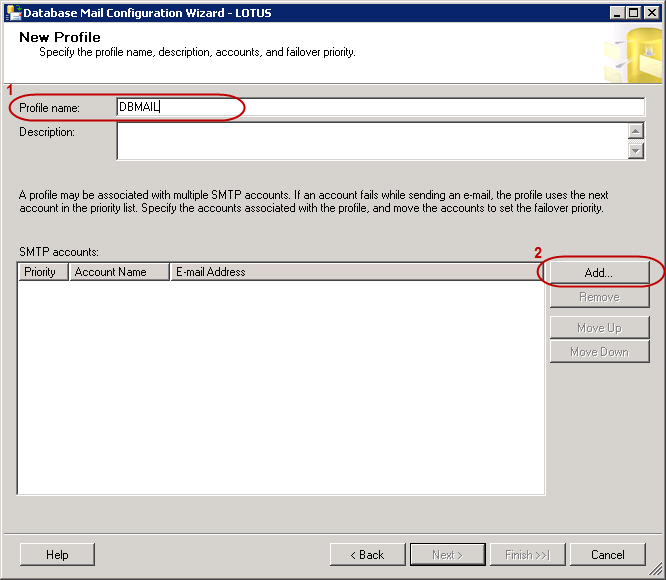
| 4. |
Specify the profile name for the database mail in the Profile
name box. Click Add to specify the SMTP account to be associated with the profile.
|
 |
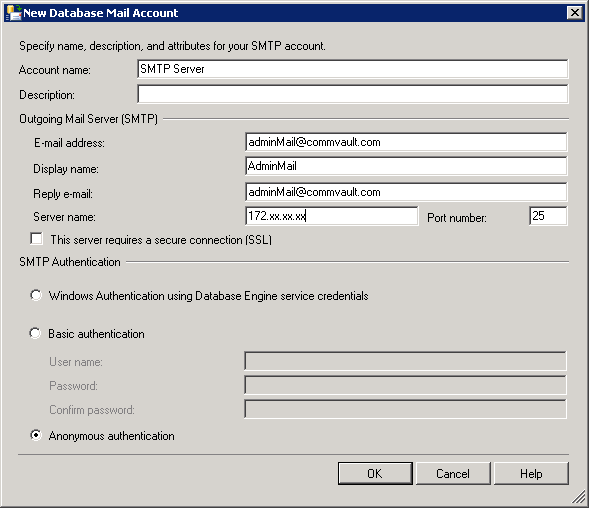
| 5. |
Enter the credentials for the SMTP Server as appropriate to your
environment. Click OK. |
 |
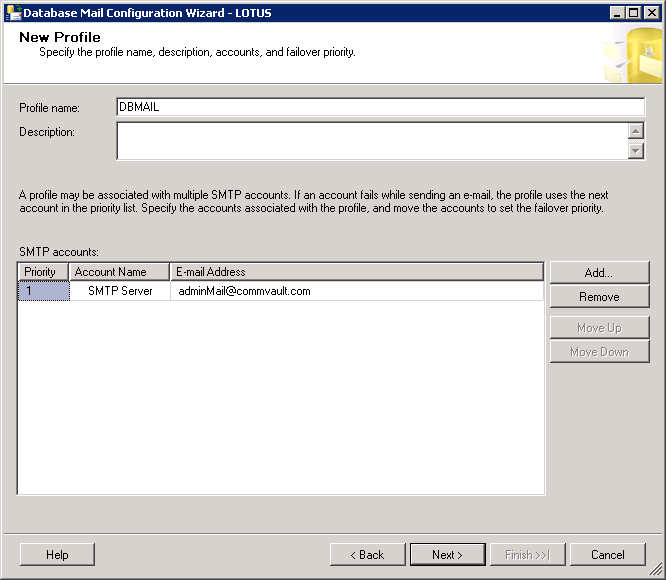
| 6. | Click Next. |
 |
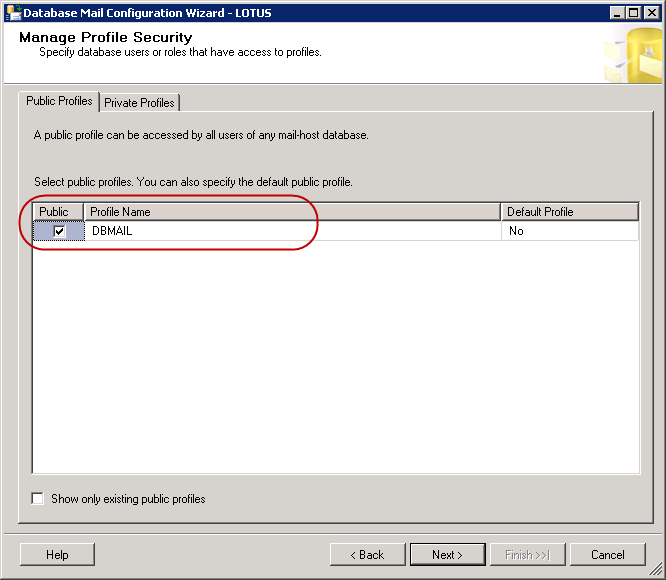
| 7. | Select the profile name that you specified and then click Next. |
 |
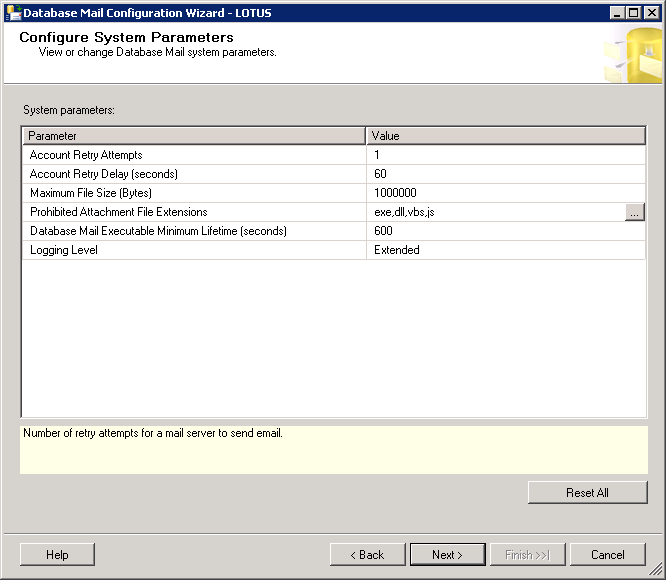
| 8. | Click Next. |
 |
| 9. | Click Finish. |
 |
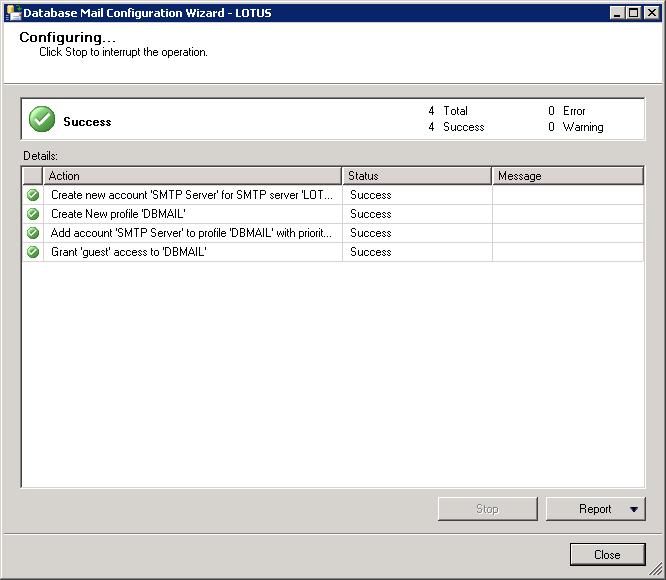
| 10. |
When the Database Mail profile is successfully configured, you will
see the image below. Click Close. |
 |
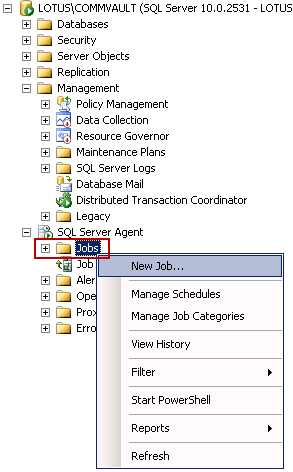
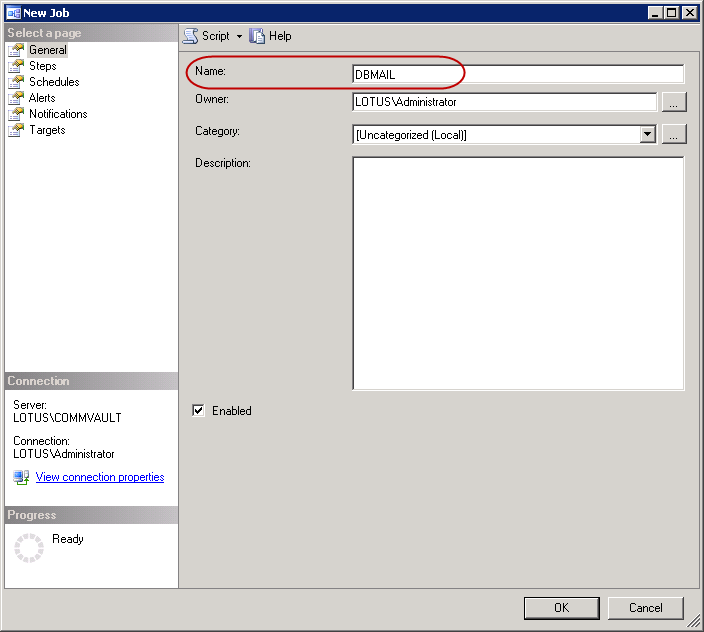
| 1. |
On the Primary server, open the Microsoft SQL Server Management Studio
and navigate to <Server Instance> | SQL Server
Agent. Right-click Jobs and click New Job....
|
 |
||
| 2. | Specify the name of the Database Mail profile created for the DB mirroring alert in the Name box. |
 |
||
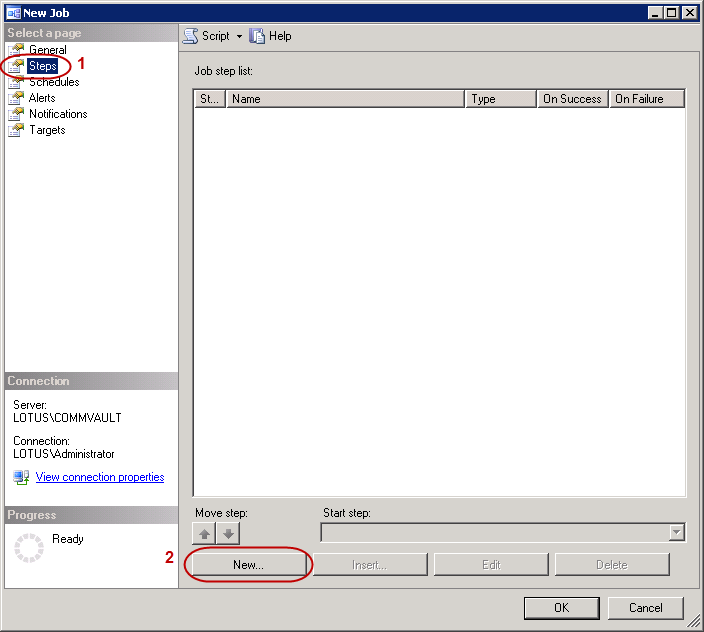
| 3. | Click Steps on the left pane, and then click the New button. |
 |
||
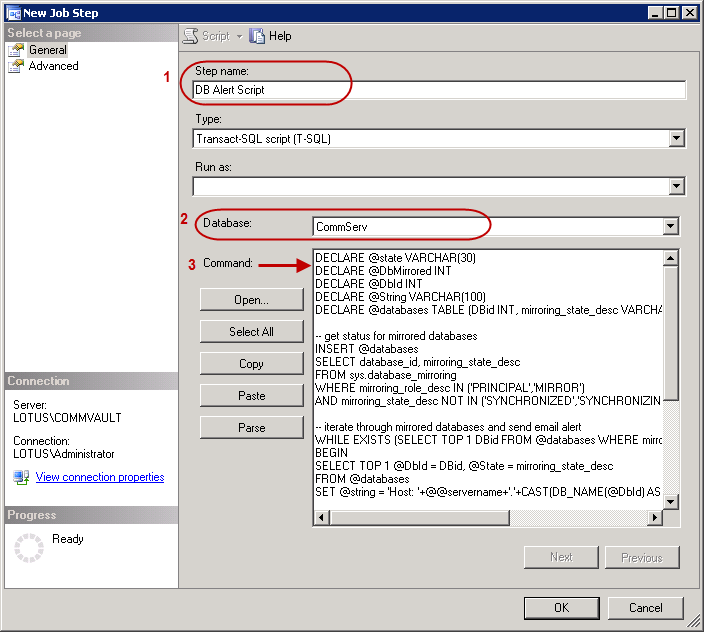
| 4. |
Specify the name of the step in the Step name box e.g., 'DB
Alert Script'. Select the database name from the Database list e.g., CommServ. Copy and paste the SQL script provided below in the Command box and then click OK.
|
 |
||
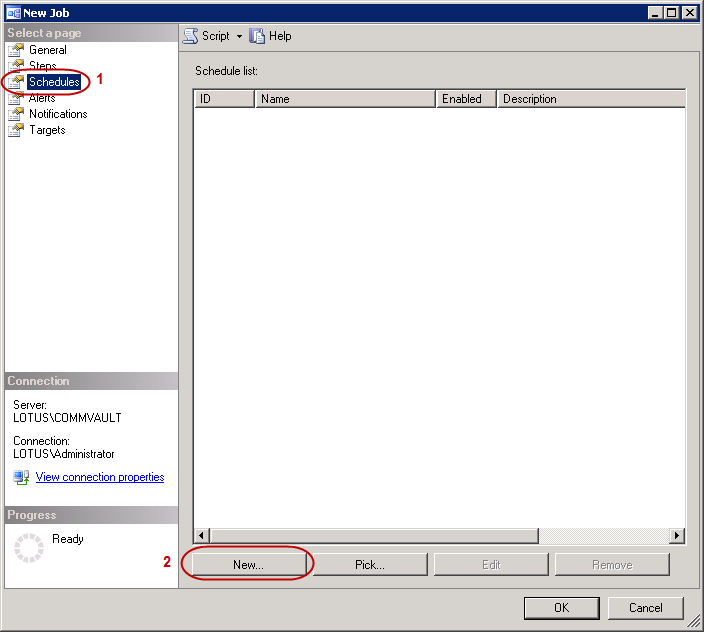
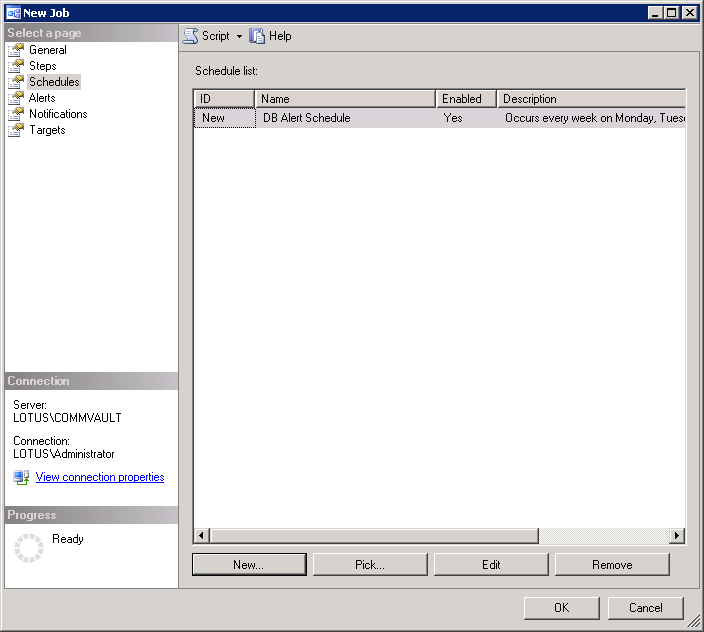
| 5. | Click Schedules on the left pane, and then click the New button. |
 |
||
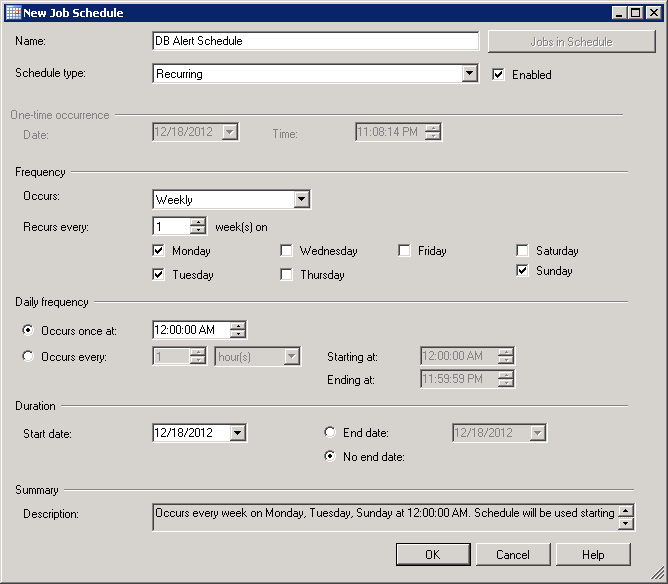
| 6. |
Specify a name for the schedule in the Name box and then
configure the schedule frequency as per your needs. For example, you can
select to run the schedule once every Sunday, Monday and Tuesday, as
shown in the image below. Click OK.
|
 |
||
| 7. |
Click OK. The alert for monitoring Database Mirroring is now created. |
 |