HDS Data Retention Utility (DRU) - Configure

Topics | Configure | How To | Related Topics


Configure HDS DRU as a Disk Library

The following procedure describes the steps involved in configuring a HDS DRU as a disk library.

Before You Begin

  • The following software must be installed  and the disk configured on the MediaAgent computer in which the DRU is configured:

    • HDS HiCommand Device Manager Server version 4.0 must be installed, configured and set up on any one of the network machine which can see the Storage Array subsystem. Refer to HDS HiCommand Device Manager Documentation for further configuration information.
    • The array be discovered and added to HDS HiCommand Device Manager Server
    • CIMOM feature of HiCommand Device Manager must be activated by modifying the configuration files on HiCommand Server. See documentation of HiCommand for further configuration information.
  • This feature requires a Feature License to be available in the CommServe® Server.

    Review general license requirements included in License Administration. Also, View All Licenses provides step-by-step instructions on how to view the license information.

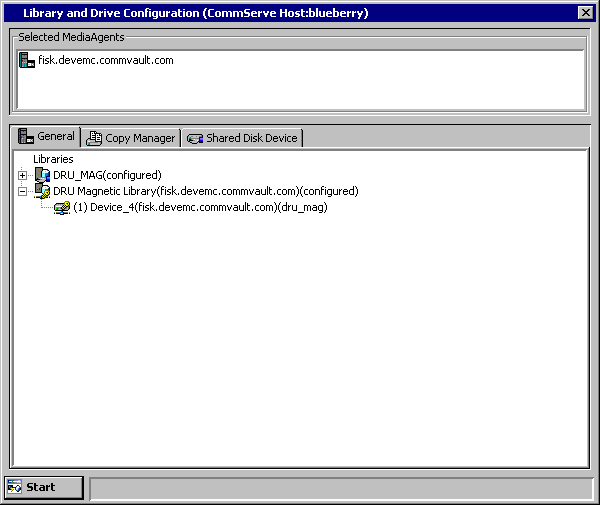
To configure a HDS DRU as Disk Library

1. Display the Library and Drive Configuration window.
2. Click the Shared Disk Device tab.
3. Click the Start menu, select Volume Explorer.
4. Click Yes in the Volume Explorer prompt warning you that the Volume Explorer is for advanced viewers.
5. From the Hosts pane, right-click the MediaAgent in which you wish to configure the device, and then click Detect.

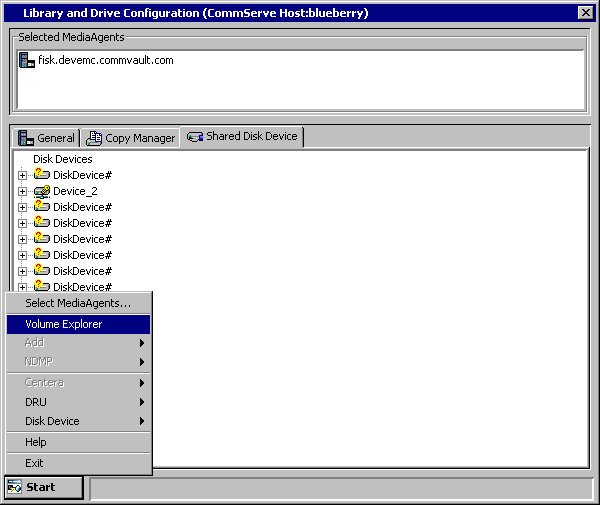
The disk volumes attached to the MediaAgent are displayed in the Volumes pane.

6. From the Library and Drive Configuration window, click the General tab.

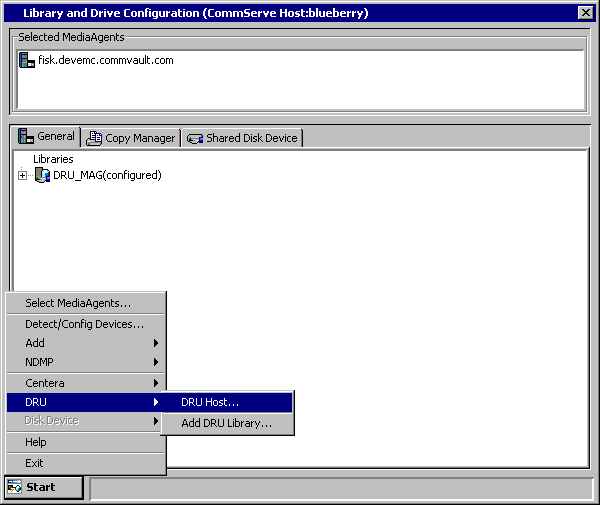
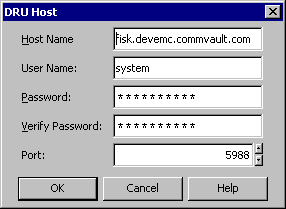
Click the Start menu, select DRU, and then select DRU Host.
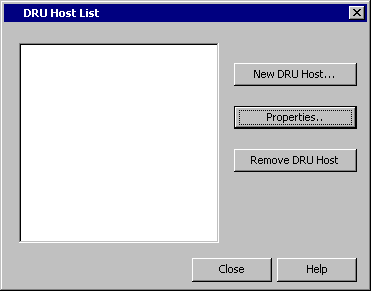
7. Click the New DRU Host button.
8. Enter the Host name, User name, Password and Port information and then click OK.
  The device is displayed in the DRU Host List.

Click Close.

9. From the Library and Drive Configuration window, click the Shared Disk Device tab.

All the detected volumes will be displayed.

10. Right-click the Device that you wish to configure and then click Configure.
11. Click Yes in the Confirm Configure prompt.
Always configure the volumes from the Disk Device. Do not individually configure the volumes.
12. Right-click the device and then click Properties. In the Disk Device Properties window, select the DRU Host. (This is the DRU Host that was added in step 8.)
  The DRU HOST is displayed.
13. From the General tab of the Library and Drive Configuration window, click the Start menu, select DRU, then choose Add DRU Library.
14. In the Add Disk Library dialog box, enter the following:

Alias: A descriptive name for the disk library.

Low Watermark: The minimum amount of free space at which a low watermark warning should be generated for the library.

Automatically create storage policy for new Datapaths: Clear this option if you do not want the system to automatically create a new storage policy when a mount path is added subsequently.

Click OK.

15. In the DRU Mount Path dialog box, select the disk device that you wish to associate as the mount path from the Disk Device list.

In the Base Folder box, type the name of the base folder under which the mount path can store data. Do not include the drive letter while adding the name of the base folder.

Click OK.

  The disk is created as a disk library.