Move a Library to Another MediaAgent Without Data Loss
In some situations you may have the need to move a library from one
MediaAgent to another due to re-configuration or other requirements.
The following procedure provides step-by-step instructions on how to perform
this operation.
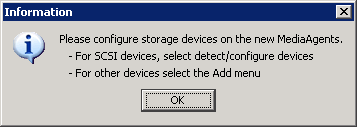
Detach the library and attach it to the new MediaAgent and make sure
that the hardware is visible to the operating system. See
Driver Configurations
for more information.
If necessary run a quick backup to verify that the devices are
functioning correctly.
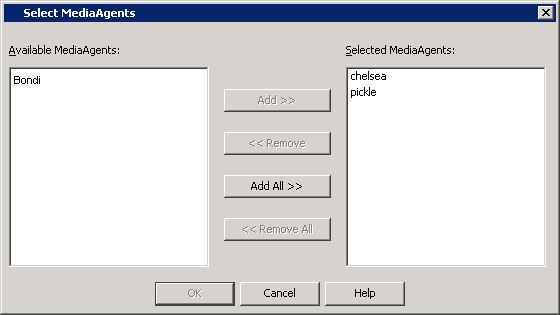
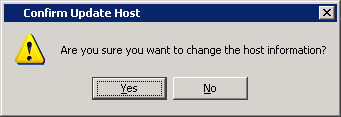
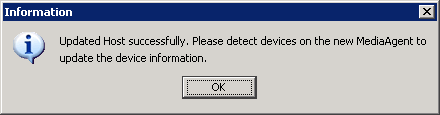
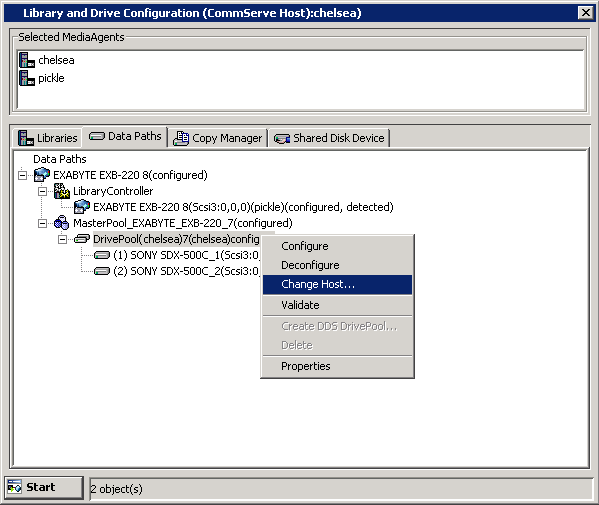
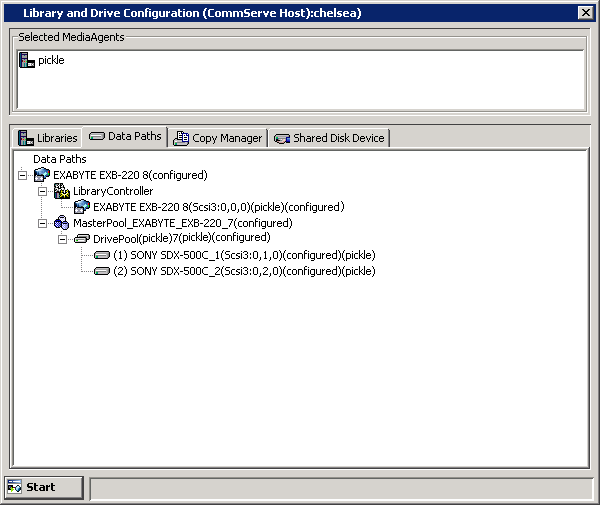
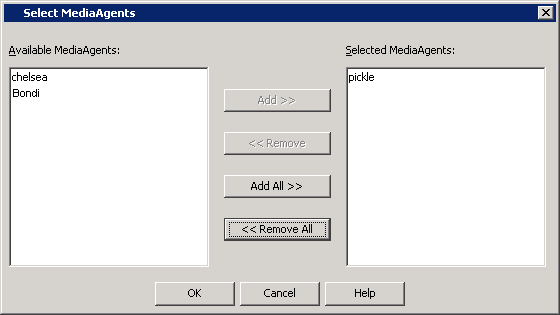
Change the MediaAgent (Host) Associated with a Library
The following procedure outlines the steps involved in changing the
MediaAgent associated with a library. Use this procedure when you attach the
library to a different MediaAgent
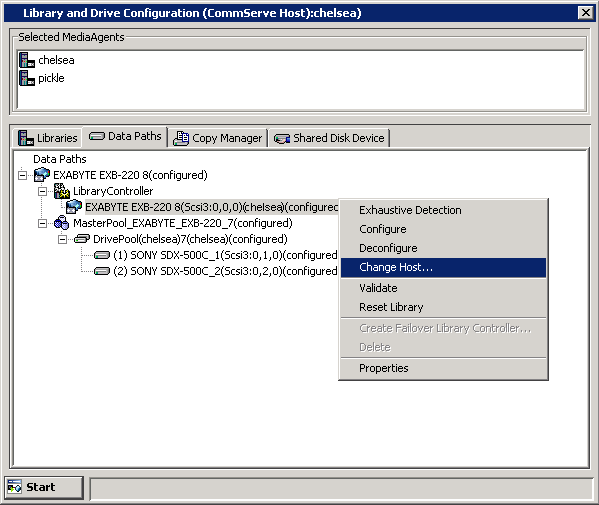
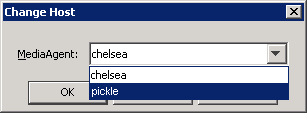
To change the MediaAgent associated with a library
1.
Detach the library from the old MediaAgent computer and attach it to the
new MediaAgent computer.
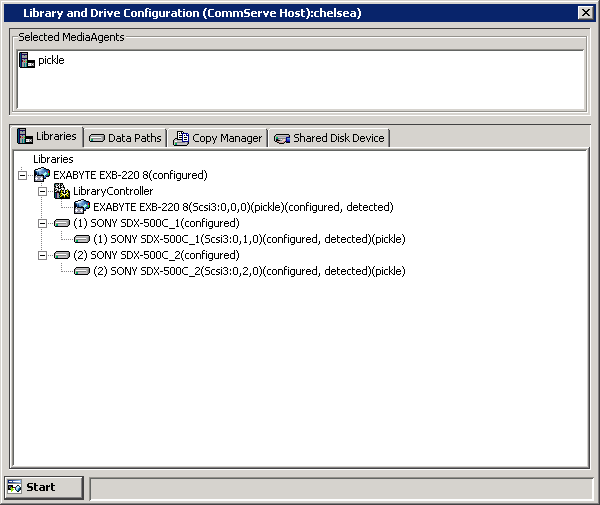
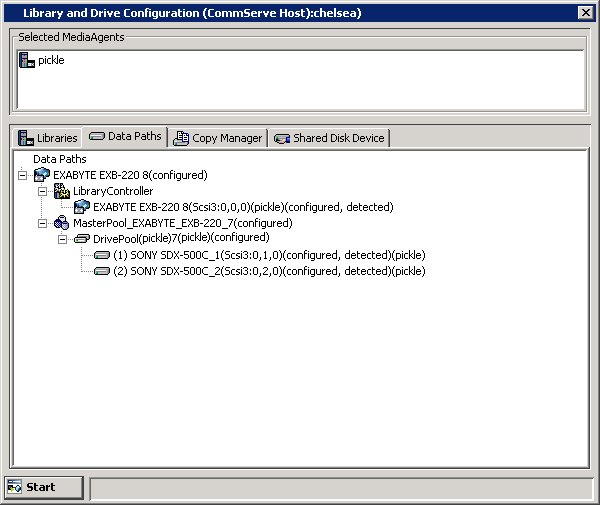
2.
Check and verify that the library and drives are visible to the operating
system in the new MediaAgent computer.
For a more detailed explanation
on verifying the driver configurations, see
Driver Configurations.