

|
|
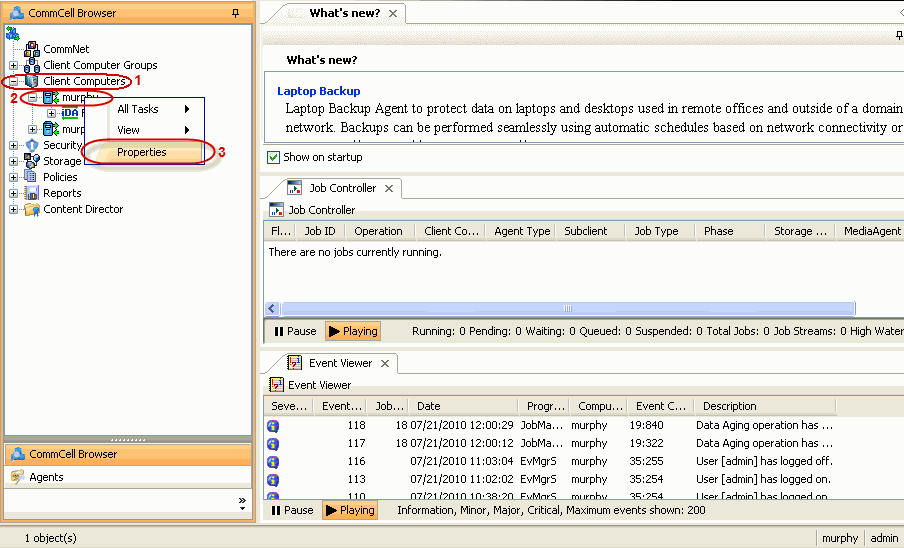
Once the Virtual Server iDataAgent has been installed, configure an Instance, a Backup Set and a Subclient to facilitate backups. The following sections provide the necessary steps required to create and configure these components for a first SnapProtect backup of a Virtual Center.
| 1. |
|
 |
| 2. |
|
 |
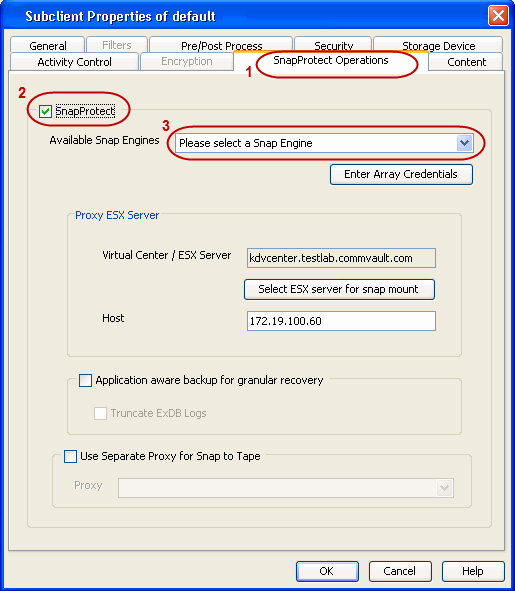
| 3. |
|
 |
||
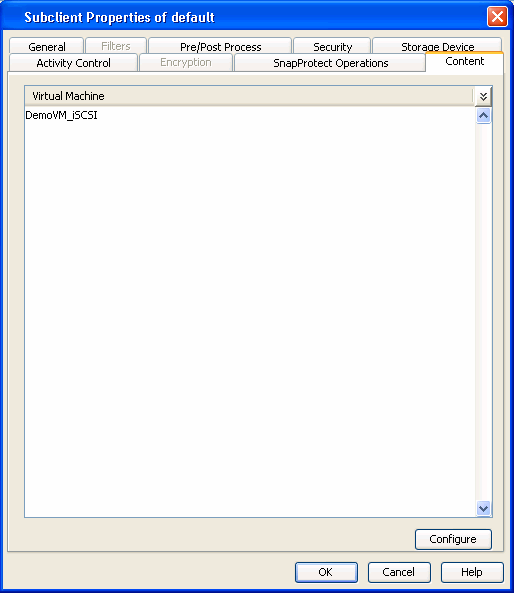
| 4. |
|
 |
||
| 5. |
|
 |
||
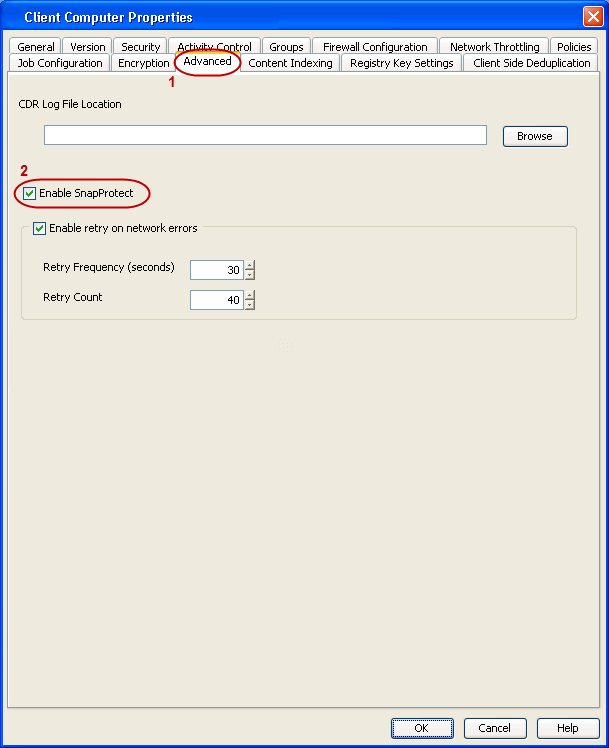
| 6. | Click OK to save the instance. |
|
||
| 7. |
|
 |
||
| 8. |
|
 |
||
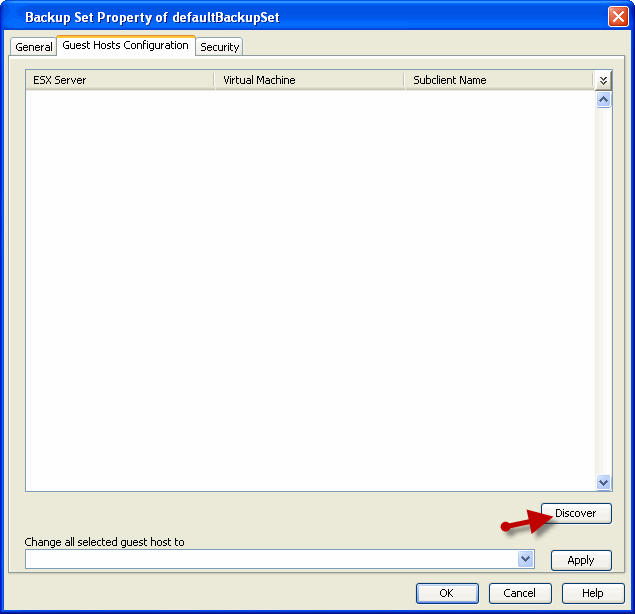
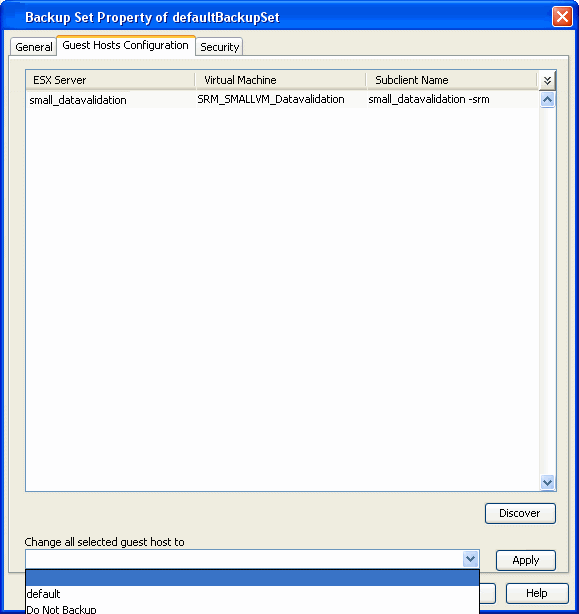
| 9. |
Click Discover on the Guest Hosts Configuration tab. The discovery process might take several minutes to complete. |
 |
||
| 10. |
|
 |
||
| 11. |
|
 |
||
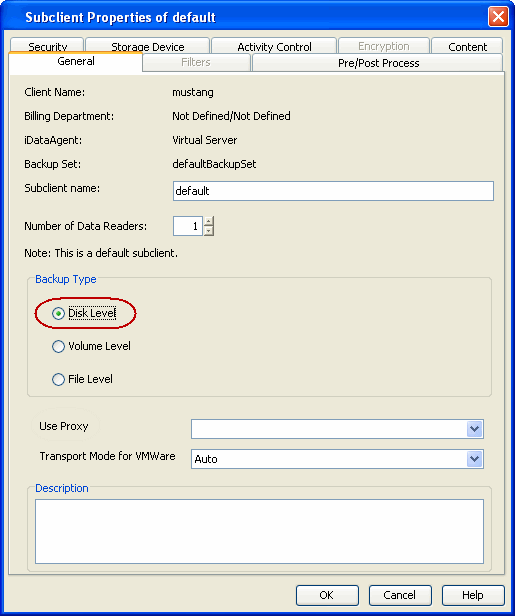
| 12. | Ensure Disk-Level from Backup Types is selected. |
 |
||
| 13. |
|
 |
||
| 14. |
|
 |
||
| 15. |
|
 |
Skip this section if you already created a snapshot copy.
Click to Continue.
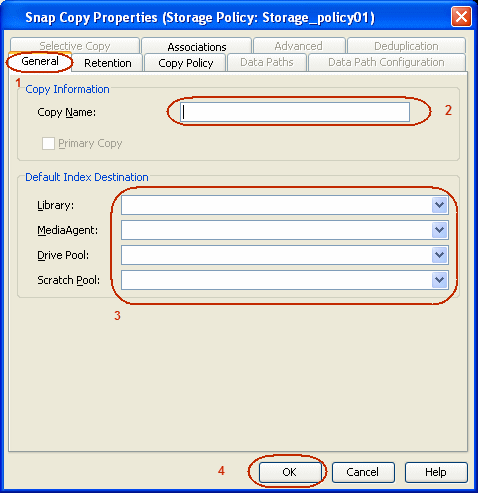
Create a Snapshot Copy |
|
Create a snapshot copy for the Storage Policy. The following section provides step-by-step instructions for creating a Snapshot Copy.
| 1. |
|
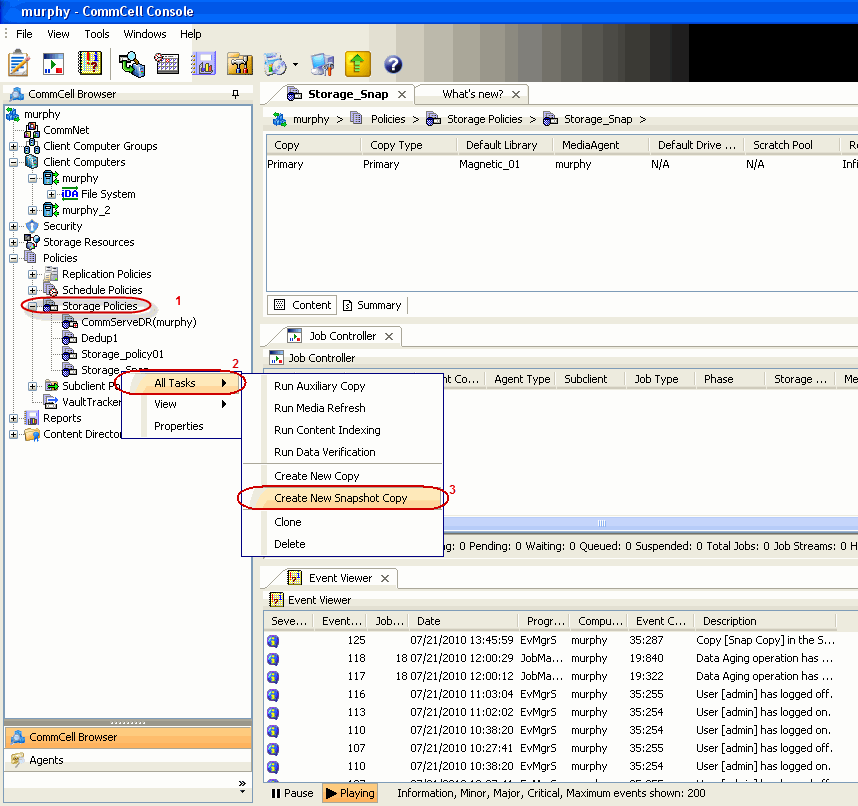 |
| 2. |
|
 |
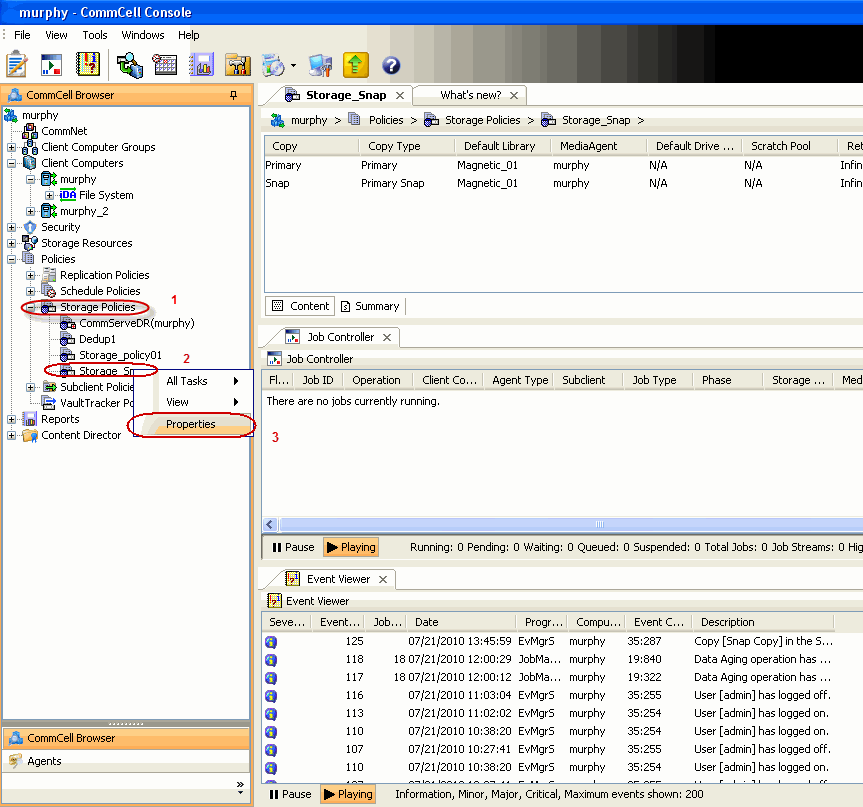
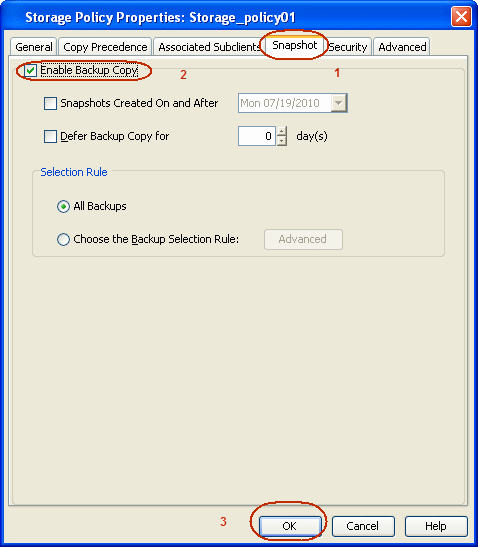
Follow the steps given below to configure Backup Copy for moving snapshots to media.
| 1. |
|
 |
| 2. |
|
 |
|
|