From the Nimble storage array console, ensure that the Access Control
Entry for the client initiator group is set to Volume and
Snapshots.
In case you are using a proxy computer for SnapProtect
operations, add the initiator group for the proxy computer and set
the Access Control Entry to Snapshots Only.
Ensure that a temporary LUN is allocated to all ESX Servers that
are used for snapshot operations.
Setup the Array Information
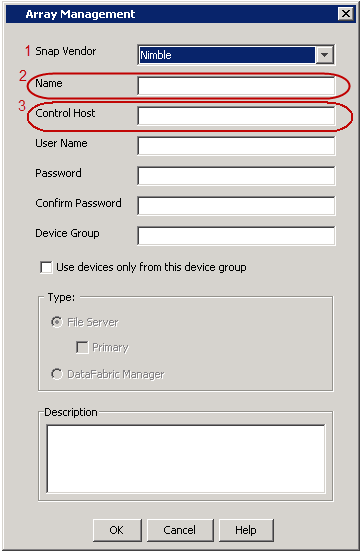
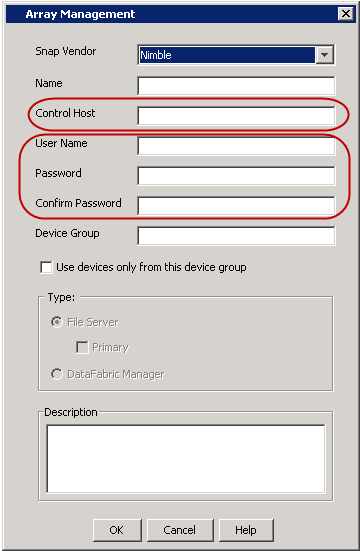
Provide the identification information for the array to ensure access. The
following section provides step-by-step instructions for setting the array
information.
1.
From the CommCell Console, navigate to Tools |
Control Panel.
Click Array Management.
2.
Click Add.
3.
Select Nimble from the Snap Vendor list.
Specify the Data IP Address of the array in the Name field.
If you have more than one Data IP Address
configured, you will need to add the array information for each
of the configured Data IP addresses.
Enter the
Management IP Address of the array in the Control Host
field.
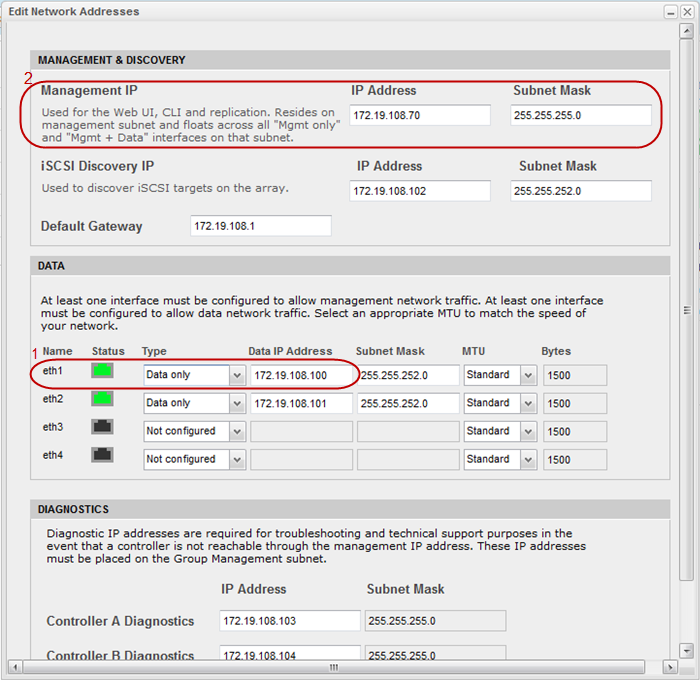
For reference purposes, the screenshot on the right shows the Data
IP Address and Management IP for the Nimble storage
device.
4.
Enter the access information of a user with administrative
privileges in the Username
and Password
fields.
Use the Description field to enter a description
about the entity. This description can include information about the entity's
content, cautionary notes, etc.