

| System State Method | Replication Method | SnapProtect Method | FAQs |
|
The Replication Method provides the facility to mine directory database objects and attributes from replicated copies of the directory database. The Replication Method utilizes the ContinuousDataReplicator to provide continuous replicated copies of the directory database to the destination computer. This method is useful if you are already using ContinuousDataReplicator for data replication in your environment. This method consists of the following steps:
Before creating the offline copy, ensure that the source and destination clients satisfy the following requirements:
| Source Computer | Destination Computer |
|
Ensure that the computer has one of the following Windows operating systems:
Ensure that the Volume Shadow Services (VSS) are installed on the source computer. |
Ensure that the Microsoft Windows Server 2008 and Active Directory iDataAgent are installed on the destination computer. Do not run the adLdapTool.exe utility on the destination computer. Do not turn off the LDS role on the destination computer. |
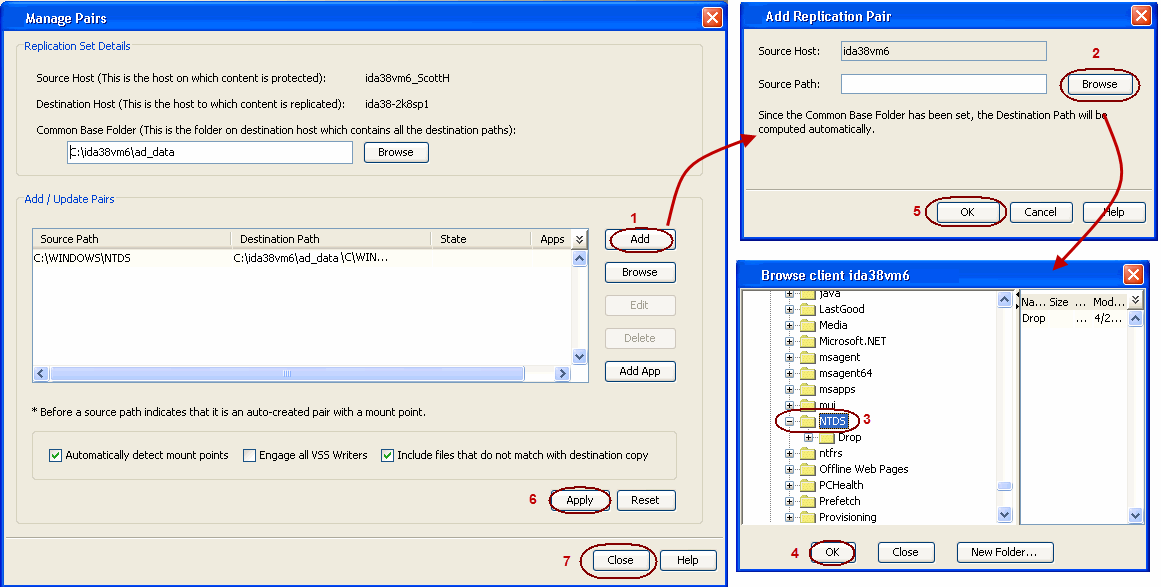
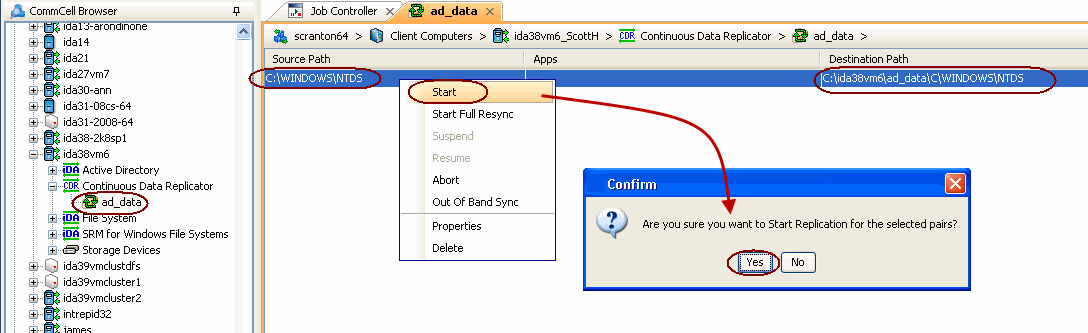
Follow the steps given below to create a replicated copy of the directory database:
| 1. |
If the source computer contains more than one ADAM Server instance, create separate replication sets for each instance.
|
 |
| 2. |
|
 |
| 3. |
|
 |
| 4. |
|
 |
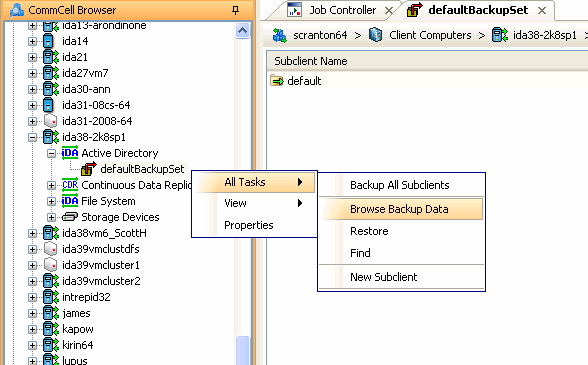
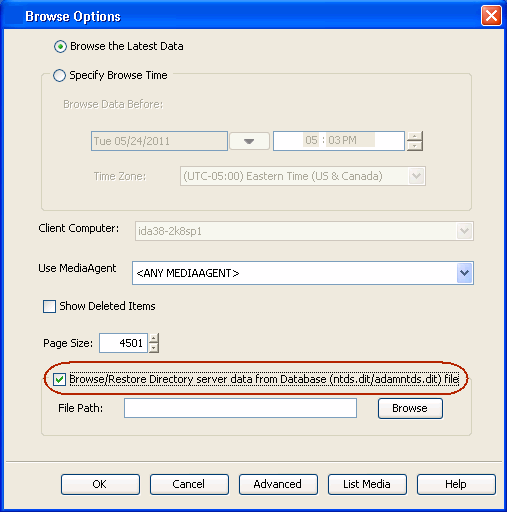
You can browse the offline copy of directory server database on the destination computer and then restore the required attributes and objects to the source (live active directory server) database.
| 5. |
|
 |
| 6. |
|
 |
| 7. |
|
 |
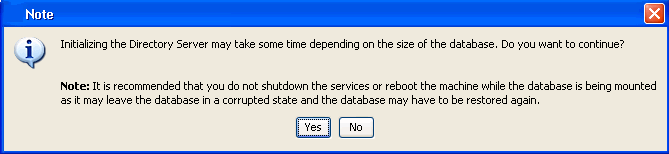
| 8. | Click Yes to continue. |
 |
| 9. |
|
 |
| 10. |
|
 |
|
|