The SharePoint Archiver Agent is a software module responsible
for periodically moving unused or infrequently used SharePoint documents on
a host computer to secondary storage, thereby reducing the size of data on the
primary storage. Archiver Agents reduce the duration of backup windows by
reducing the amount of data to be backed up by an iDataAgent.
Optionally, the SharePoint Archiver Agent can be set up to use EBS Provider
technology. This feature includes the following benefits:
Allows you to view and recover archived files directly
from the media without reintroducing files to the SharePoint server
Archived items appear as any other file on SharePoint. Users see no
change to the SharePoint user interface
SharePoint Archiver Agent with EBS Provider Technology supports the following
library types:
If your current Calypso service pack level is 4B or higher,
before you install SharePoint Archiver Agent, you must uninstall all Calypso
software from the machine.
For SharePoint Farm environments, you must install SharePoint Archiver Agent on
all Web front ends in the farm.
The user who installs the SharePoint Archiver Agent requires the following
privileges:
Local administrative rights
SharePoint Farm Administrator
SP Shell Administrator permissions
To install the SharePoint Archiver Agent:
1.
Run Setup.exe from the Software Installation
Package.
2.
Select the required language.
Click Next.
3.
Select the option to install software on this computer.
The options that appear on this screen depend on the computer in which
the software is being installed.
4.
Select I accept the terms in the license agreement.
Click Next.
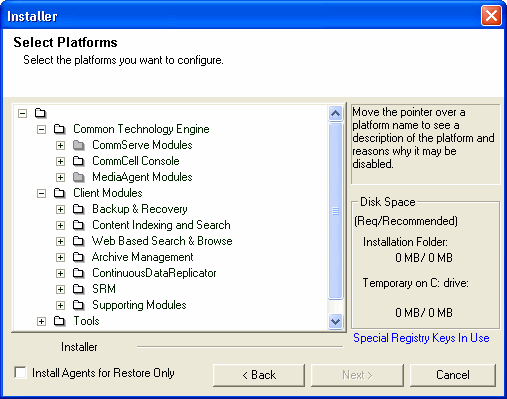
5.
Expand Client Modules | Backup & Recovery
| File System and select Windows File System
iDataAgent
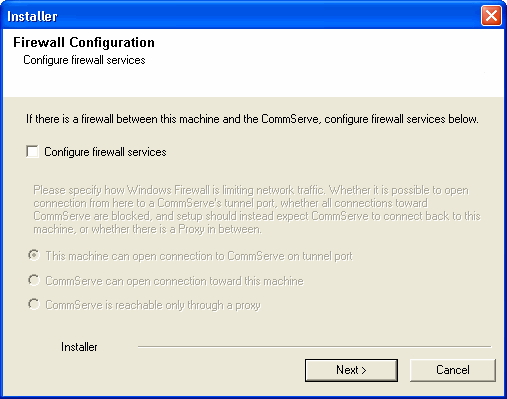
If this computer and the CommServe is separated by a firewall, select the Configure
firewall services option and then click Next.
For firewall options and configuration instructions, see
Firewall
Configuration and continue with the installation.
If firewall configuration is not required, click Next.
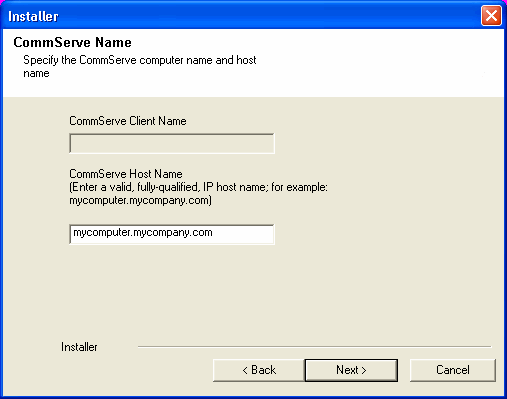
8.
Enter the fully qualified domain name of the CommServe
Host Name.
Click Next.
Do not use space and the following characters when specifying a
new name for the CommServe Host Name:
\|`~!@#$%^&*()+=<>/?,[]{}:;'"
9.
Click Next.
10.
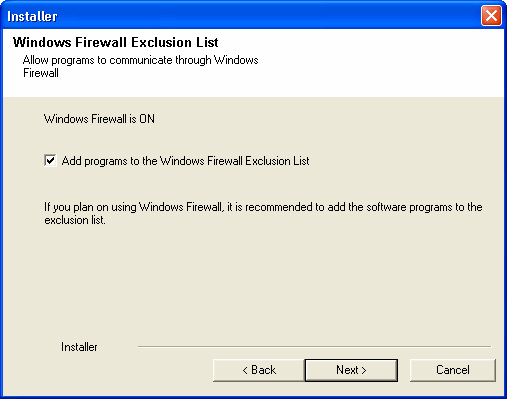
Select Add programs to the Windows Firewall Exclusion
List, to add CommCell programs and services to the Windows Firewall
Exclusion List.
Click Next.
This option enables CommCell operations across Windows firewall
by adding CommCell programs and services to Windows firewall
exclusion list.
It is recommended to select this option even
if Windows firewall is disabled. This will allow the CommCell
programs and services to function if the Windows firewall is
enabled at a later time.
11.
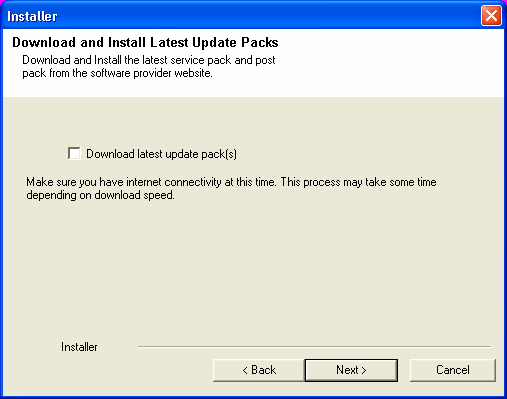
Click Next.
It is recommended to select the Download latest update pack(s)
option to automatically install the available updates during
installation.
12.
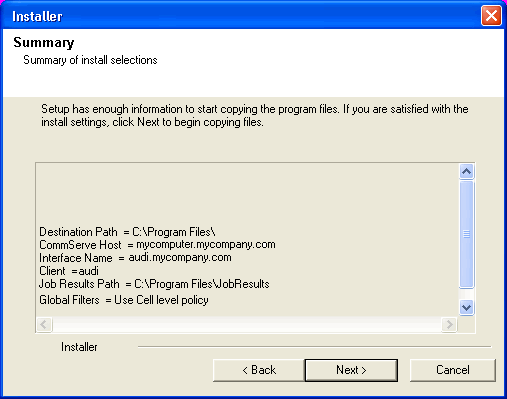
Verify the default location for software installation.
Click Browse to change the default location.
Click Next.
Do not install the software to a mapped network drive.
Do not use the following characters when specifying the destination
path:
/ : * ? " < > | #
It is recommended that you use alphanumeric characters only.
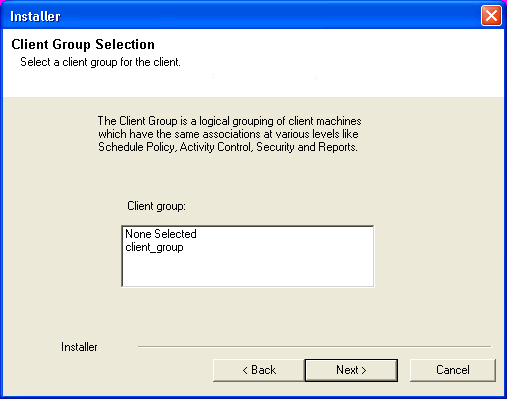
13.
Select a Client Group from the list.
Click Next.
This screen will be displayed if Client Groups are configured in
the CommCell Console.
14.
Click Next.
15.
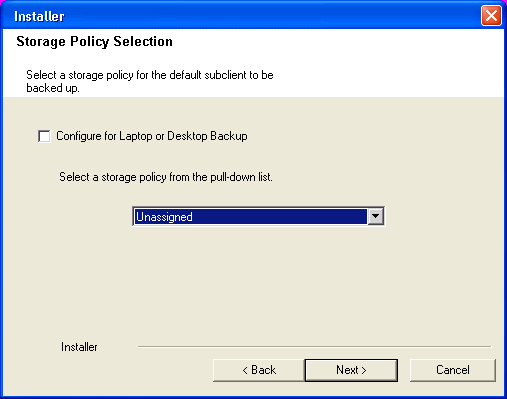
Select a Storage Policy from the drop-down list. Click Next.
16.
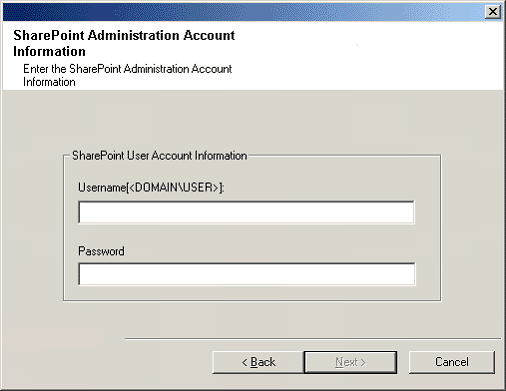
Enter the User Name and Password for the SharePoint
Administration Account and then click Next.
If you use SharePoint DataArchiver EBS provider
capabilities, the SharePoint Administrator Account and all Web
Application Pools users must have full access
rights to the following:
Job Results folder
Log Files Directory
The path that points to each virtual directory in the IIS
created for SharePoint
EBS cache folder
Also, Web Application Pools users must have read access to the following
location: [hkey_local_machine]\[software]\[CommVault Systems
Registry].
See the
SharePoint Agents section in User Accounts and Passwords for more
information.
17.
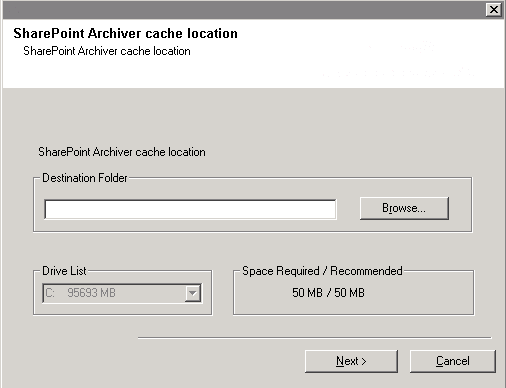
In the Destination Folder box, enter the
location where you want to save recovered items, and then click Next.
Back up the EBS Cache folder along with site collection or the
content database backup.
For SharePoint Farm environments with multiple Web front
ends, the EBS cache folder must be a shared location that
can be accessed by all Web front end servers. For example,
the configuration should look like //machine_name/EBScache.
18.
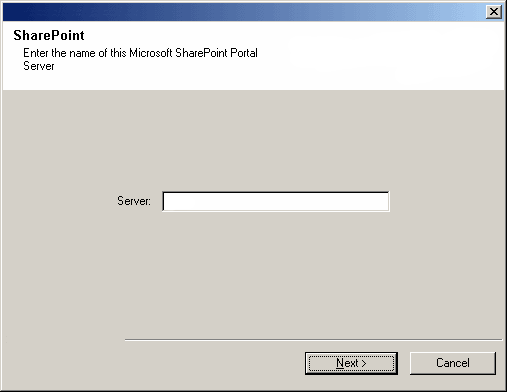
You are prompted for the Microsoft
SharePoint Server name.
The computer name is displayed by default; if
this is not correct, enter the correct name.
Click Next.
19.
Click Next.
20.
Click OK.
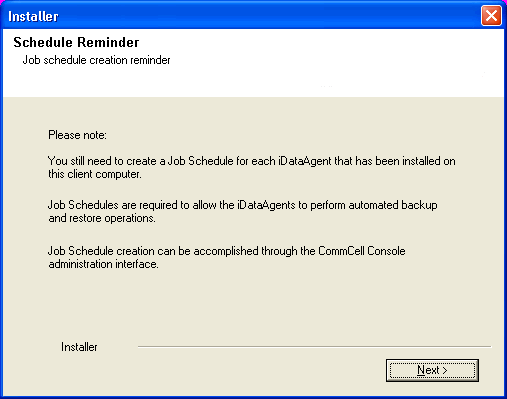
21.
Click Finish.
Before you run the first archive job,
upload a document to the SharePoint site and confirm that
cvebsprovider.log appears under Calypso logs.
This verifies that EBS is configured properly.
When you view archived files from inside SharePoint, they are saved
temporarily in the EBS cache folder. By default, files in the EBS cache folder that are at least 30 minutes
old are deleted during the next data archiving job because the registry
key is set to 1. However, you can set the files to be deleted after 2 or more minutes,
depending on the time that you specify in the registry key. When this key is set
to 2 or higher, the value indicates the number of minutes that a file can remain
in the EBS Cache folder before being deleted. For example, if the key is
set to 10, any files that are at least 10 minutes old are deleted during the
next data archiving job.
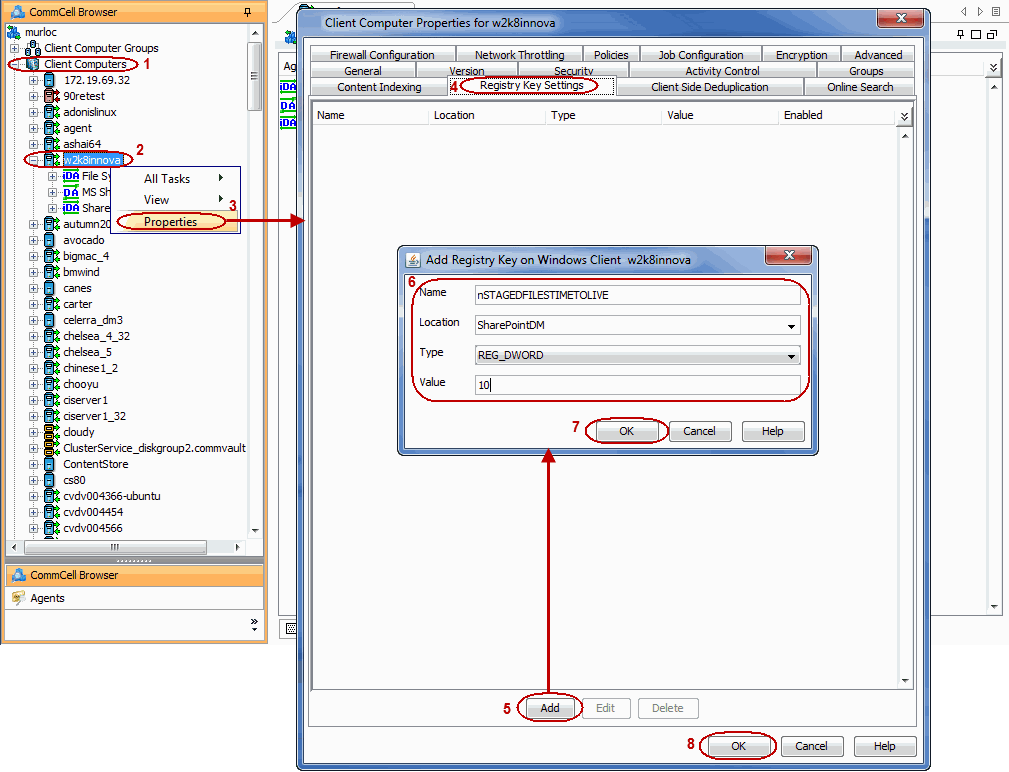
From the CommCell Browser, expand Client Computers, and then right-click the <Instance>.
Click Properties, and then click the Registry Key
Settings tab.
Click Add.
In the Name box, enter
nSTAGEDFILESTIMETOLIVE.
In the Location box, enter
SharePointDM.
From the Type list, select REG_DWORD.
In the Value box, enter the number of minutes that you
want files to remain in the EBS Cache folder before they are
deleted.
You can view an archived file directly from the media to which it was
archived. When you view a file, it is stored temporarily in the EBS cache
folder. By default, files in the EBS cache folder that are at least 30 minutes
old are archived again during the next data archiving job.
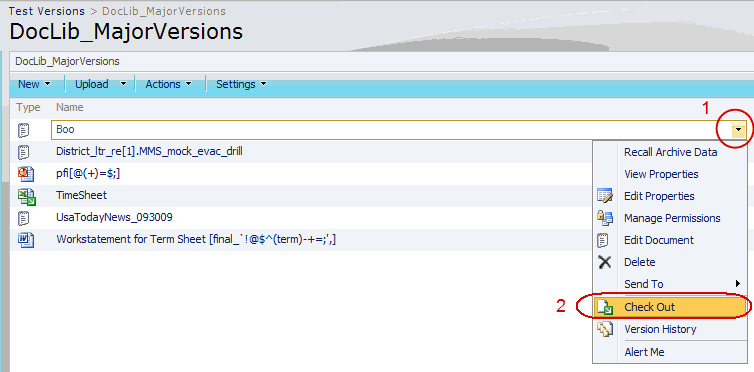
To view an archived file:
1.
Log into your SharePoint site.
2.
In the SharePoint site, open a library and navigate to the file
that you want to recover.
3.
Click on the file name.
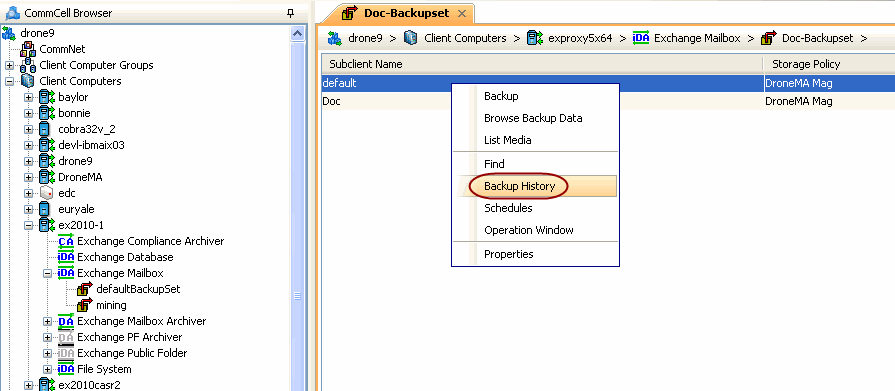
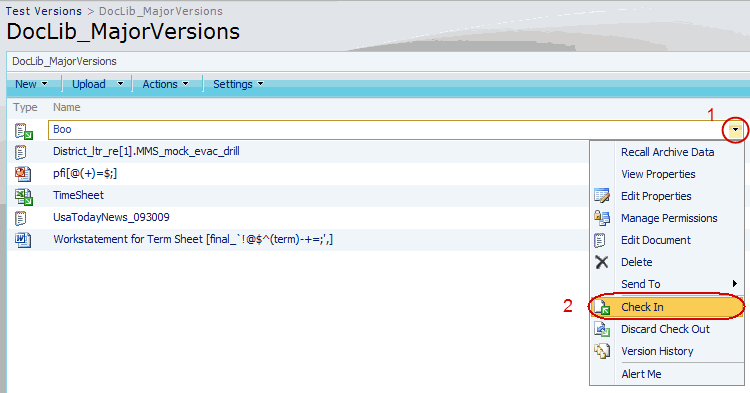
Recovering Archived Files
You can edit an archived file, and then reintroduce it to the SharePoint
server. Once you reintroduce it, the file remains on the SharePoint server until
the file satisfies the archive criteria and an archive operation runs. To edit
an archived file:
1.
Log into your SharePoint site.
2.
In the SharePoint site, open a library and navigate to the file
that you want to recover.
3.
Next
to a file name, expand the
Edit menu, and then click Check
Out.
4.
When you have finished editing the file, expand the
Edit menu for that
file, and then click Check In.