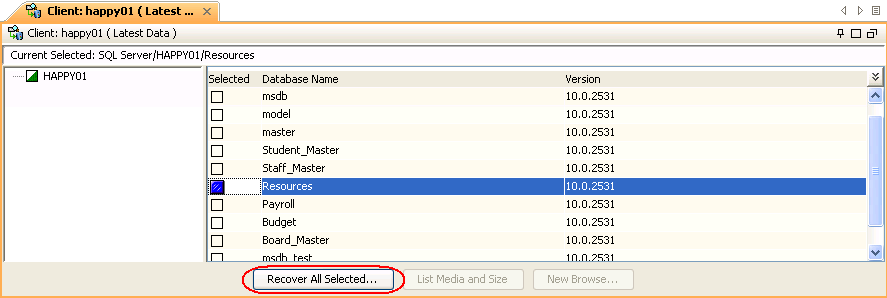
It is recommended that you perform a restore operation immediately after your
first full backup to understand the process. The following section explains how
restore DPM Server data to a new location.
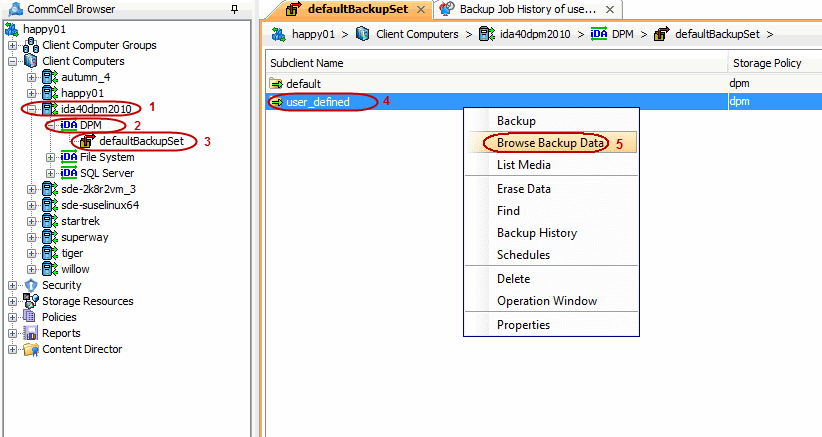
1.
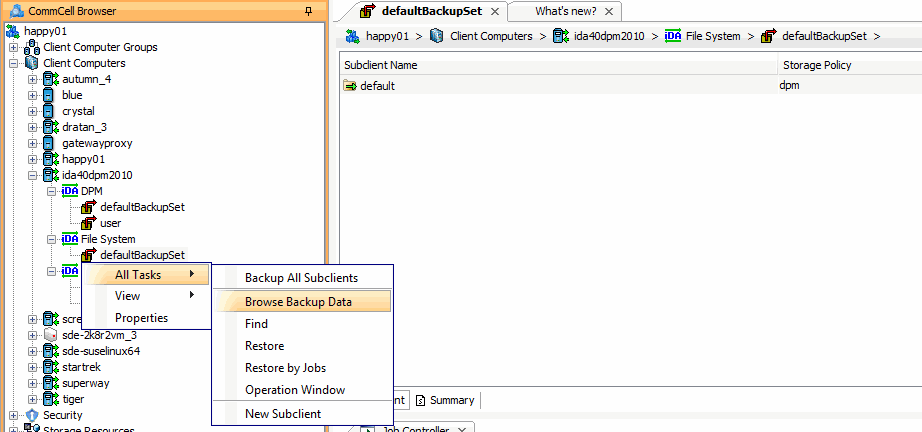
From the CommCell Browser, navigate to Client
Computers| <Client>|
DPM | defaultBackupSet
Right-click thesubclient you backed up and then click
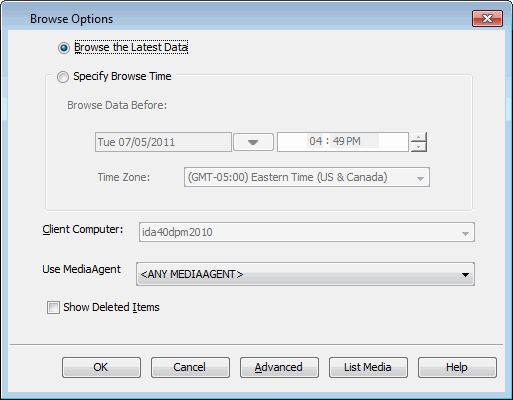
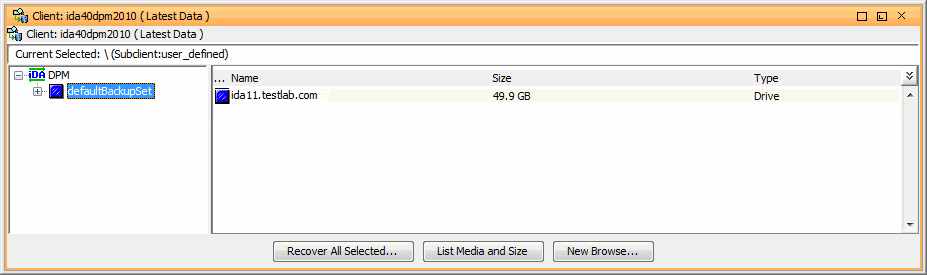
Browse Backup Data.
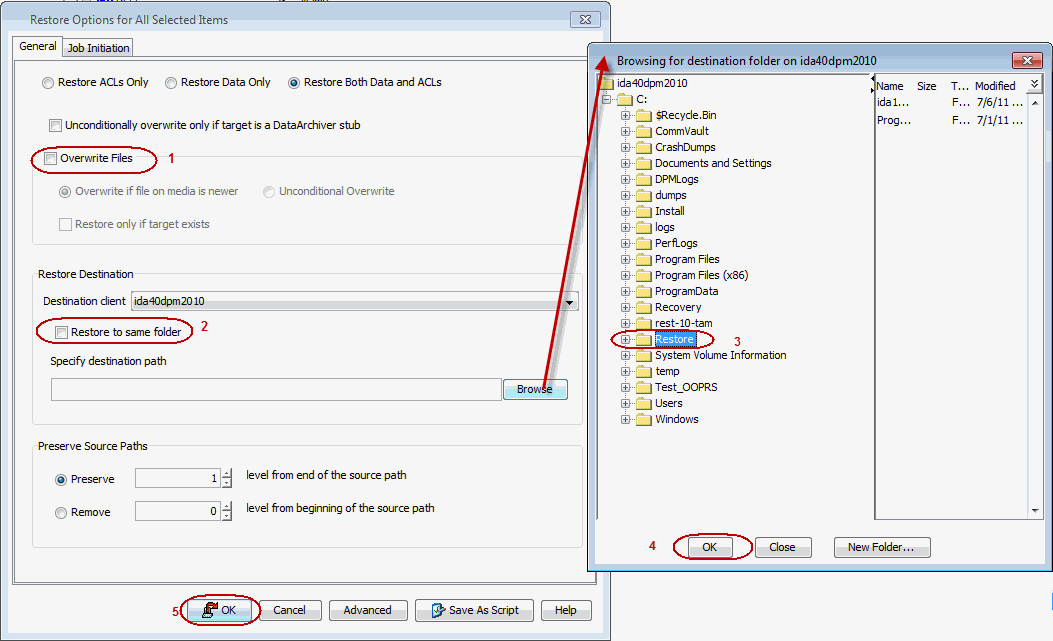
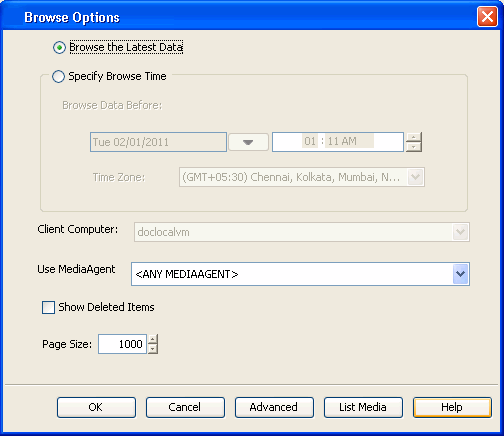
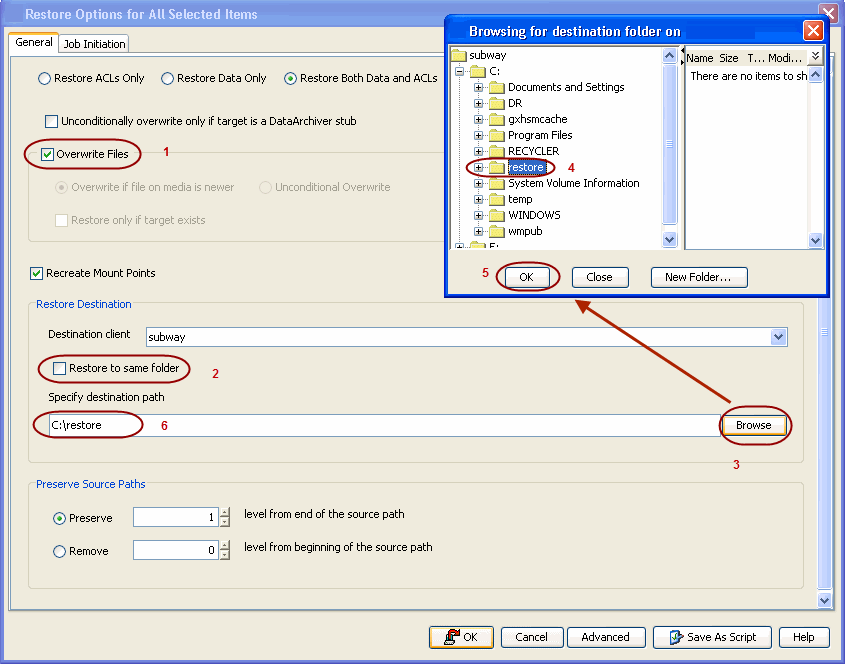
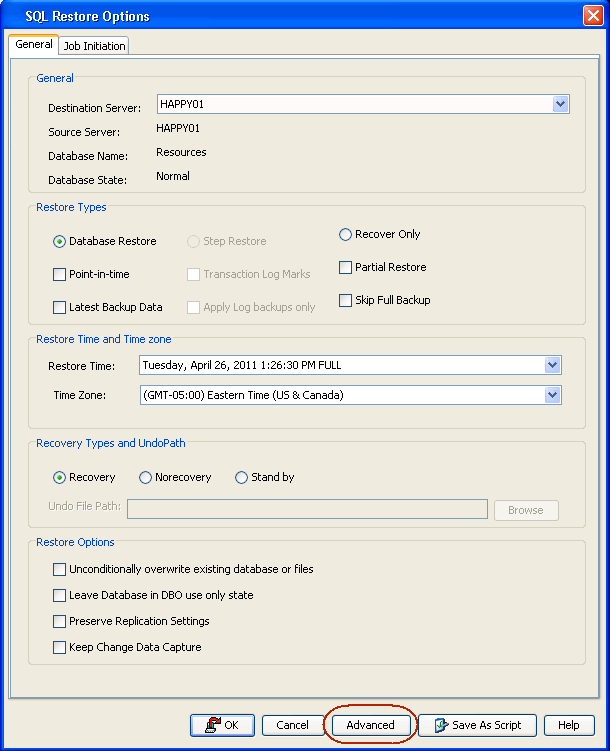
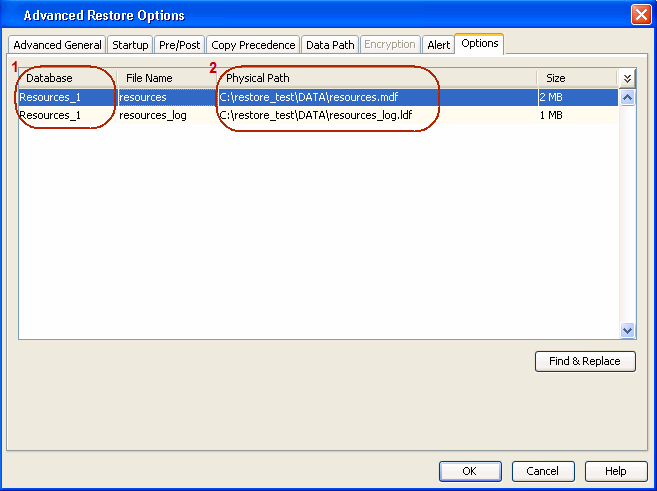
Clear the Overwrite Files and
Restore to same folder options.
Specify the destination path by clicking Browse button.
This will ensure that the existing files are not overwritten.
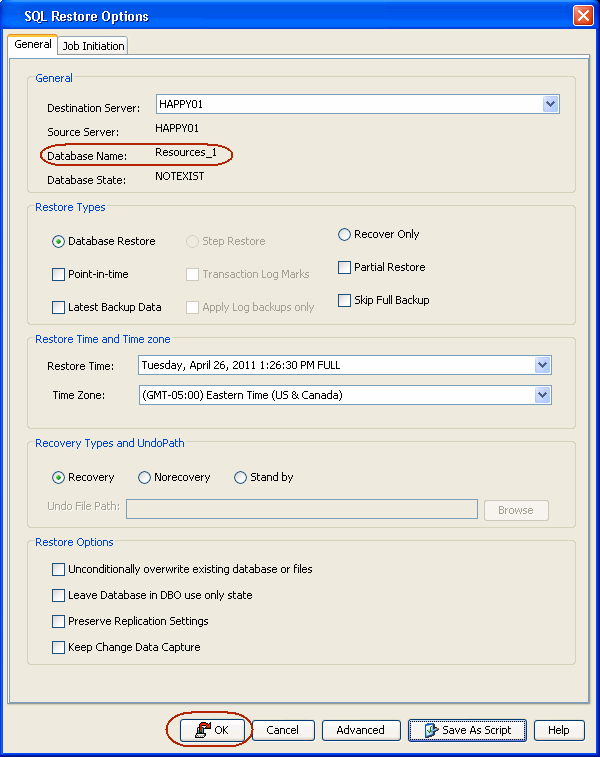
Click OK.
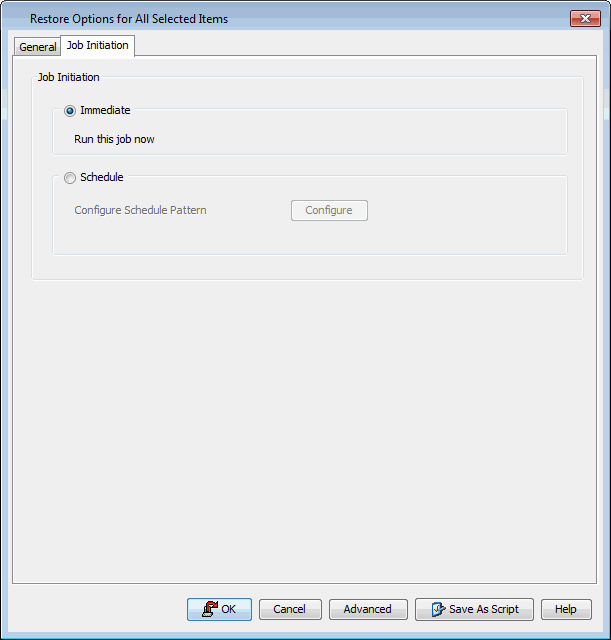
5.
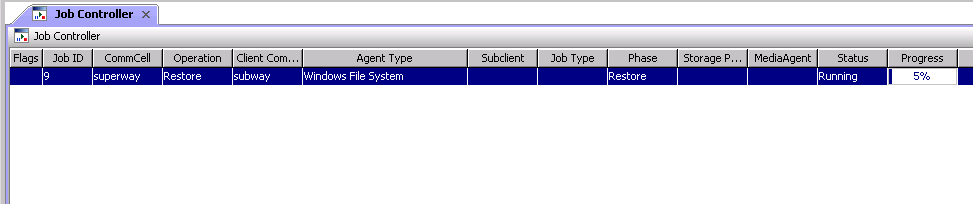
Click the Job Initiation tab.
Select
Immediate to run the job immediately.
Click OK.
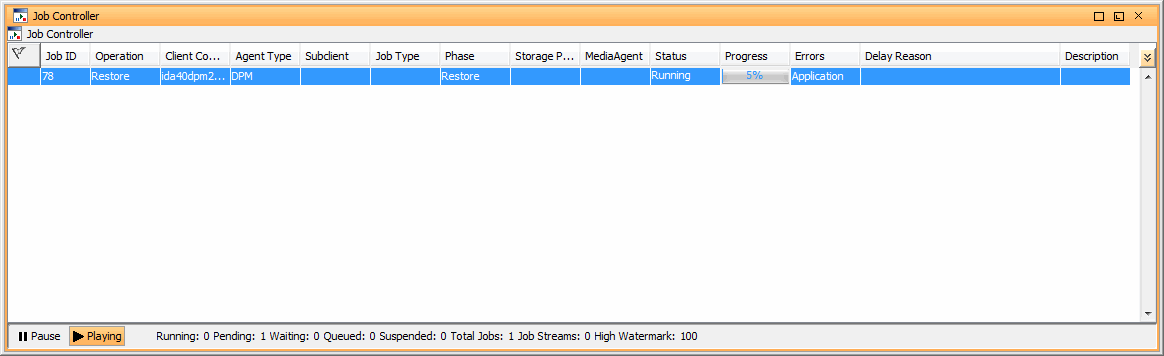
6.
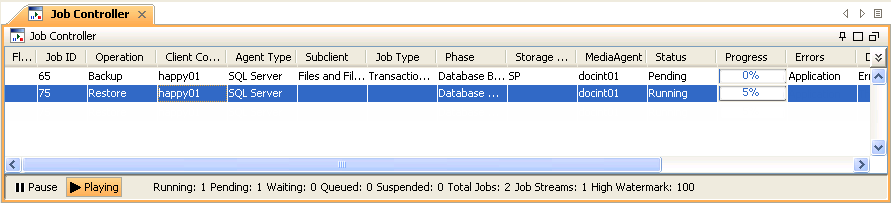
You can monitor the progress of the restore job in the Job Controller
window of the CommCell Console.
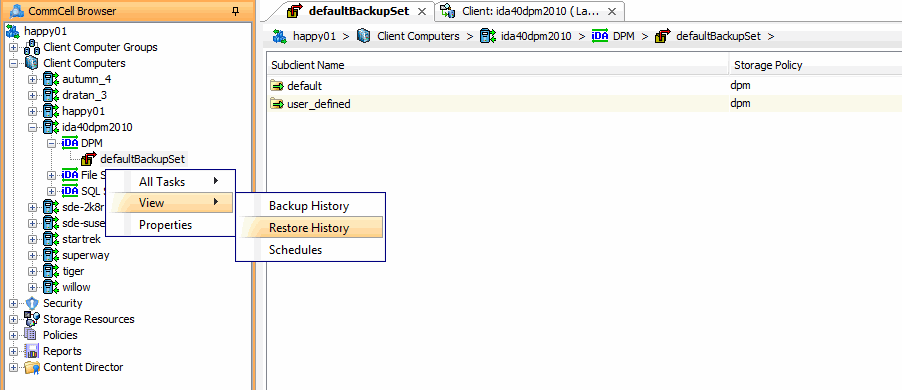
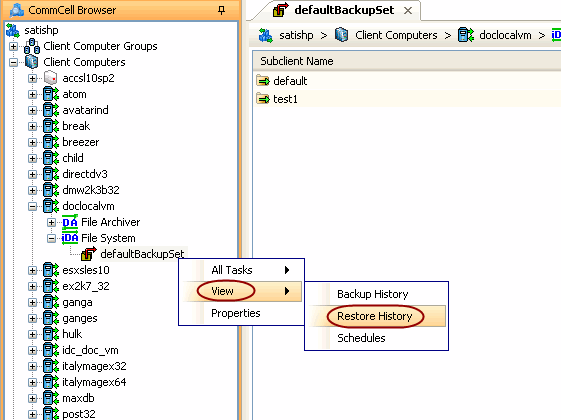
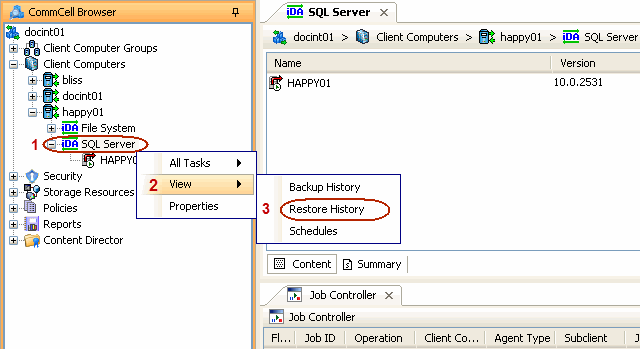
7.
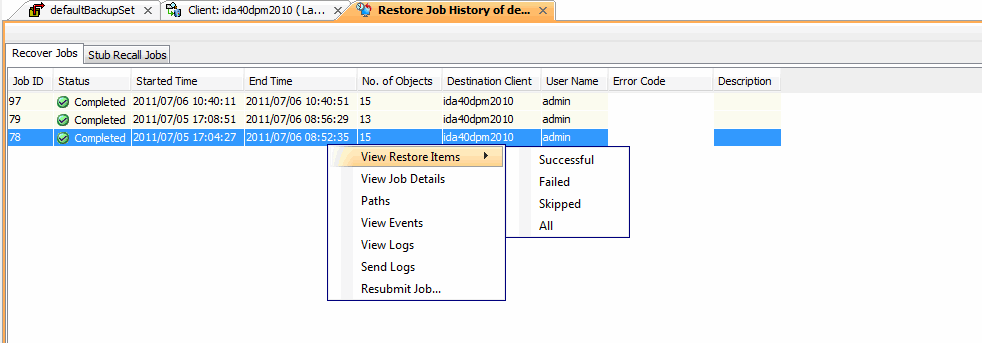
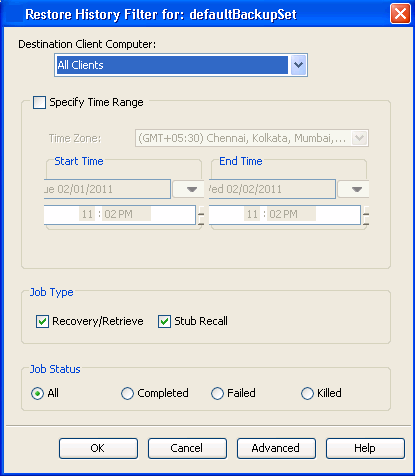
Once the restore job has completed, right-click the defaultBackupSet
, point to View and then click Restore History.
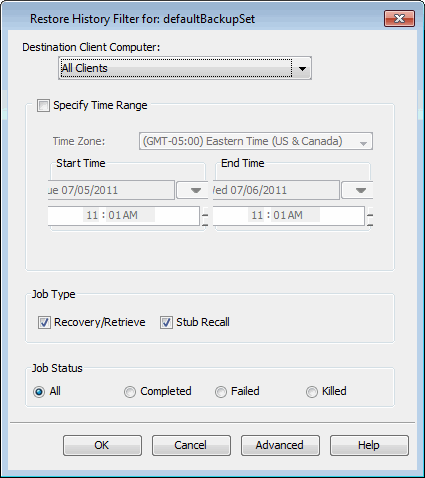
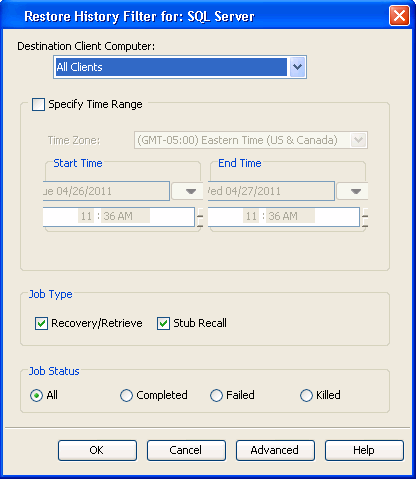
8.
Click OK.
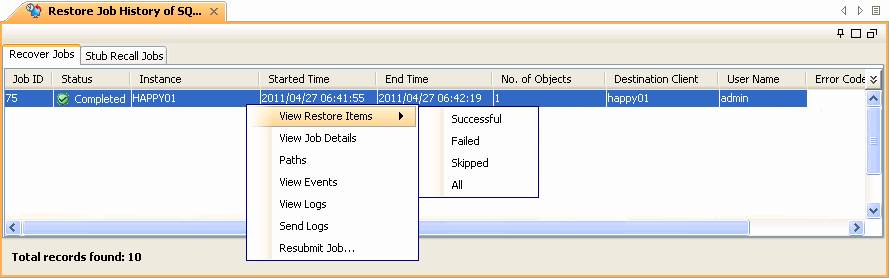
9.
You can view the following details about the job by right-clicking the
job:
View Restore Items
You can view them as Successful,
Failed, Skipped or All.
View Job Details
View Events of the restore job.
View Log files of the restore job
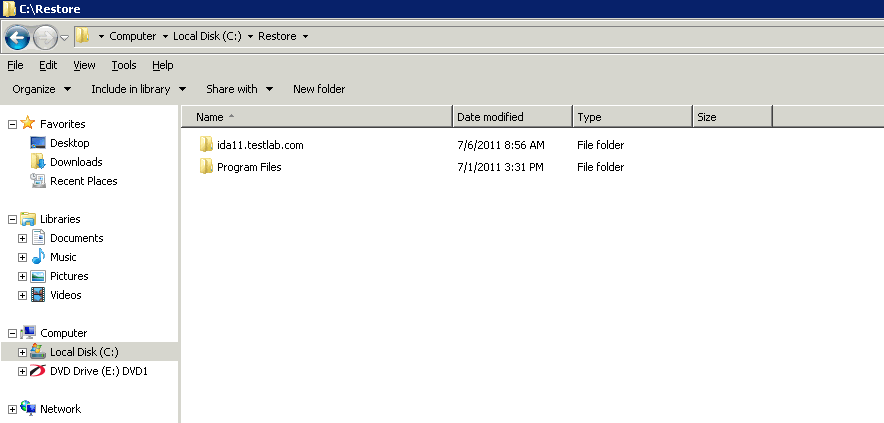
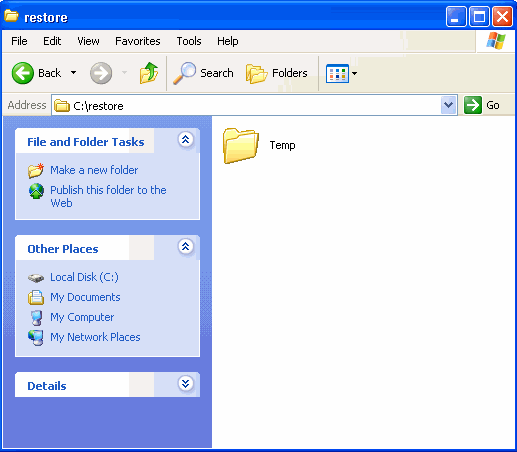
10.
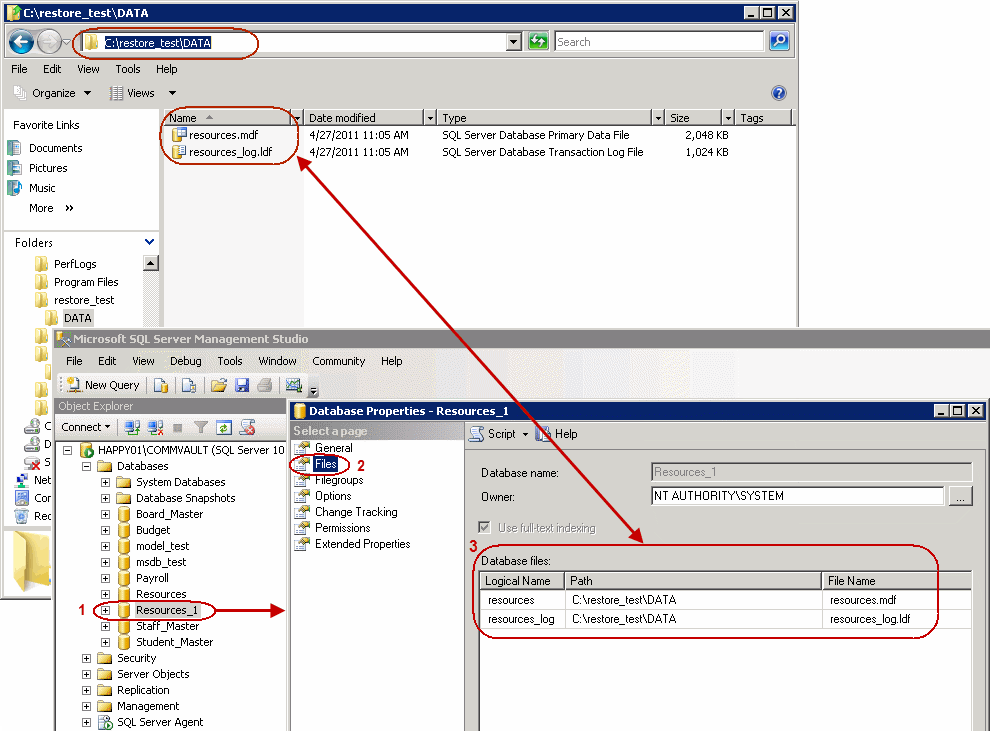
Once the DPM Server data is restored, verify that the
restored files/folders are available in the restore destination provided
during step 4.
You must also restore the File System Data and System State data of the
DPM Server backed up by the Microsoft Windows File System
iDataAgent and the SQL
Server metadata of DPM backed up by Microsoft SQL Server
iDataAgent
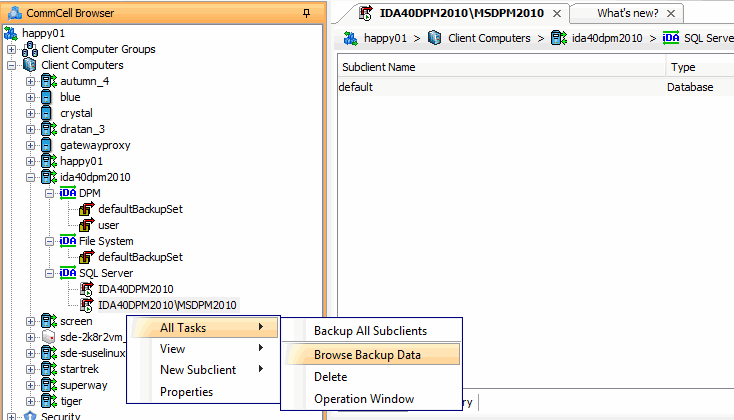
Use the following steps to restore the file system data backed up by the
Microsoft Windows File System iDataAgent:
1.
From the CommCell Browser, navigate to Client
Computers| <Client>|
File System | defaultBackupSet
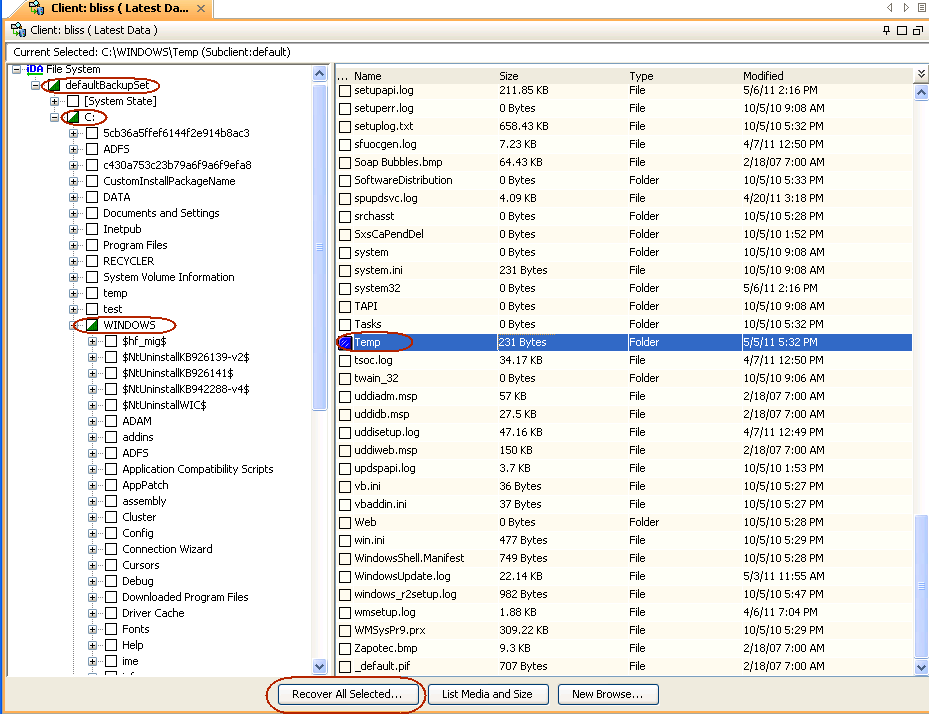
Right-click the defaultsubclientand then click Browse Backup Data.
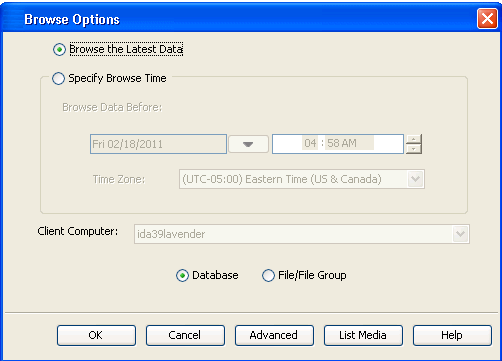
2.
Click OK.
3.
Expand the defaultBackupSet and navigate to Windows
folder.
Select the Temp folder.
For the first restore job, select any folder with smaller data size.