Before You Begin
- Review the following:
- Verify that the computer in which you wish to install the software satisfies the minimum requirements specified in System Requirements - CommNet Browser as a Stand-Alone Application.
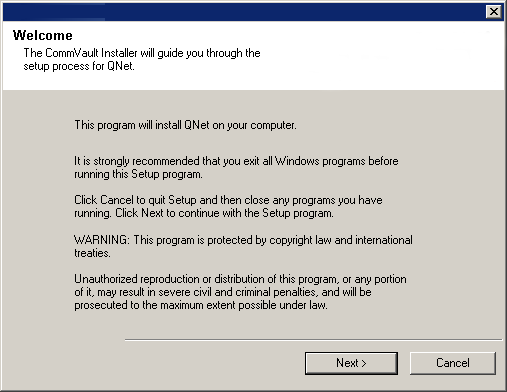
Upgrade Procedure
If the installation menu does not display:
- Click the Start button on the Windows task bar, a then click Run.
- Browse to the installation disc drive, select setup.exe, click Open, then click OK.
NOTES
- The options that appear on this screen depend on the computer in which the software is being installed.
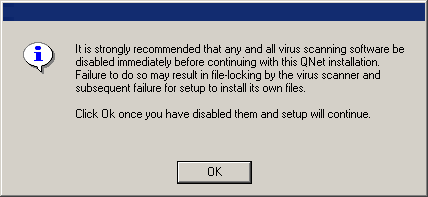
Click OK to continue if virus scanning is disabled.
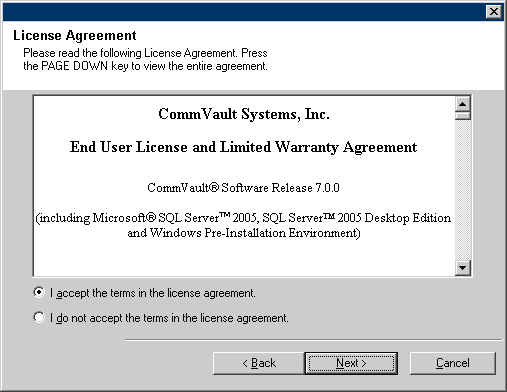
Select I accept the terms in the license agreement then click Next to continue.
Click Next to continue.
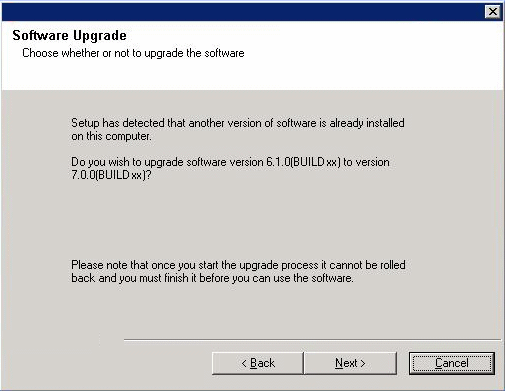
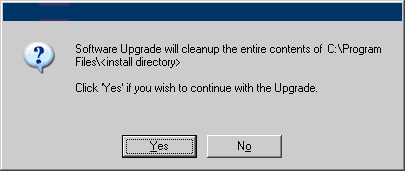
Click Yes to continue.
NOTES
- This prompt will be displayed only when JRE version 1.5.x is available in the computer.
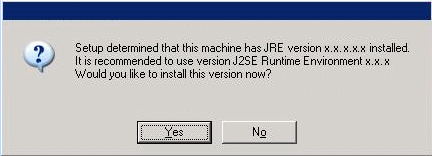
Click Yes to continue.
NOTES
- If IIS is not installed then you will not receive this prompt.
- The screen to the right may look different depending upon the software selected for install or upgrade.
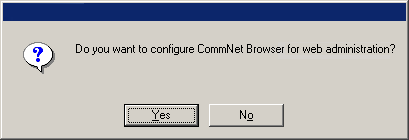
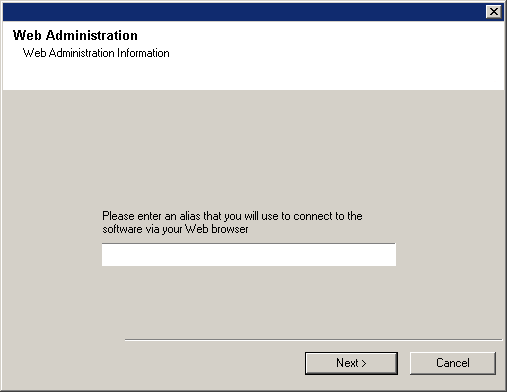
Click Next to continue.
NOTES
- If IIS is not installed then you will not receive this prompt.
Click Next to continue.
NOTES
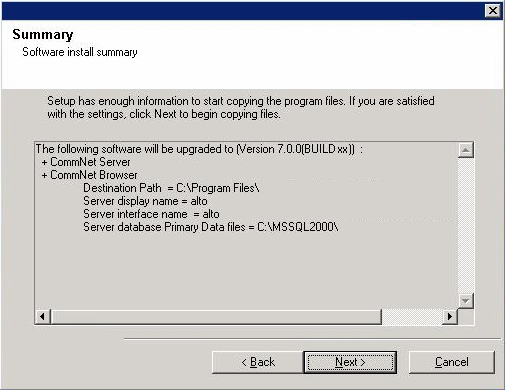
- The Summary to the right may look different depending upon the components selected for install or upgrade.
NOTES
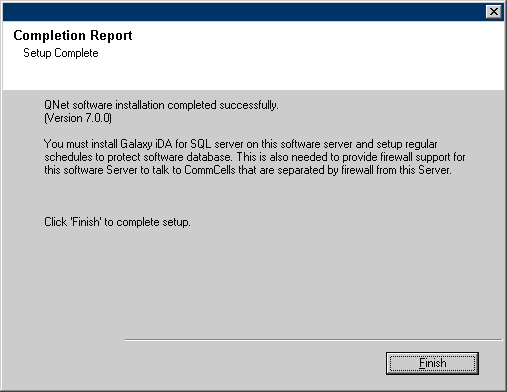
- The screen to the right may look different depending upon the components selected for install or upgrade.
Post-Upgrade Considerations
-
Install post-release updates or Service Packs that may have been released after the release of the software.