Click Exit to close the install program.
NOTES
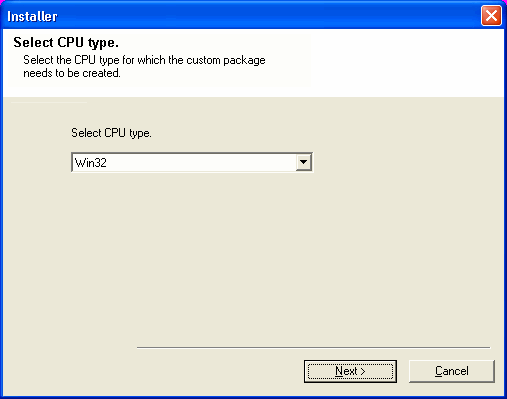
- Select Win32 for a 32-bit package and WinX64 for a 64 bit
package.
You can determine this by verifying whether all the components that you wish to install in this computer are supported in 64-bit in System Requirements.
NOTES
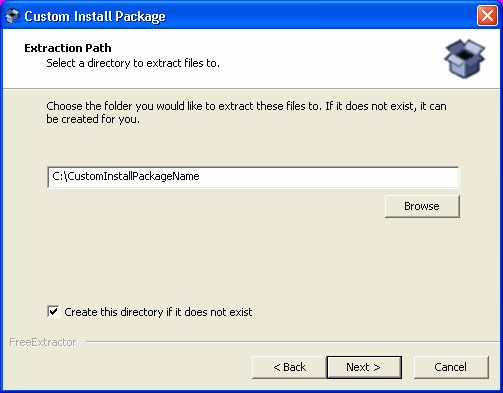
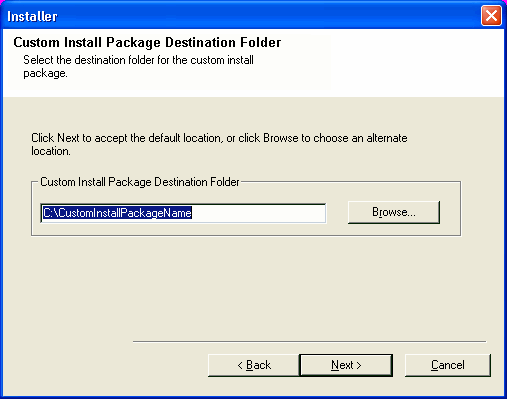
- Specify a folder under any drive. If the folder does not exist, it is automatically created.
- Do not use the following characters when specifying the destination
path:
/ : * ? " < > |
It is recommended that you use alphanumeric characters only.
Click Browse to change directories.
Click Next to continue.
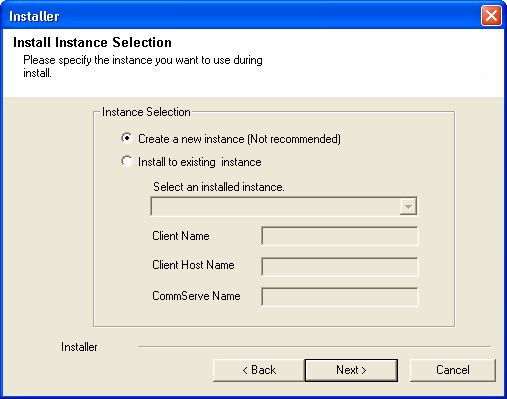
- Select Create a new instance option, to install the Agents on separate instance.
- Select Install to existing instance option, to install the Agents on the existing instance.
Click Next
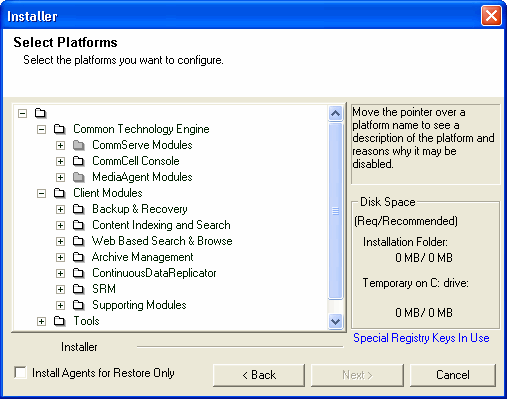
NOTES
- Your screen may look different from the example shown.
- The Special Registry Keys In Use field will be enabled when GalaxyInstallerFlags registry keys have been enabled on this computer. Hover over the field to see which keys have been set, as well as their values. For more information, see Registry Keys.
Click Next to continue.
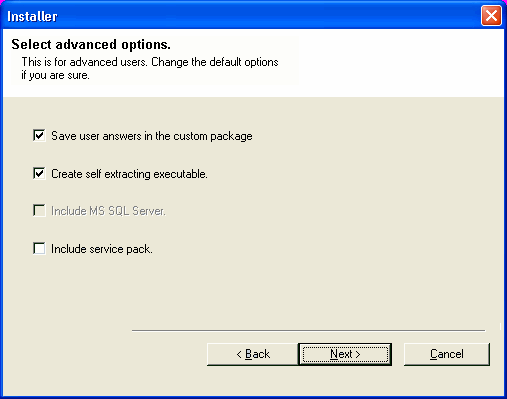
- Select Save user answers in the custom package option, if
you wish to use the current deployment setup and installation
options for the custom package installation.
The install options will be recorded in the install.xml located under <CustomInstallPackageName>\<selected_platform> folder. For example, C:\<CustomInstallPackageName>\<Win32|Win64>.
- Select Create self extracting executable option, to create a self-extracting executable file for the custom package.
- Select Include service pack option, to include the service pack, if it is available on the Software Installation Disc, when creating custom package.
Click Next.
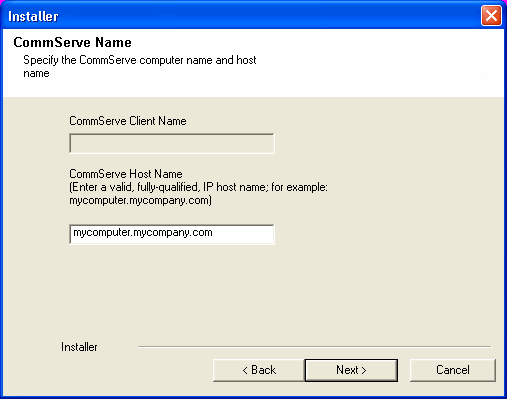
CommServe Host Name
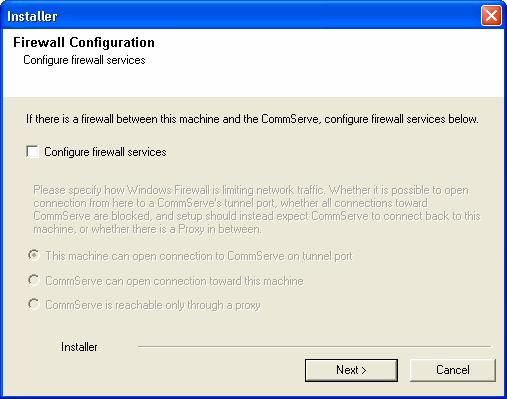
For firewall options and configuration instructions, see Firewall Configuration and continue with the installation.
If firewall configuration is not required, click Next to continue.
NOTES
- The CommServe client name is the name of the computer. This field is automatically populated.
- Do not use space and the following characters when specifying a new
name for the CommServe Host Name:
\|`~!@#$%^&*()+=<>/?,[]{}:;'"
- If a computer has already been installed, this screen will not be displayed; instead the installer will use the same Server Name as previously specified.
- If you do not specify the CommServe Host Name, a window will be prompted to continue in decouple mode. Click Yes to continue to Decoupled Install. Click No to specify a CommServe Name and continue with the installation.
Click Next to continue.
Click Next to continue.
NOTES:
- Each instance must have a unique set of static TCP port numbers. Note that this means at least one instance will be using non-registered port numbers.
- Valid range for the port number is between 1024 and 65000.
- Ensure that the port numbers specified here are within the valid range and are not used by any other services.

NOTES
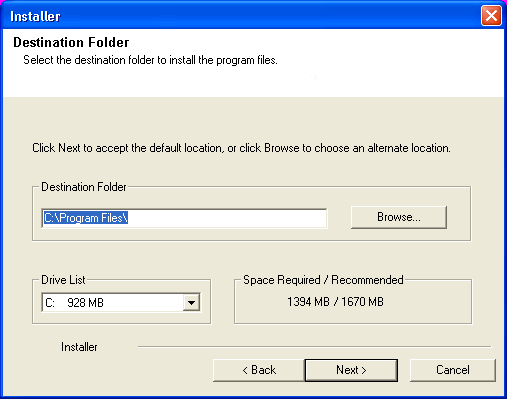
- Do not install the software to a mapped network drive.
- Do not use the following characters when specifying the destination path:
/ : * ? " < > | #
It is recommended that you use alphanumeric characters only. - If you intend to install other components on this computer, the selected installation directory will be automatically used for that software as well.
- If a component is already installed in this computer, this screen may not be displayed. The software will be automatically installed in the same location that was previously specified.
Click Browse to change directories.
Click Next to continue.
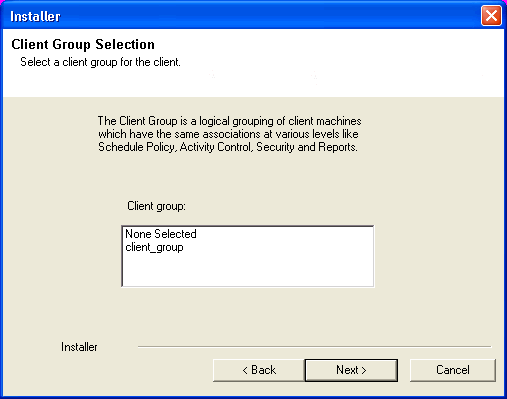
Client Group Selection
Click Next to continue.
NOTES
- This screen will be displayed if Client Groups are configured in the CommCell Console. For more information, see Client Computer Groups.
Global Filters Selection
NOTES
- Select Use Cell level Policy to inherit the global filter policy configuration set for the CommCell, i.e., if the Use Global Filters on All Subclients option is selected in the Global Filters dialog box (from the CommCell Console’s Control Panel), then this policy will be applied to the default subclient as well. If is not selected, then the global filters will not be applied to the default subclient.
- Select Always use Global filters to apply the global filters policy to the default subclient regardless of the policy set for the CommCell.
- Select Do not use Global filters to disregard applying the global filters to the default subclient regardless of the policy set for the CommCell.

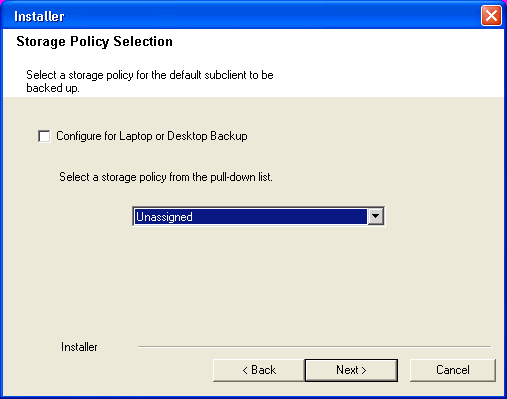
Storage Policy Selection
NOTES
- A storage policy directs backup data to a media library.
- If desired, you can change your storage policy selection at any time after you have installed the client software.
- This screen may appear more than once, if you have selected multiple agents for installation. You will be prompted to configure the storage policy association for each of the selected agents.
Click Next to continue.
SQL Server Auto Discovery Option

Replication Policy Selection
Click Next to continue.

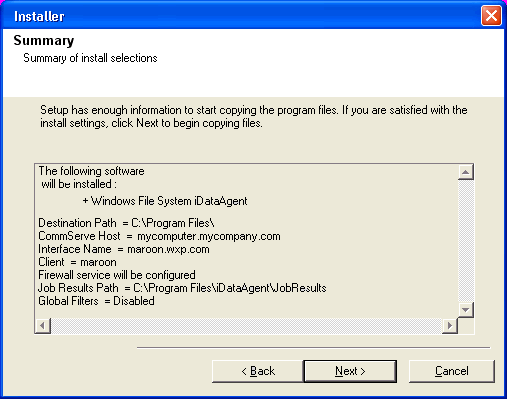
Verify Summary of Install Options
NOTES
- The Summary on your screen should reflect the components you selected for install, and may look different from the example shown.
Click Next to continue or Back to change any of the options.
The install program now starts copying the software to the computer. This step may take several minutes to complete.
Select the option Cleanup custom package folders and only retain the self-extracting exe to clean up the installation files and folders in the custom package destination folder.
Click Next to proceed.
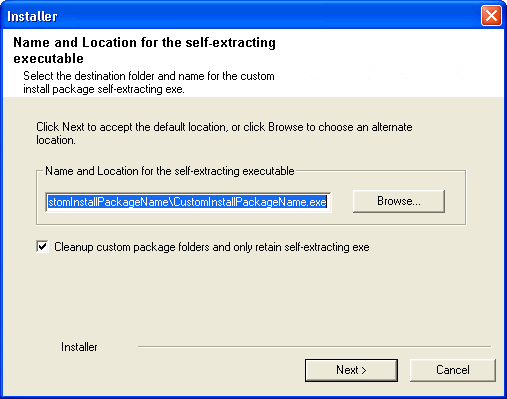
See Install using the Custom Package for procedure to install the software using the Custom package.
