Before You Begin
- Verify that the disk is visible to the Operating System
-
This feature requires a Feature License to be available in the CommServe® Server.
Review general license requirements included in License Administration. Also, View All Licenses provides step-by-step instructions on how to view the license information.
- If you are using a PnP Disk Library with removable SATA drives, then you must create the required registry key bSupportPnPSATADrives and set the value to 1.
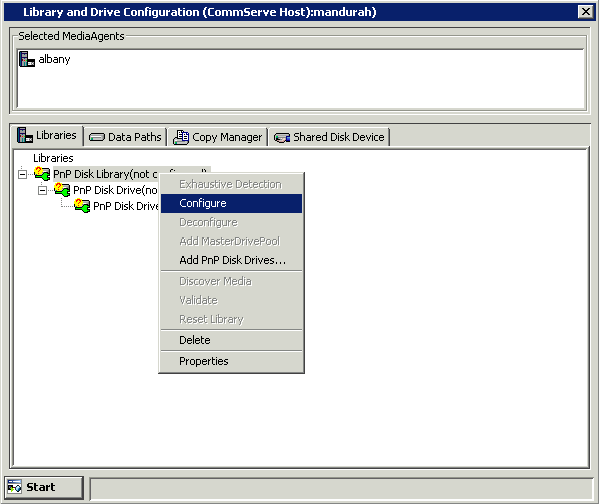
To configure a PnP Disk library


From the Library Properties dialog box, you can modify the following options:
- Alias: The name of the library. This name is displayed in
the CommCell Browser for the library.
We strongly recommend that you provide appropriate labels or aliases for each PnP Library. This will help you identify the proper library when you are prompted to insert media into a drive.
When you are satisfied with your changes, click OK.


