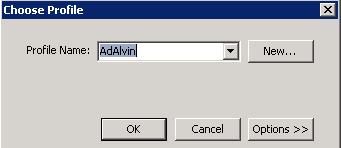
- Start Outlook.
- Enter your Profile Name.
- Click OK.
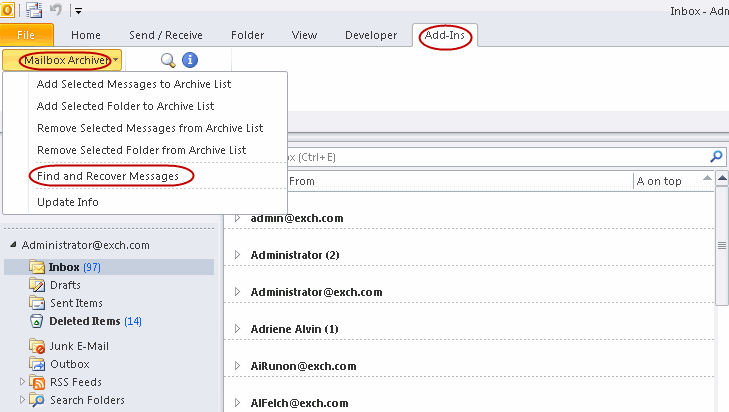
- Click Add-Ins tab.
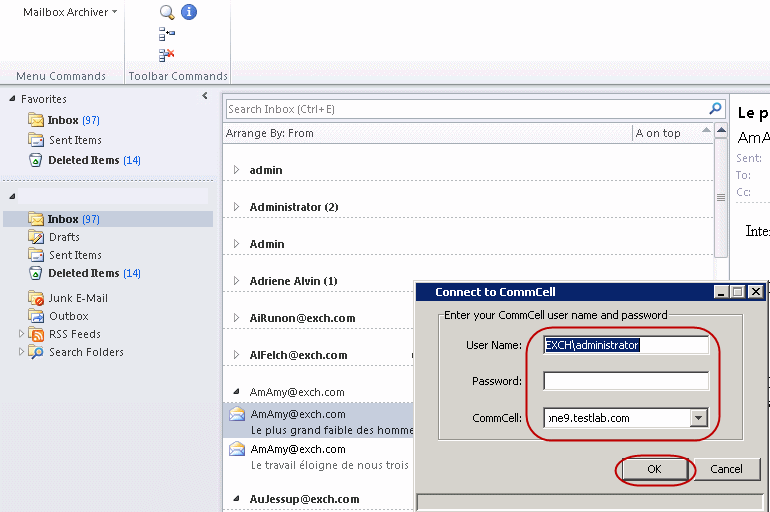
- Click Mailbox Archiver.
- From the list, select Find and Recover Messages.
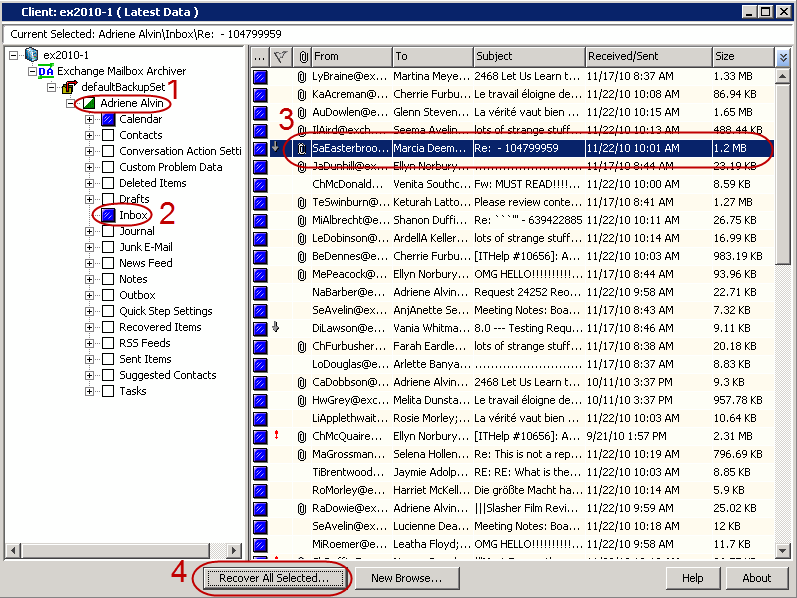
- Expand your mailbox folder.
- Right-click the desired mailbox folder and click Find.
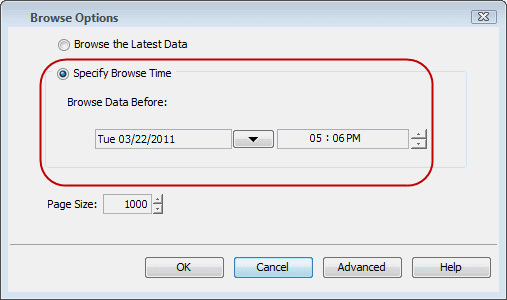
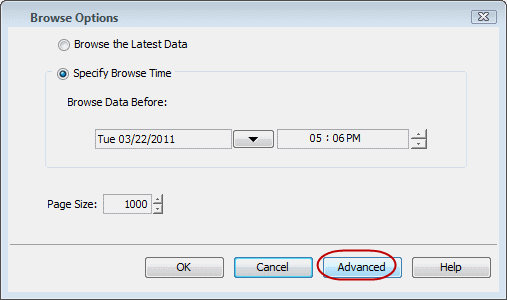
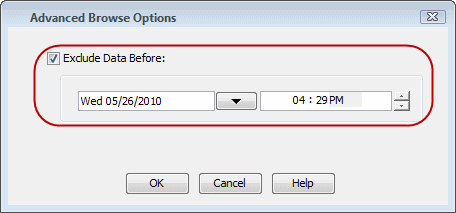
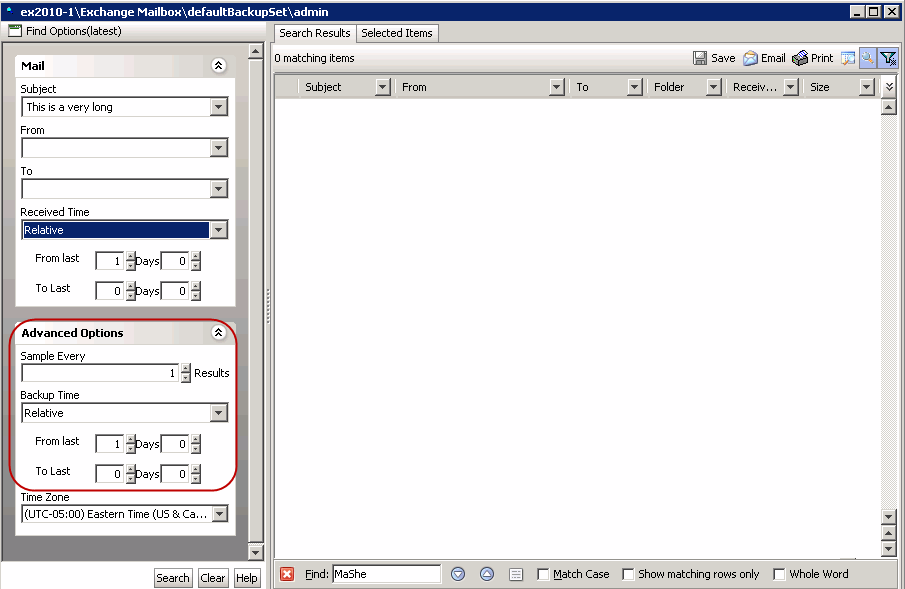
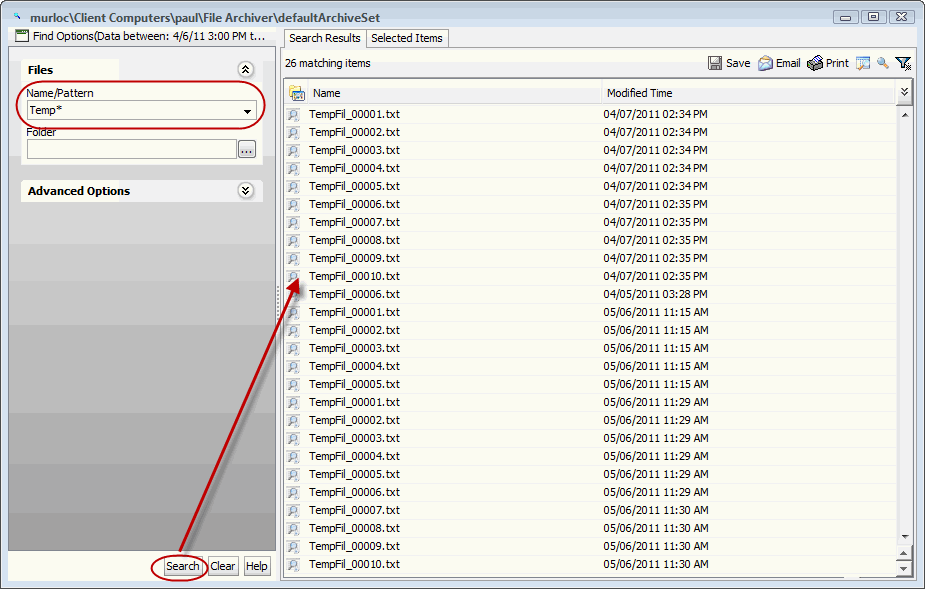
- In Received Time, select an entry from the drop-down list
to narrow the search to messages received on the specified date or
within the specified date range according to date criteria (Any,
Today, Yesterday, This Week, This Month, This Year, Is, After,
Before, Between, Specific Date). Depending on your selection,
additional date range fields may appear below the Received Time
field.
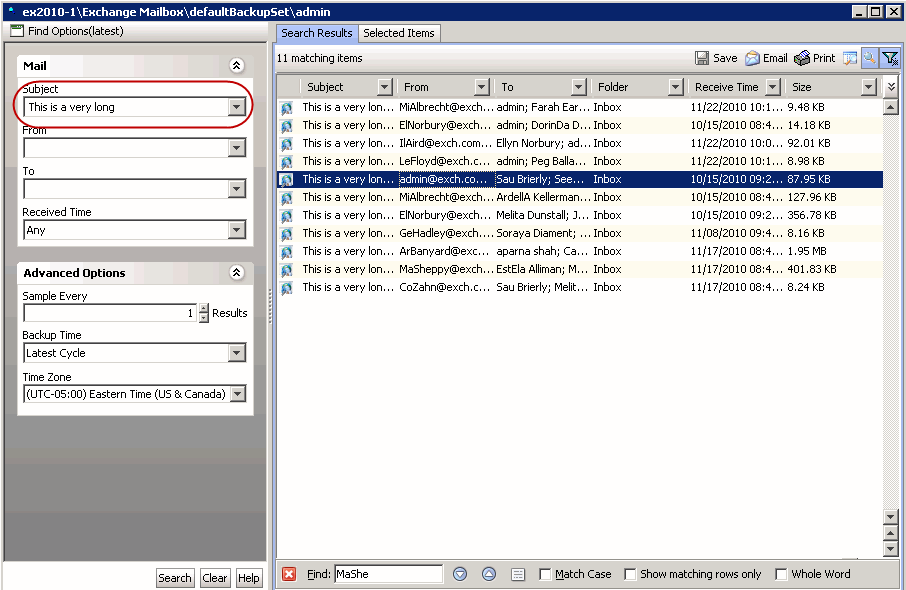
- Click Search.
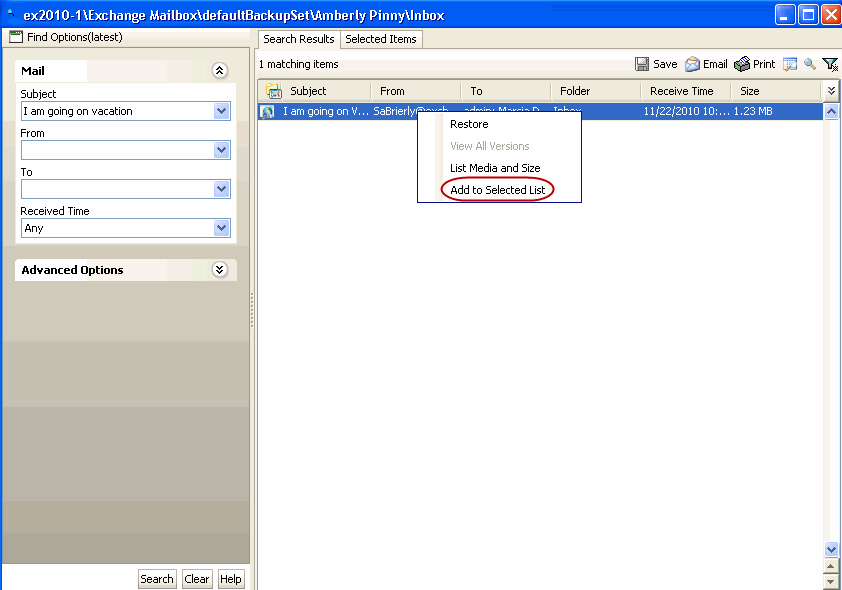
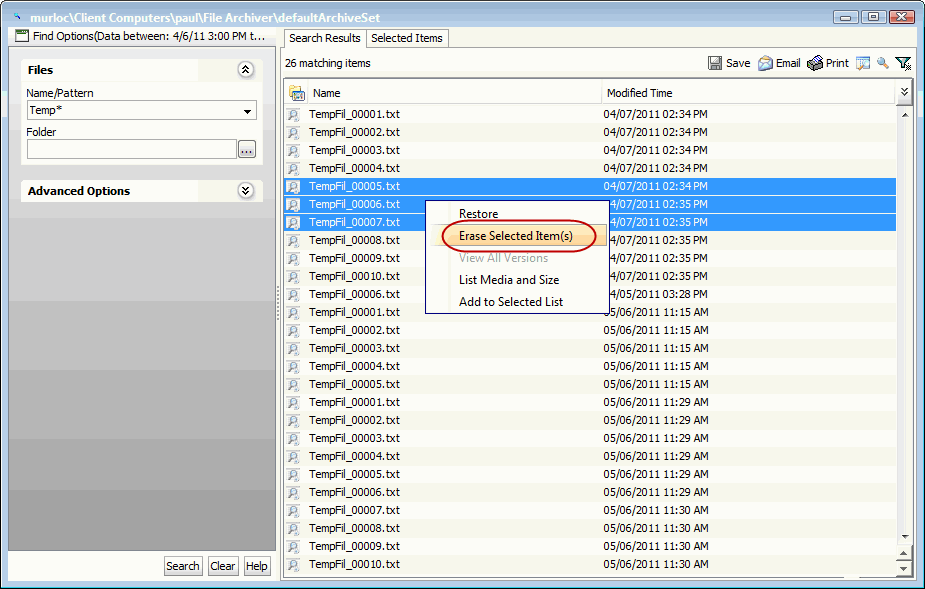
The messages that match the criteria are displayed in Search
Results. |
 |