Before You Begin
- Review the following:
- Verify that the computer in which you wish to install the software satisfies the minimum requirements specified in System Requirements - CommNet Browser as a Stand-Alone Application.
- For cluster upgrades, ensure that you are logged on to the computer which
was the original owner node. (i.e., the node from which the software
was installed.) If the currently active node is not the original node,
manually fail over the active node to the original node and then perform the
upgrade.
To figure out whether a node is the original owner, open the Add/Remove Programs icon from the Windows Control Panel and verify whether there is an entry for the to the CommNet Agent software. The entry will be available only in the original owner node.
- For cluster upgrades, ensure that both the active and passive nodes are available during the upgrade process. (The passive node will be automatically upgraded, if it is available.)
Upgrade Procedure
If the installation menu does not display:
- Click the Start button on the Windows task bar, a then click Run.
- Browse to the installation disc drive, select setup.exe, click Open, then click OK.
NOTES
- The options that appear on this screen depend on the computer in which the software is being installed.

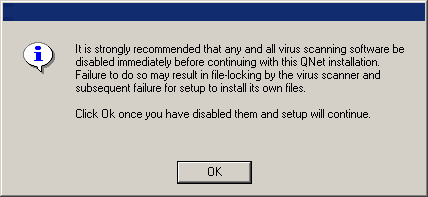
Click OK to continue if virus scanning is disabled.
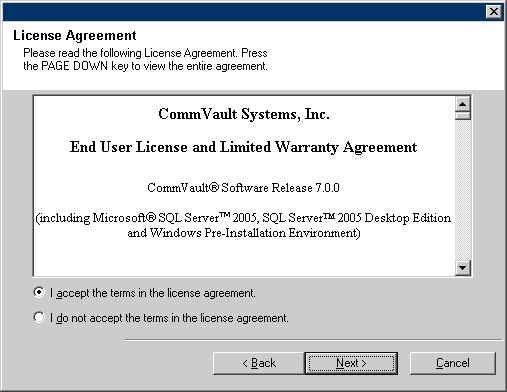
Select I accept the terms in the license agreement then click Next to continue.
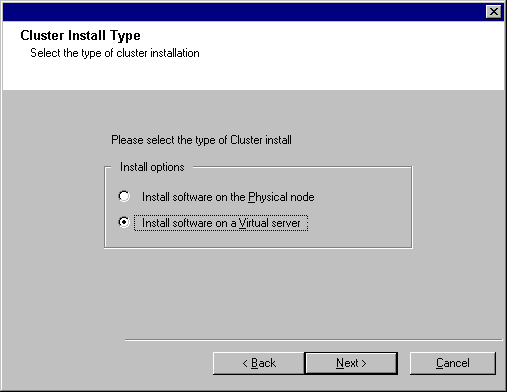
To install or upgrade the software on a cluster, select Install Calypso Monitor on a Virtual server and click next to continue.
NOTES
- Installation or upgrade of the software on a cluster is not supported on a physical node.
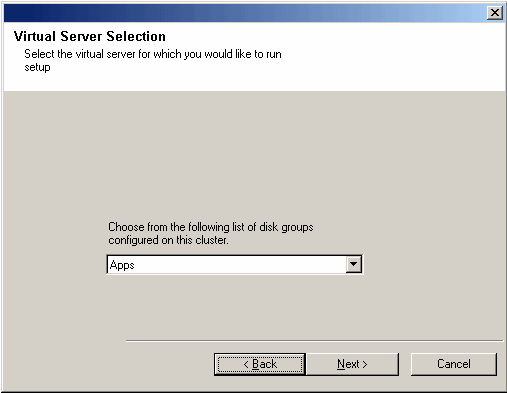
Click Next to continue.
Click Next to continue.
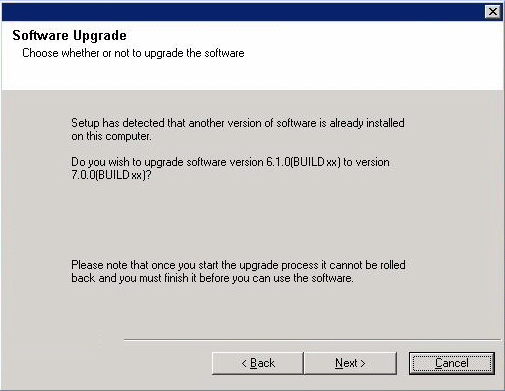
Click Yes to continue.
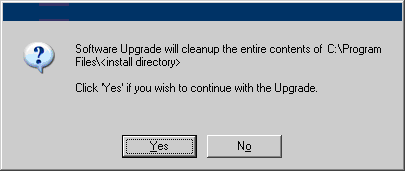
Click Yes to continue.
NOTES
- If IIS is not installed then you will not receive this prompt.
- The screen to the right may look different depending upon the software selected for install or upgrade.
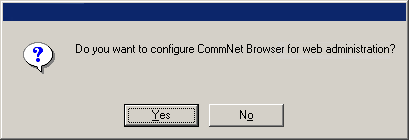
Click Next to continue.
NOTES
- If IIS is not installed then you will not receive this prompt.
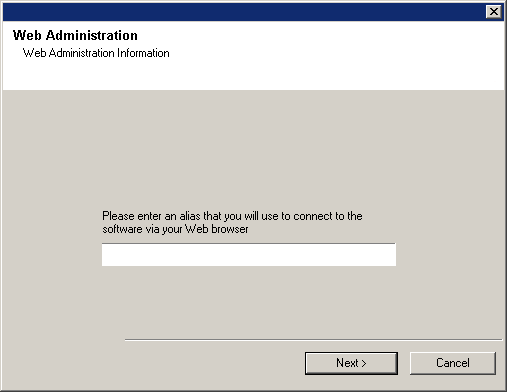
NOTES
- This prompt will be displayed if you have already configured the CommNet Browser for Web Administration.
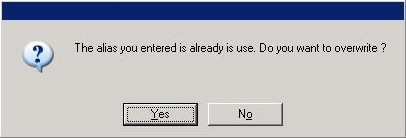
Click Next to continue.
NOTES
- The Summary to the right may look different depending upon the components selected for install or upgrade.
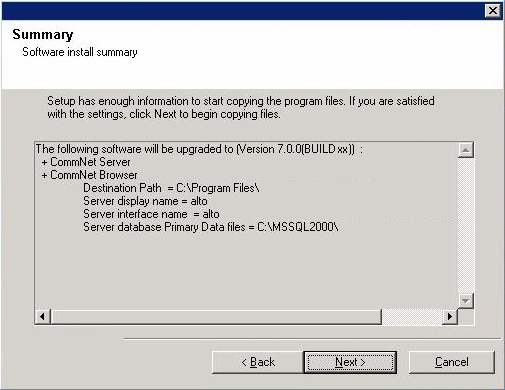
Click Next to continue.
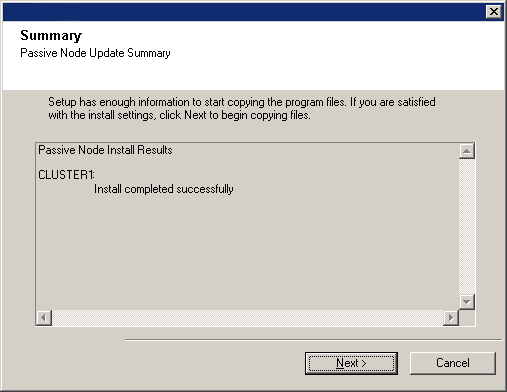
NOTES
- The screen to the right may look different depending upon the components selected for install or upgrade.
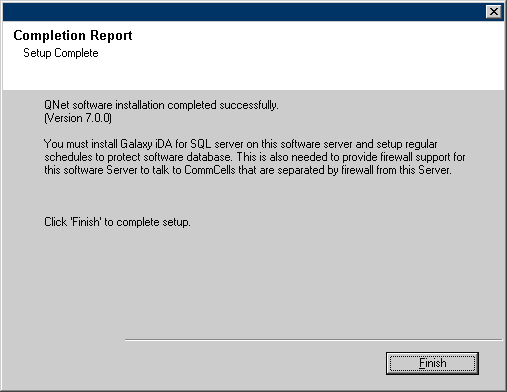
Post-Upgrade Considerations
-
Install post-release updates or Service Packs that may have been released after the release of the software.