If multiple components are installed on a computer the upgrade program automatically upgrades all the components. In such a situation, the upgrade sequence may vary. Refer to the appropriate procedures for upgrade requirements and steps specific to the component.
Verify that the computer in which you wish to upgrade the software satisfies the minimum requirements specified in System Requirements - CommNet Server.
Upgrade Requirements
- Review the following:
-
During the CommNet Server deployment, the CommNet Server Statistics Database is automatically enabled to enhance the performance of the software.
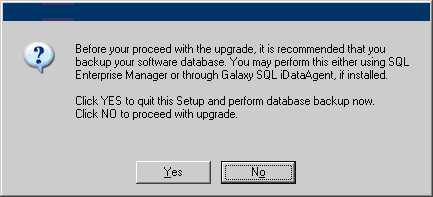
- It is strongly recommended that you backup the CommNet Server database using
the Microsoft SQL iDataAgent
or the SQL Enterprise Manager before
performing an upgrade.
Note that the same SQL Server instance will be used during the CommNet Server upgrade and will not be changed.
- It is strongly recommended that you run the CnReduceDBSize tool before performing the CommNet Server upgrade. This tool compresses the size of the CommNet Database and as a result the upgrade process will be significantly faster. Information on how to run this tool can be obtained in the Readme file provided with this tool. This tool/utility is included in the Resource Pack available in Maintenance Advantage Web site. Download the latest version before using the tool/utility.
|
The CommServe Database Engine will be upgraded to Microsoft SQL Server
database instance with the appropriate service pack during
the CommServe software upgrade.
Verify and ensure that Microsoft SQL Server components are not already installed on the CommServe computer. For example, Microsoft SQL Server Native Client, Microsoft SQL Server VSS Writer, etc. If these components are installed, the CommServe upgrade will fail; uninstall these components before upgrading the CommServe software. |
Before You Begin
- Log on to the computer as the local Administrator or as a member of the local Administrators group on that computer. For clustered computers, log on as Domain User with administrative privileges to all nodes in the cluster.
-
If the QSM software is installed on the CommNet Server computer, using the QSM Service Control Manager, manually stop the QSM Services.
- If the CommNet Server upgrade fails during the following upgrade process, use the DBUpgrade utility from the Resource Pack to perform the upgrade. See Upgrade the CommNet Server Using the DBUpgrade Utility for more information.
Upgrade Procedure
If the installation menu does not display:
- Click the Start button on the Windows task bar, a then click Run.
- Browse to the installation disc drive, select setup.exe, click Open, then click OK.
NOTES
- The options that appear on this screen depend on the computer in which the software is being installed.

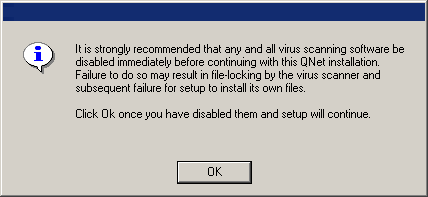
Click OK to continue if virus scanning is disabled.
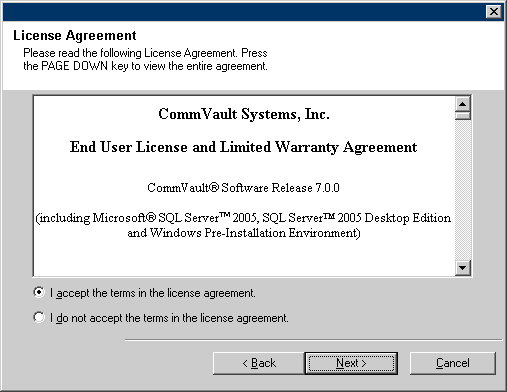
Select I accept the terms in the license agreement then click Next to continue.
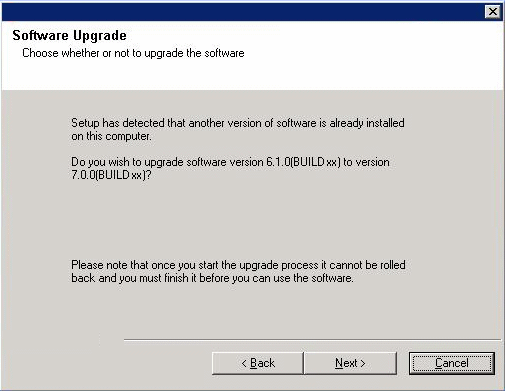
Click Next to continue.
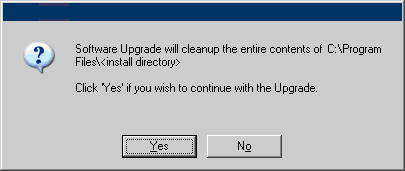
Click Yes to continue.
Click No to continue if your CommNet Server database has been backed up.
Use Windows Authentication - Check this box to use a Windows Administrator account with SQL System Administrator privileges in place of the sa account to access the SQL database. This option is deselected by default.
Click Next to continue.

NOTES
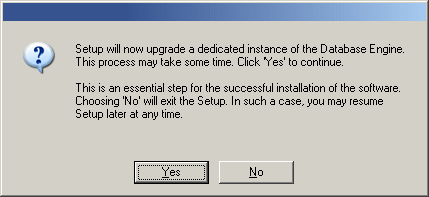
- This will upgrade the CommNet Database Engine to Microsoft SQL
Server (Enterprise Edition) with the appropriate service pack.
See System Requirements
- CommNet Server for more information.
This step may take several minutes to complete.
- Clicking No will exit the upgrade program.
NOTES
- This option will only appear if Microsoft .NET Framework has not been installed on this computer.

NOTES
- This prompt will be displayed only when JRE version 1.5.x is available in the computer.
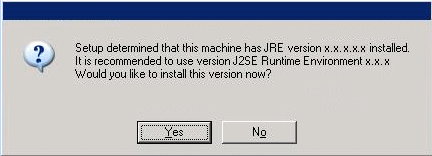
Click Yes to continue.
NOTES
- If IIS is not installed then you will not receive this prompt.
- The screen to the right may look different depending upon the software selected for install or upgrade.
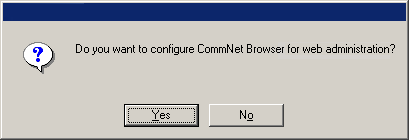
Click Next to continue.
NOTES
- If IIS is not installed then you will not receive this prompt.
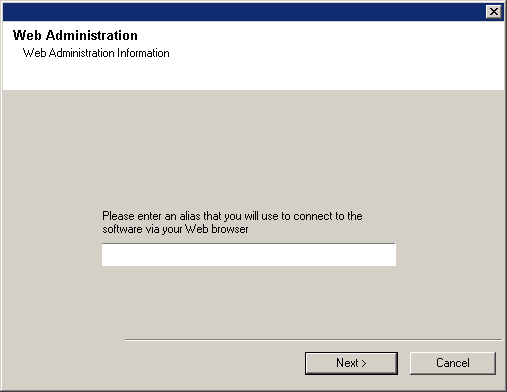
NOTES
- This prompt will be displayed if you have already configured the CommNet Browser for Web Administration.
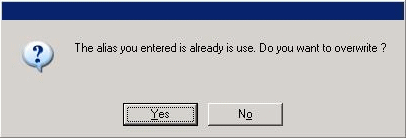
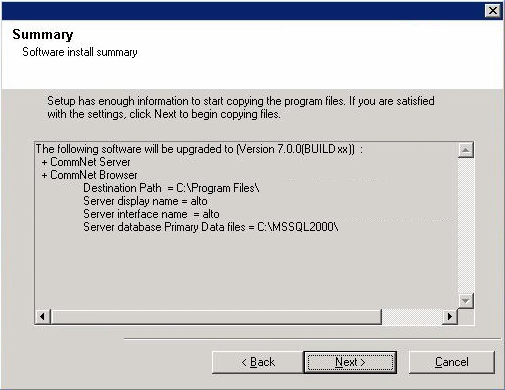
Click Next to continue.
NOTES
- The Summary to the right may look different depending upon the components selected for install or upgrade.
Click Yes to stop the service and continue the upgrade process.
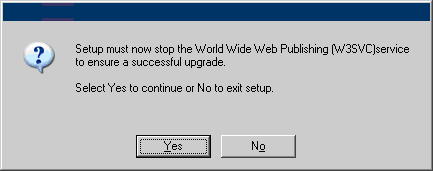
NOTES
- The screen to the right may look different depending upon the components selected for install or upgrade.
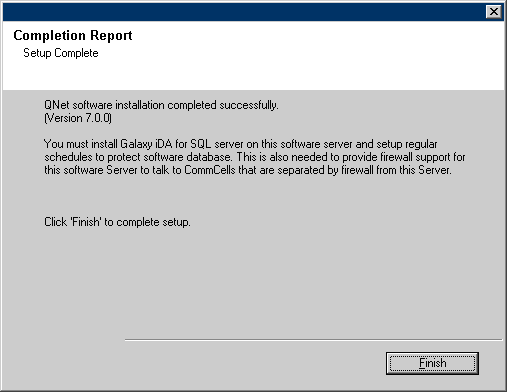
Post-Upgrade Considerations
-
Install post-release updates or Service Packs that may have been released after the release of the software.
-
To protect the CommNet Server database against disasters, such as computer failure, application failure, etc. it is recommended that you have a Disaster Recovery strategy in place. See Disaster Recovery for more information.
-
The CommNet Services will be restarted after the upgrade. Note that you may see a higher CPU and memory utilization for some time immediately after the upgrade.
- With the time-zone name changes implemented in Windows, it is recommended that Cell Synchronization operations for all the cells in the CommNet domain be executed at this time to update the CommNet Server with the new names. For example, (GMT-08:00) Pacific Time (US & Canada); Tijuana will become (GMT-08:00) Pacific Time (US & Canada). For more information, see Synchronize Cells.
- Running reports that include Cell-Client Group information may display errors if the time-zone of the CommNet Server is set to (GMT-08:00) Pacific Time (US & Canada), and the time-zone of the Cell-Client Group is set to (GMT-08:00) Pacific Time (US & Canada), Tijuana. To resolve this issue, set the time-zone of the Cell-Client Group to (GMT-08:00) Pacific Time (US & Canada). See Add/Modify a Cell-Client Group.