NOTES
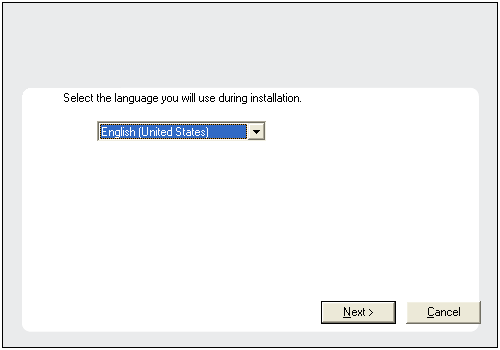
- The options that appear on this screen depend on the computer in which the software is being installed.
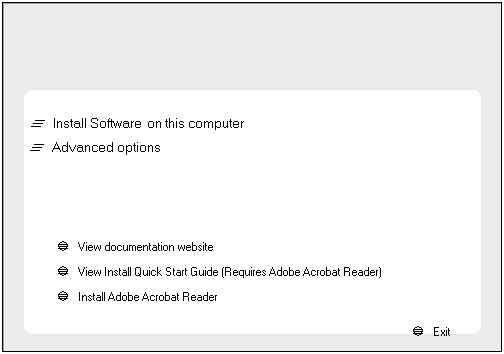
Click Next.
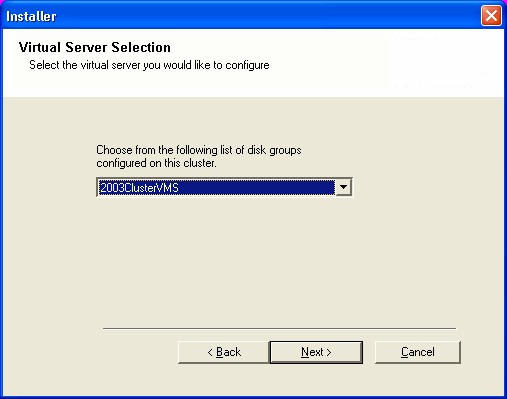
Cluster Selection
If you are installing in clustered environment, follow the steps below. For non-clustered environment, skip to Select Components for Installation.
Click Next to continue.
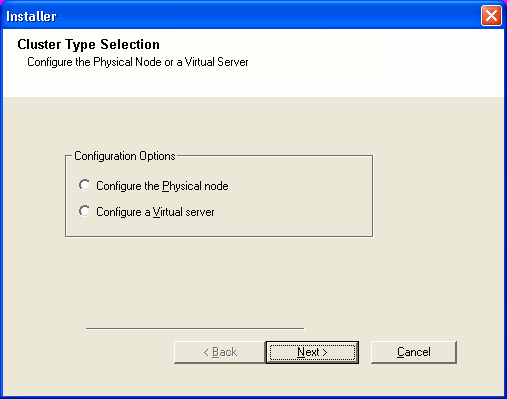
Click Next to continue.
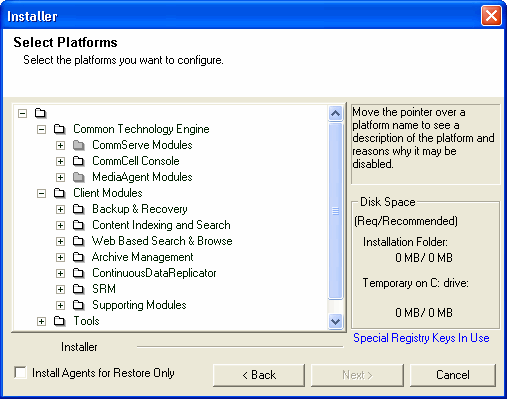
Select Components for Installation
- Expand CommServe Modules and click CommServe.
- Clear SRM Server.
NOTES
- This prompt is displayed only when Microsoft .NET Framework is not installed.
- Once the Microsoft .NET Framework is installed, the software automatically installs the Microsoft Visual J# 2.0 and Visual C++ redistributable package.

Click Next.
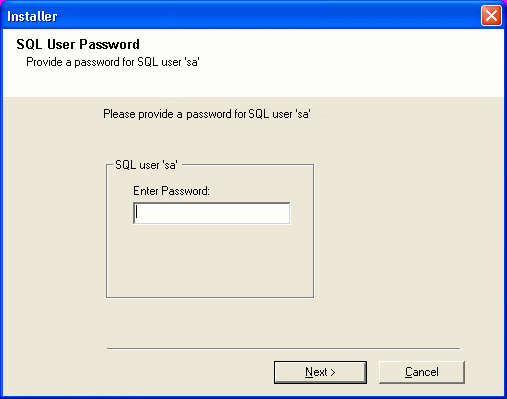
NOTES
- This is the password for the administrator's account created by SQL during the installation.

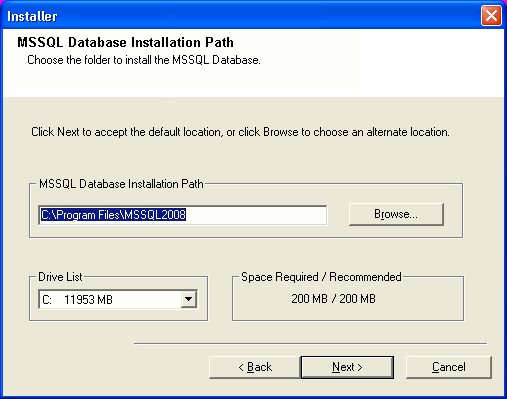
Click Browse to change the default location.
Click Next.
NOTES
- This is the location where you want to setup the Microsoft SQL Server System databases.
- If you plan to perform VSS enabled backups on the CommServe computer, it is recommended that the CommServe database is not installed on the system drive. VSS restores could cause system state restore issues.
- The install program installs the database instance.

Click Browse to change the default location.
Click Next.
NOTES
- This is the location where you want to install Microsoft SQL Server.
- This step may take several minutes to complete.
If the install program does not automatically resume after the reboot:
- Click the Start button on the Windows task bar, and then click Run.
- Browse to the installation disc drive, select Setup.exe, click Open, then click OK.
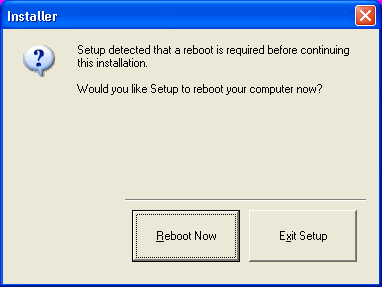
NOTES
- Click the Skip Reboot option if it is displayed and continue with the installation. You can reboot at a later time if the option is displayed.
NOTES
The CommServe Client Name and CommServe Host Name are automatically populated.
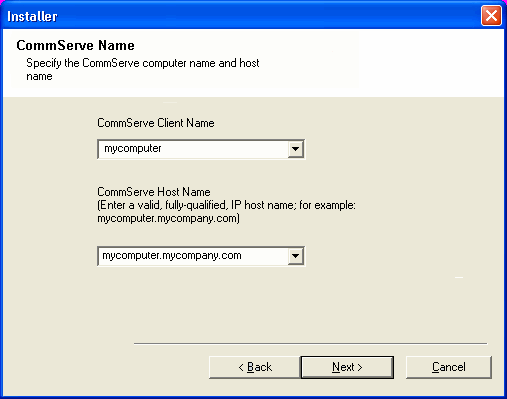
Click Next.
|
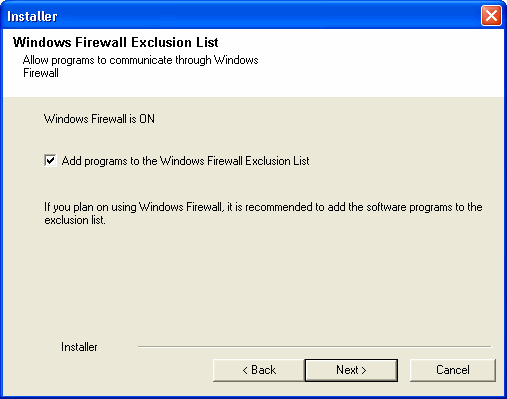
This option enables CommCell operations across Windows firewall
by adding CommCell programs and services to Windows firewall
exclusion list. It is recommended to select this option even if Windows firewall is disabled. This will allow the CommCell programs and services to function if the Windows firewall is enabled at a later time. |
Click Browse to change the default location.
Click Next.
NOTES
- Do not install the software to a mapped network drive.
- Do not use the following characters when specifying the destination
path:
/ : * ? " < > | #
It is recommended that you use alphanumeric characters only.
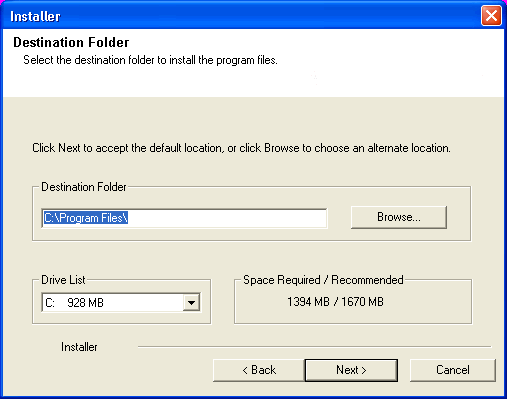
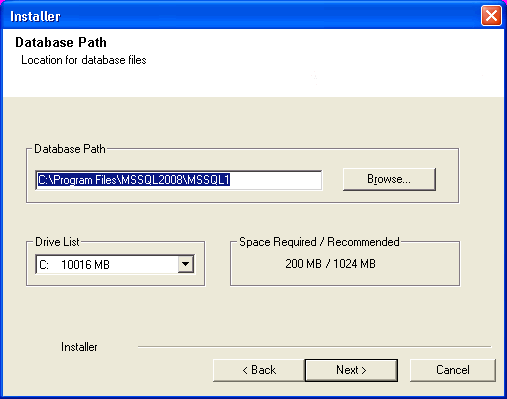
Click Browse to change the default location.
Click Next.
NOTES
- Do not specify a mapped network drive.
- Ensure that the drive has at least 1GB of free space.
- The directory file path selected should not be located on a FAT drive. A FAT drive cannot be supported as the location for this database because it does not allow a temporary sparse file to be generated when creating the database snapshot, which is required for data verification.
NOTES
- This screen may look different from the example shown.
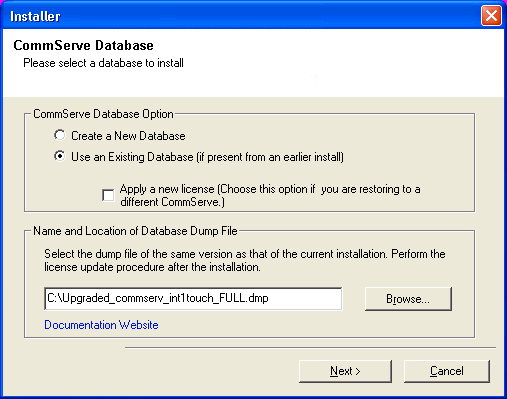
Click Next.
NOTES
- If you selected Use Network Path, you must enter the Network
share username and the Network share password.
- The Network share username is the domain\username of the user that has administrative rights to the Disaster Recovery Backup destination path.
- The Network share password is the password of the network share username.
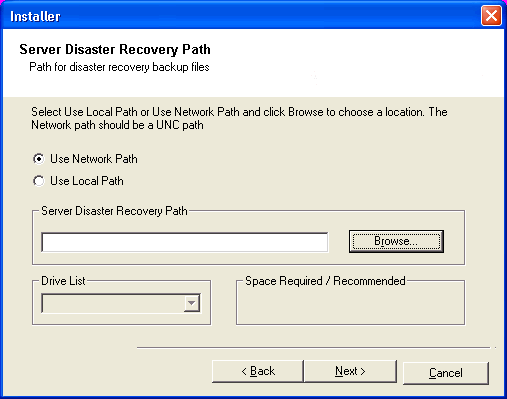
Click Next.
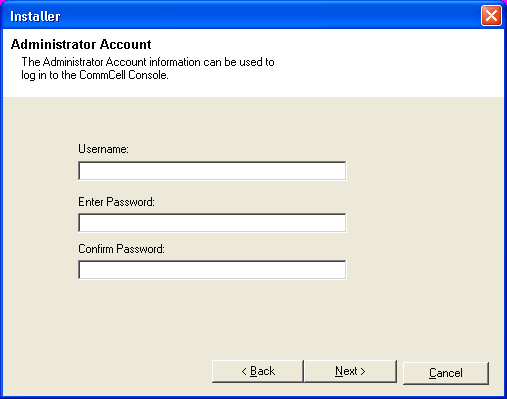
Select Schedule FTP Download of Automatic Updates option to schedule automatic FTP downloading of software updates.
Click Next.
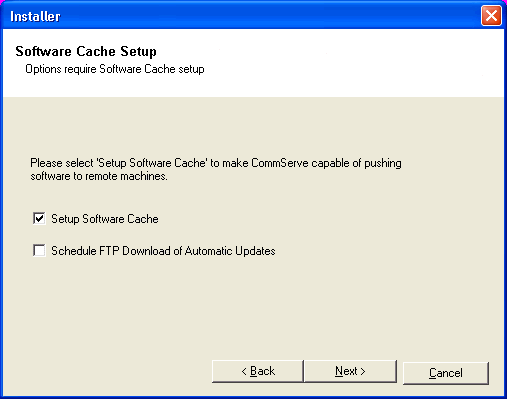
Click Next.
NOTES
- This prompt will be displayed if the Setup Software Cache option was enabled.
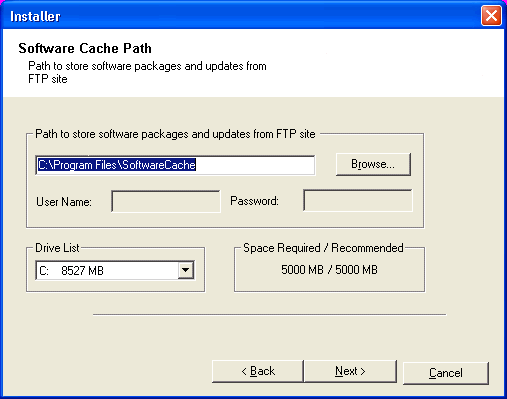
NOTES
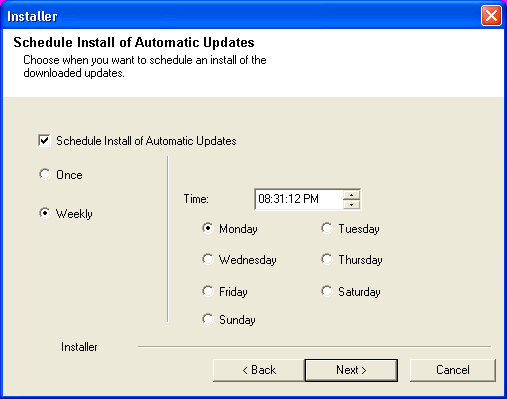
- Schedule Install of Automatic Updates allows automatic installation of the necessary software updates on the computer on a single or weekly basis. If you do not select this option, you can schedule these updates later from the CommCell Console.
NOTES
- The Internet Information Server (IIS) must be installed on this computer in order to configure for web administration.
- Configuring this computer for web administration allows you to:
- Access the CommCell Console and Books Online from a remote computer using a Web browser.
- View CommCell reports via a Web browser.
- Access Books Online by clicking the Help button (the icon with a ?) in the CommCell Console.

NOTES
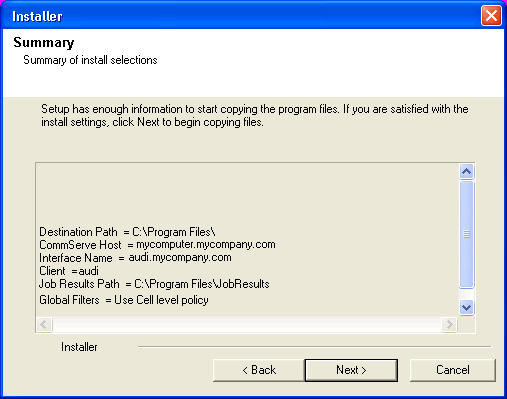
- The install program now starts copying the software to the computer. This step may take several minutes to complete.
Install Remaining Cluster Nodes
If you are installing in clustered environment, follow the steps below to install on remaining nodes of the cluster. For non-clustered environment, skip to Setup Complete.
To complete the install for this node only, click No.

NOTES
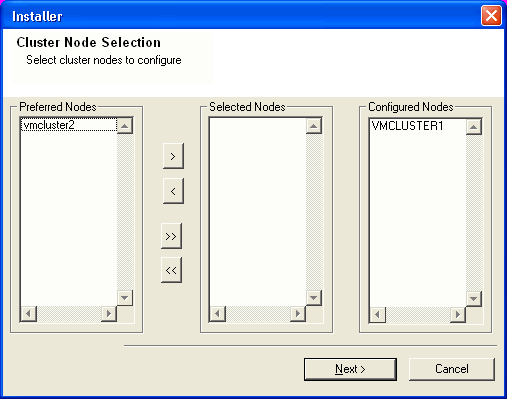
- The list of Preferred Nodes displays all the nodes found in the cluster; from this list you should only select cluster nodes configured to host this cluster group server.
- Do not select nodes that already have multiple instances installed. For more information, see Multi Instancing.
When you have completed your selections, click Next to continue.
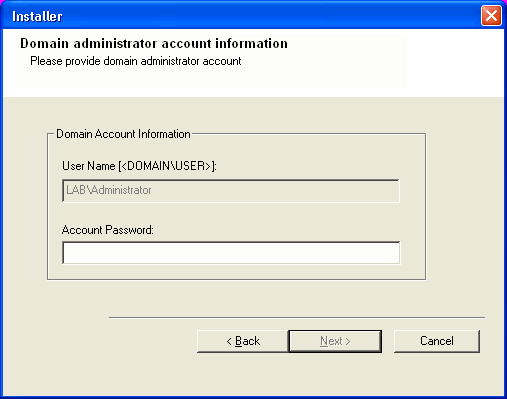
Click Next to continue.
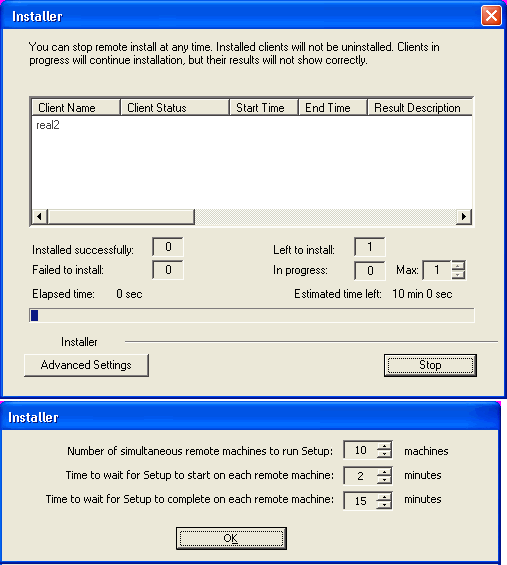
Click Stop to prevent installation to any nodes after the current ones complete.
Click Advanced Settings to specify any of the following:
- Maximum number of nodes on which Setup can run simultaneously.
- Time allocated for Setup to begin executing on each node, after which the install attempt will fail.
- Time allocated for Setup to complete on each node, after which the install attempt will fail.
NOTES
- If, during the remote install of a cluster node, setup fails to complete or is interrupted, you must perform a local install on that node. When you do, the install begins from where it left off, or from the beginning if necessary. For procedures, see Manually Installing the Software on a Passive Node.
NOTES
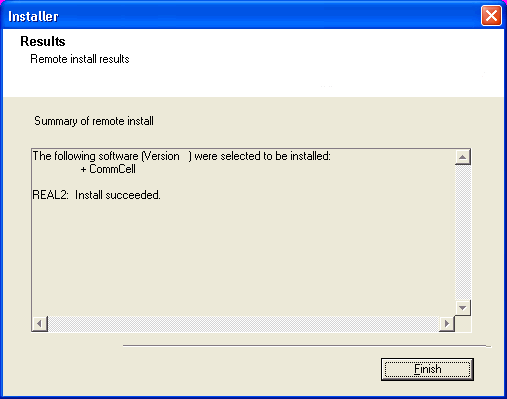
- If any node installation fails, you must manually install the software on that node once the current installation is complete. (See Manually Installing the Software on a Passive Node for step-by-step instructions.)
- The message displayed on your screen will reflect the status of the selected nodes, and may look different from the example.
Click Next to continue.
Setup Complete
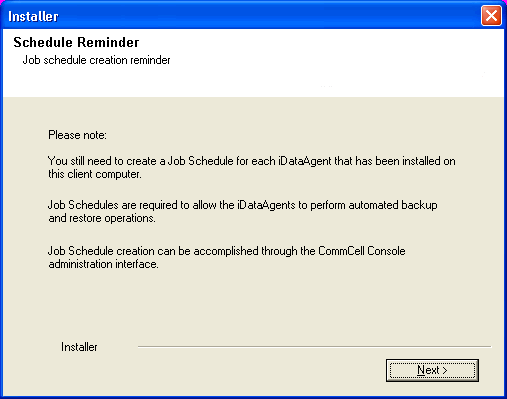
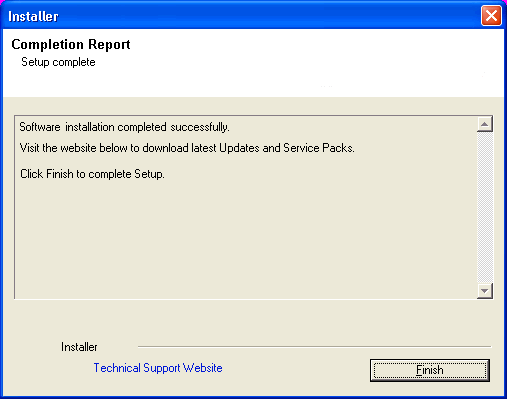
- If you installed both the CommServe software and the CommServe database
in the cluster group:
- If the passive node was not available while installing the software, you must manually install the software on the passive node now. (See Manually Installing the Software on a Passive Node for step-by-step instructions.)
- Fail over the disk group containing the CommServe to the passive nodes at least once, so that the configurations to the passive node occur. This must be done before installing any other software components. The install program updates the passive nodes on the cluster so that the virtual server can fail over. A program to create the CommServe Data Source Name (DSN) is launched automatically on each passive node.
- Fail back the nodes, then continue on to the MediaAgent installation.
- You must install the CommCell Console on a physical node of the cluster before proceeding. For instructions, see Install the CommCell Console - Windows.
- If you installed the CommServe software on the active physical node, and the SQL database resides in the cluster group, you must now install the CommServe software on every passive node as well. For step-by-step instructions, see Manually Installing the Software on a Passive Node.
Post-Install Considerations
General
-
Review Install Considerations after installing the software.
-
Install post-release updates or Service Packs that may have been released after the release of the software. Alternatively, you can enable Automatic Updates for quick and easy installation of updates in the CommCell® console.