
NOTES
- The options that appear on this screen depend on the computer in which the software is being installed.

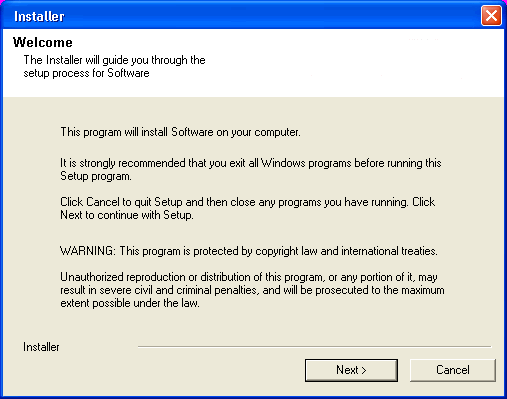
Click Next to continue, if no other applications are running.
Click OK to continue, if virus scanning software is disabled.

Click Next to continue.

NOTES
- The older version number depends on the version in the computer and may look different from the example shown.

NOTES
- The upgrade process deletes and replaces this folder with newer files. To preserve this, move them to another location before clicking Yes.
- Note that the upgrade process does not save any files such as command line scripts or folders from the <software installation path> folder.
- Clicking No will exit the upgrade program.

The upgrade program copies the necessary database scripts to the install location before running them.
NOTES
- Select Download latest scripts from the software provider
website, if you want to download and install the software
using the latest software package.
Make sure you have internet connectivity when you are using this option.
- Select Use the scripts contained on the installation media to continue the upgrade from the current location.
- Select Use scripts from an alternate location, if you have the software package in an alternate location. Type the location of the software package directory, or click Browse to choose the location.

NOTES
- Clicking No will abort the upgrade.
- The size of the CommServe Disaster Recovery depends on the size of the CommServe Database Engine in your environment and may may look different from the example shown.

NOTES
- This prompt will be displayed only if the computer is running a JRE version prior to the one supplied in this installation program or no JRE version is available at all. See System Requirements - CommServe for more information on JRE versions.

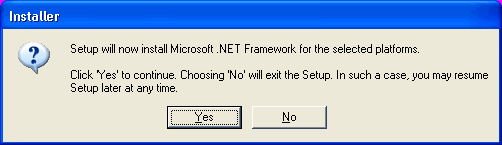
NOTES
- This option will only appear if Microsoft .NET Framework has not been installed on this computer.
NOTES
- This is the password for the administrator's account created by SQL during the installation.
Click Next to continue.

- Reboot Now
If this option is displayed without the Skip Reboot option, the install program has found files required by the software that are in use and need to be replaced. If Reboot Now is displayed without the Skip Reboot option, reboot the computer at this point. The install program will automatically continue after the reboot. - Exit Setup
If you want to exit the install program, click Exit Setup.

NOTES
- This prompt will only be displayed if SQL Server database instance is not installed on this computer.
- Clicking No will exit the install program.

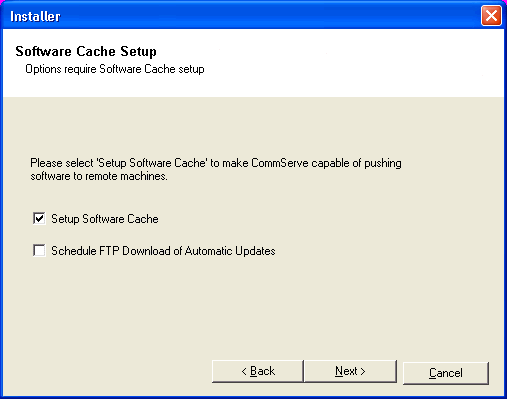
Select Schedule FTP Download of Automatic Updates option to schedule automatic FTP downloading of software updates.
Click Next to continue.
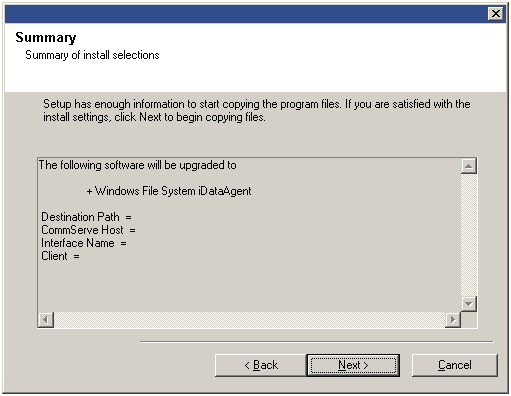
NOTES
- The Summary on your screen will reflect the components installed on the computer, and may look different from the example shown.
The upgrade program now starts the upgrade process. This step may take several minutes to complete.
NOTES
- The Completion Report will reflect the components upgraded on the computer, and may look different from the example shown.
The upgrade is now complete.
