

| Overview | Prepare CommCell | Firewall Using Proxy | Firewall Without Proxy | Create Installation Package | Web Access |
|
SKIP THIS Page IF YOU ARE USING PROXY Server
Click  to Continue.
When CommCell components are separated by a firewall, the components must be configured with the connection route to reach each other across the firewall. Once configured, the components seamlessly communicate across the firewall for all data management operations such as backup, browse, restore, etc.
The following sections explain the steps involved in operating the direct connection setup, where the client opens tunnel connection toward the CommServe and the MediaAgent:
Review the following considerations before you begin:
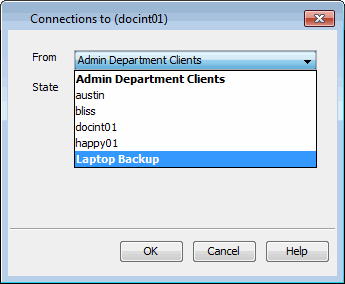
| 1. | From the CommCell Console, right-click the CommServe computer and click Properties. |
 |
| 2. |
|
 |
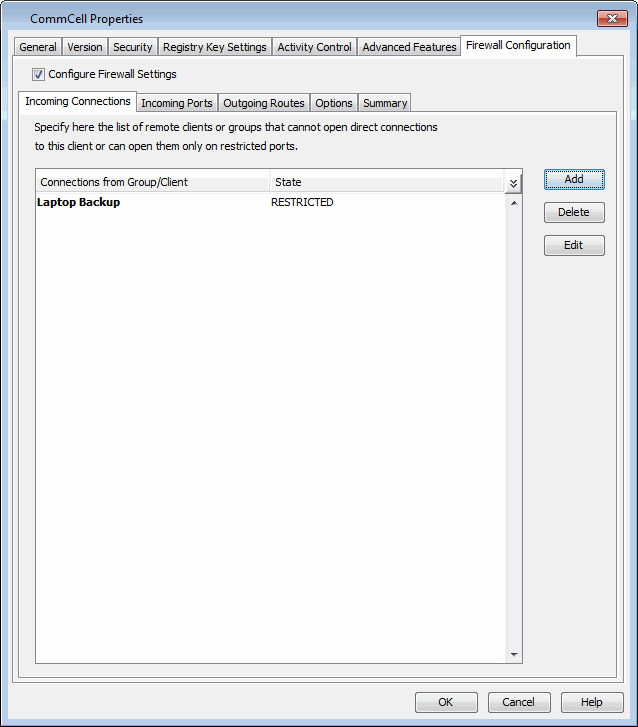
| 3. |
|
 |
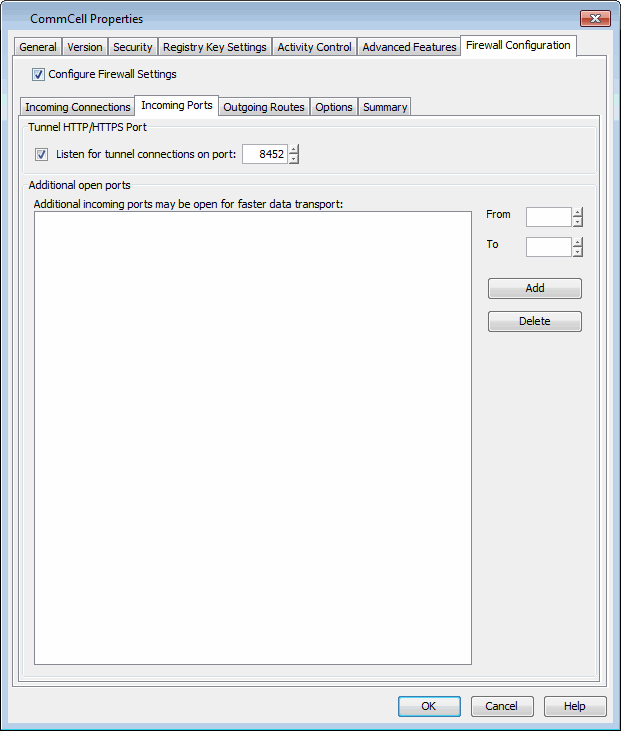
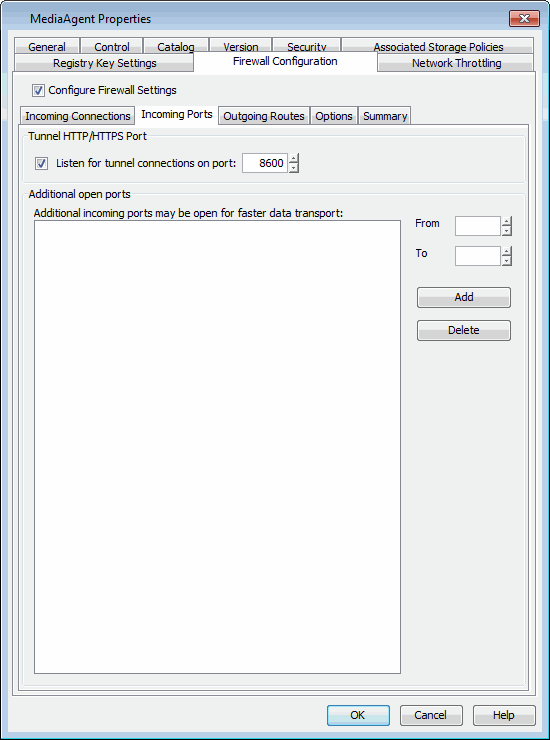
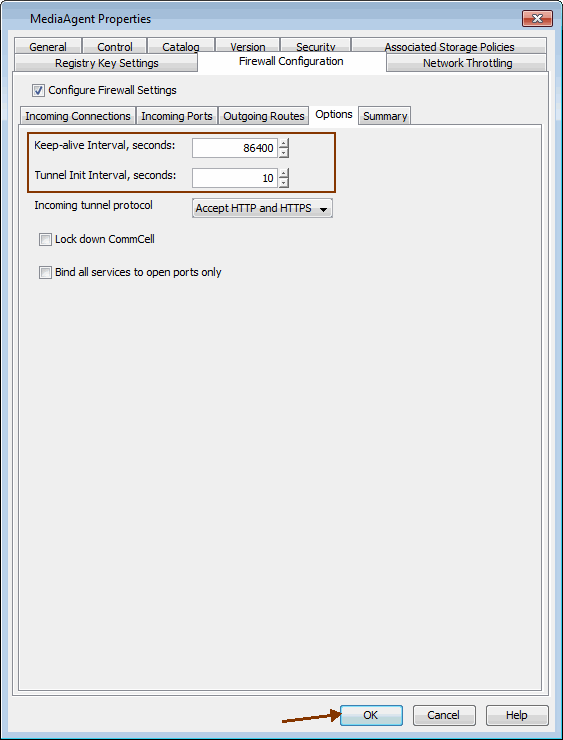
| 4. | Click Incoming Port tab. |
 |
| 5. |
|
 |
| 6. |
|
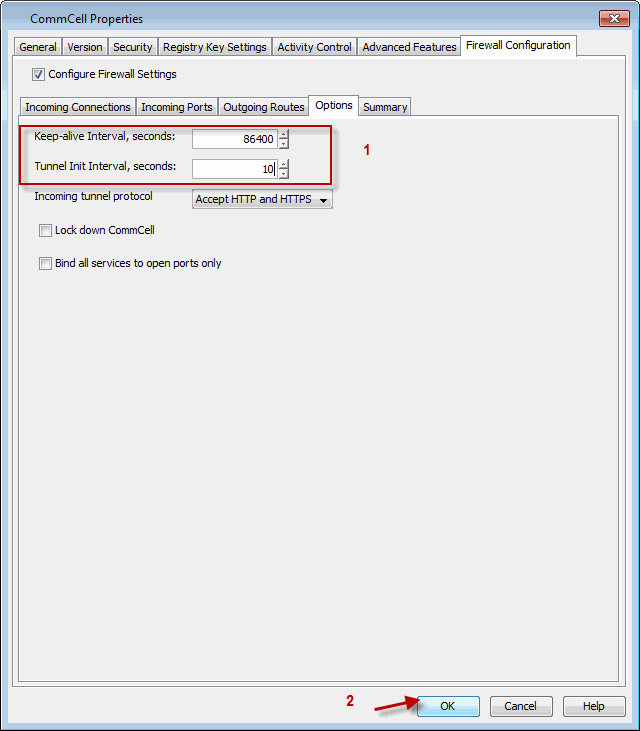 |
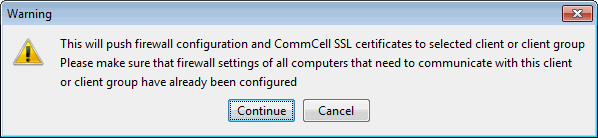
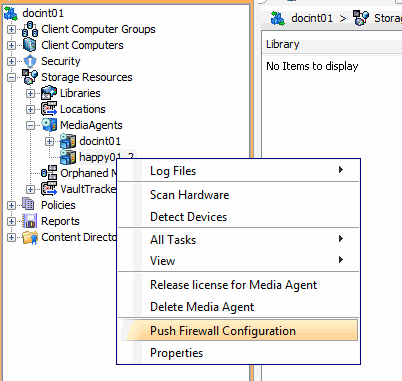
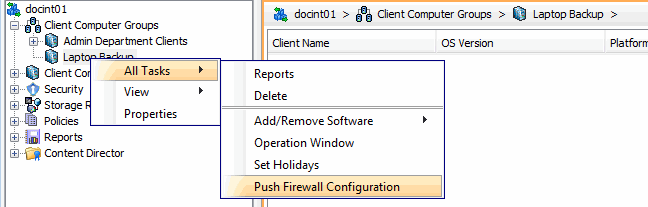
| 7. | From the CommCell Browser, right-click the CommServe computer, point All Tasks and then click Push Firewall Configuration. |
 |
| 8. | Click Continue. |
 |
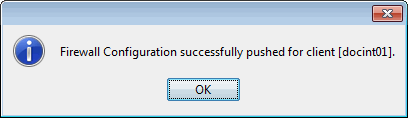
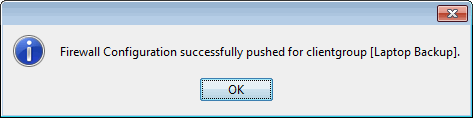
| 9. | The specified configuration is saved. The firewall configuration was pushed successfully. |
 |
| 10. | From the CommCell Console, navigate to Storage-Resource | MediaAgents, select and right-click <media_agent> and then click Properties. |
 |
| 11. |
|
 |
| 12. |
|
 |
| 13. | Click the Incoming Ports tab. |
 |
| 14. |
|
 |
| 15. |
|
 |
| 16. | From the CommCell Console, navigate to Storage-Resource
| MediaAgents. Right-click the <media_agent> and then click Push Firewall Configuration. |
 |
| 17. | Click Continue. |
|
| 18. | The specified configuration is saved. The firewall configuration was pushed successfully. |
|
| 19. |
|
 |
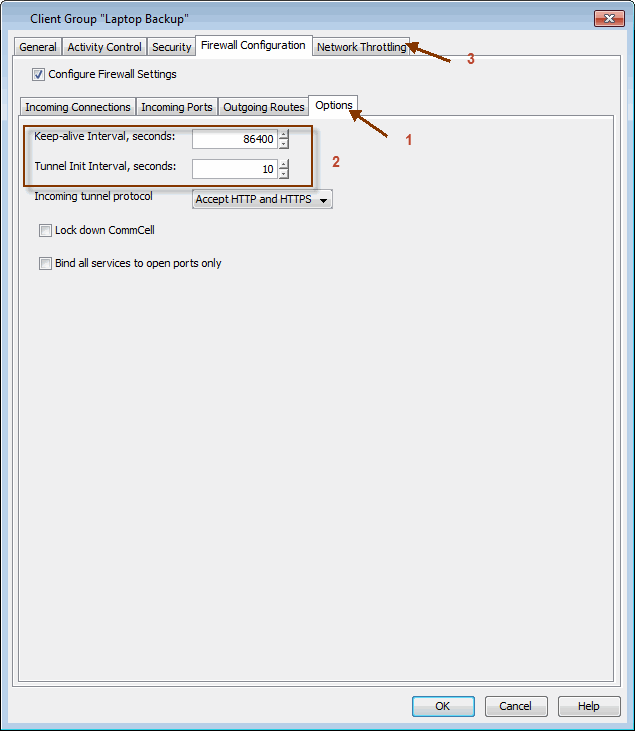
||
| 20. |
|
 |
||
| 21. |
|
 |
||
| 22. |
|
 |
||
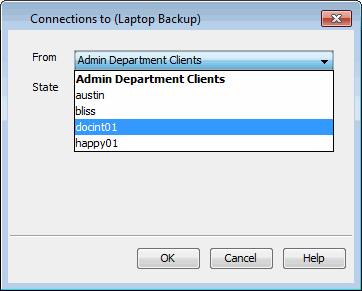
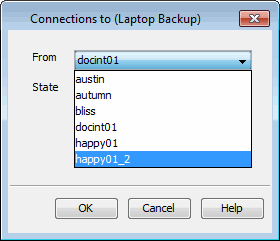
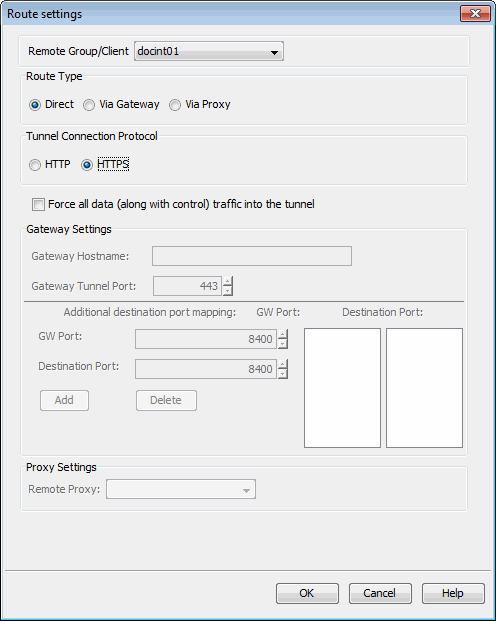
| 23. | Click the Outgoing Routes tab. Click Add. |
 |
||
| 24. |
|
 |
||
| 25. |
|
 |
||
| 26. |
|
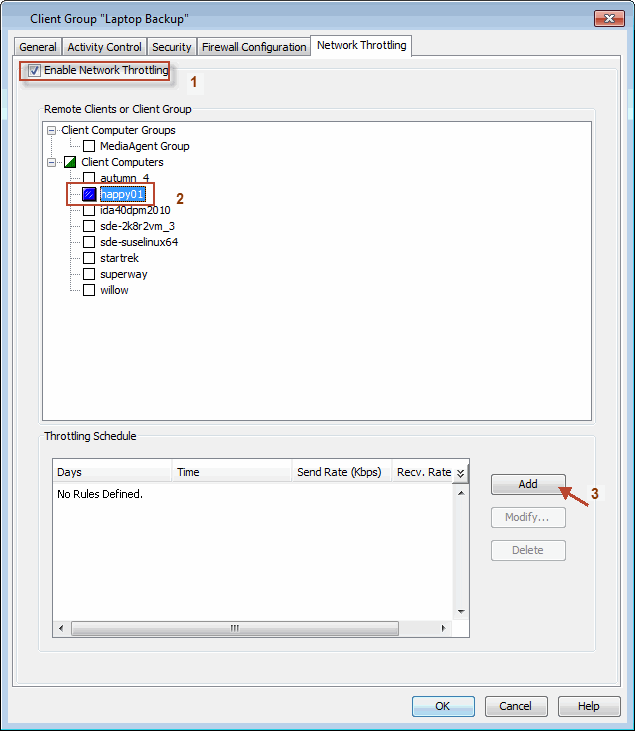 |
||
| 27. |
Specify the following and then click OK.
|
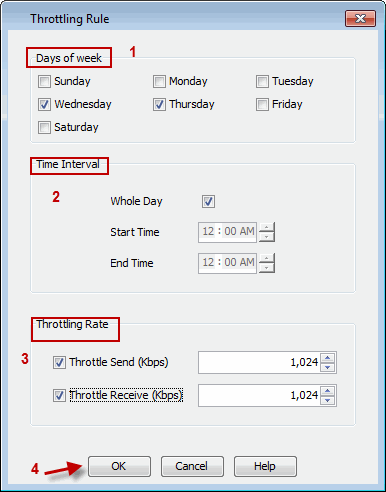 |
||
| 28. |
The newly added throttling rules will be displayed in Throttling
Schedule. Click OK. |
 |
||
| 29. |
|
 |
||
| 30. | Click Continue. |
|
||
| 31. | The specified configuration is saved. The firewall configuration was pushed successfully. |
 |
||
| 32. | The newly added clients will automatically be registered in the client group and will hence inherit the firewall settings established in the client group. |
|
|