

| Overview | Prepare CommCell | Firewall Using Proxy | Firewall Without Proxy | Create Installation Package | Web Access |
  |
The following section provides the steps to setup a self-service web console to perform backup, restore and download operations on laptop:
In order to use web console for backup and restore operations, you need to install Web Server and Web Client on any computer which can connect with the CommServe. The Web Server and Web Client can be installed on the same computer or on different computers.
For the web console to be available to users without a VPN session, install the Web Client on a dedicated host located in the DMZ, separate from the Web Server.
| 1. | Ensure that the IIS is installed on the computer before installing the Web Server and Web Client. | |||
| 2. | Run Setup.exe from Software Installation Package on the computer that satisfies the minimum System Requirements. | |||
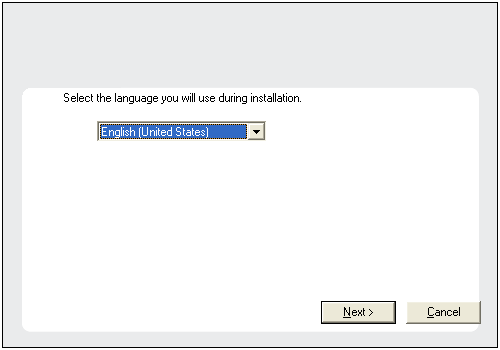
| 3. | Select the required language. Click Next. |
 |
||
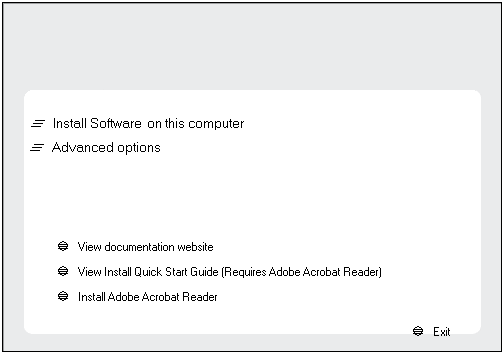
| 4. | Select the option to install software on this computer. |
 |
||
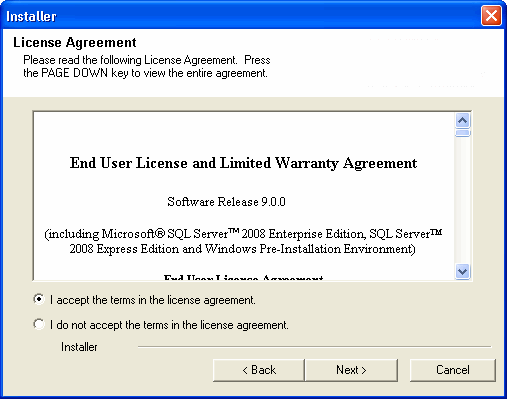
| 5. | Select I accept the terms in the license agreement. Click Next. |
 |
||
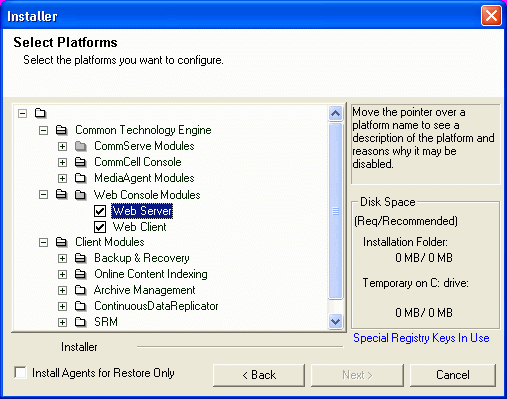
| 6. | Expand Common Technology Engine | Web Console
Modules
and select one of the following options:
For the web console to be available to users without a VPN session, install the Web Client on a dedicated host located in the DMZ, separate from the Web Server. Click Next. |
 |
||
| 7. | Click Yes. |
 |
||
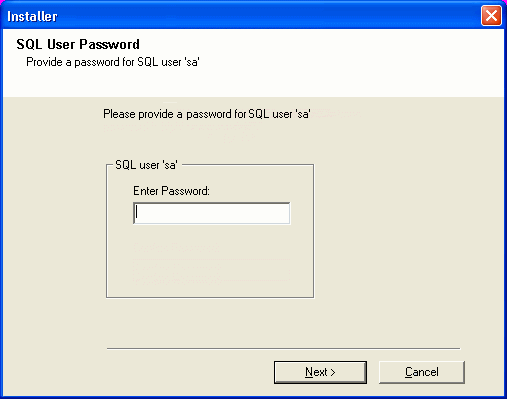
| 8. | Specify the SQL Server System Administrator password. Click Next.
|
 |
||
| 9. | Click Yes. |
 |
||
| 10. | Verify the Installation Path for the Database Engine. Click Browse to change the default location. Click Next.
|
 |
||
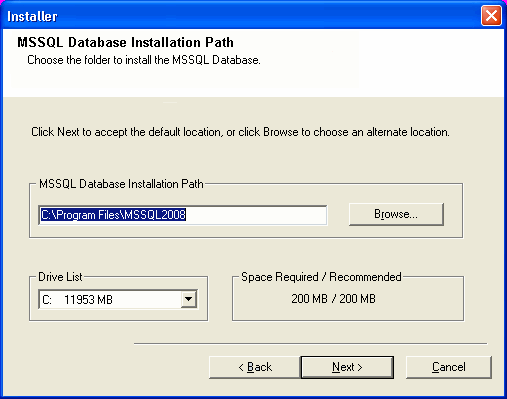
| 11. | Verify MSSQL Database Installation Path. Click Browse to change the default location. Click Next.
|
 |
||
| 12. |
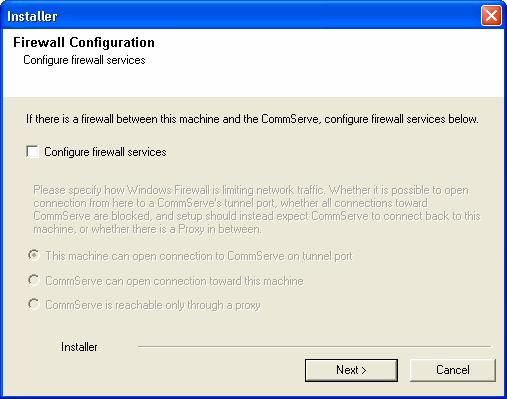
If this computer and the CommServe is separated by a firewall, select the Configure
firewall services option and then click Next.
For firewall options and configuration instructions, see Firewall Configuration and continue with the installation. If firewall configuration is not required, click Next. |
 |
||
| 13. |
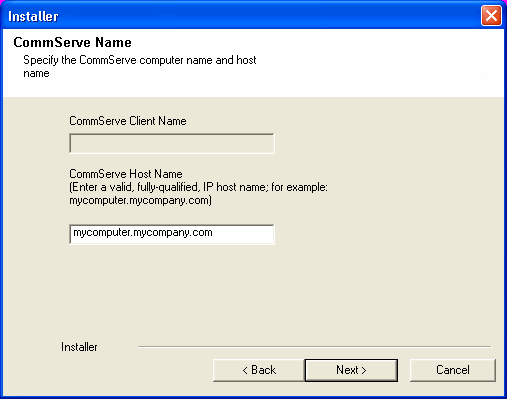
Enter the fully qualified domain name of the CommServe
Host Name. Click Next.
|
 |
||
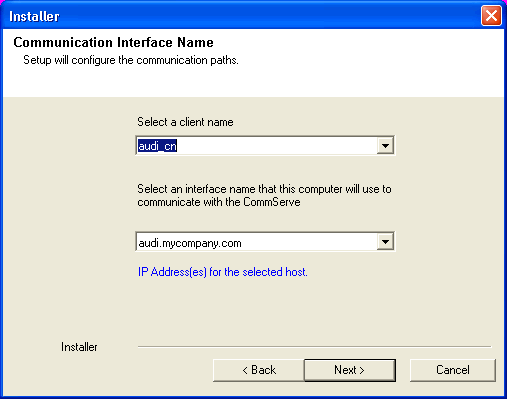
| 14. | Click Next. |
 |
||
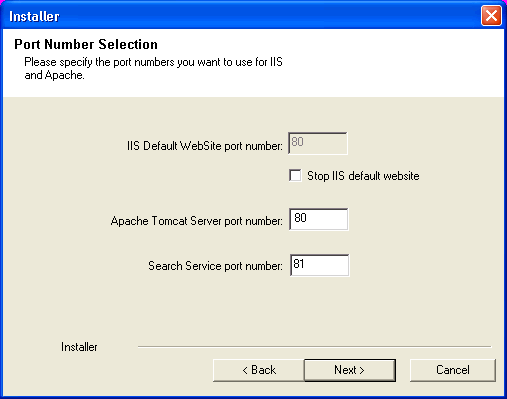
| 15. | Modify Apache Tomcat Server port number to 82. Click Next.
|
 |
||
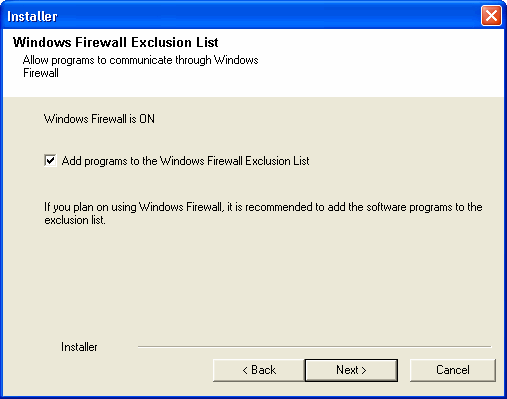
| 16. |
Select Add programs to the Windows Firewall Exclusion
List, to add CommCell programs and services to the Windows Firewall
Exclusion List. Click Next.
|
 |
||
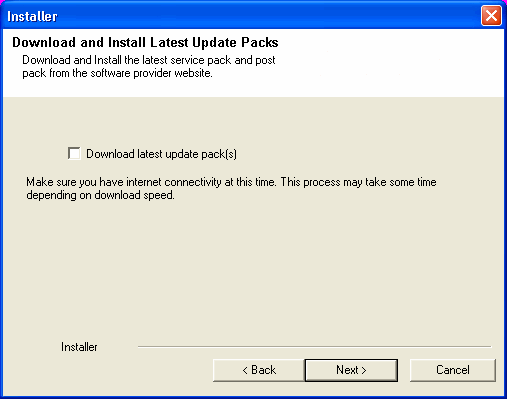
| 17. | Click Next. |
 |
||
| 18. |
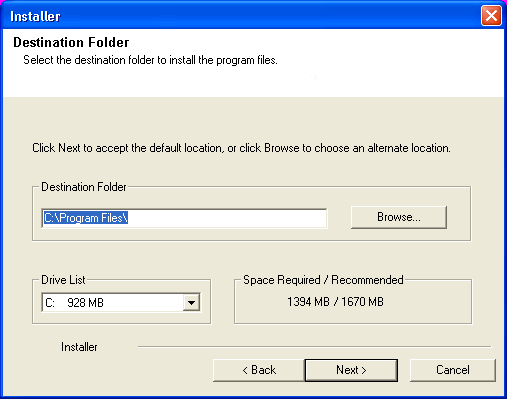
Verify the default location for software installation. Click Browse to change the default location. Click Next.
|
 |
||
| 19. |
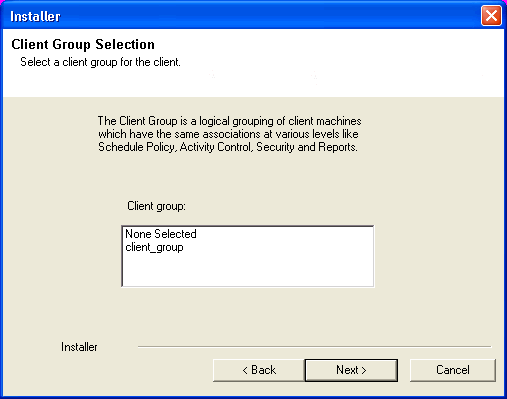
Select a Client Group from the list. Click Next.
|
 |
||
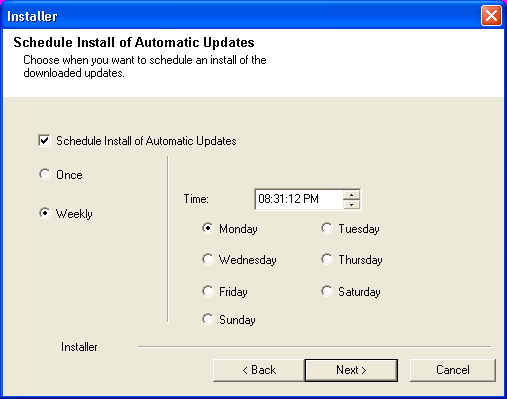
| 20. | Click Next. |
 |
||
| 21. | Click Next. |
 |
||
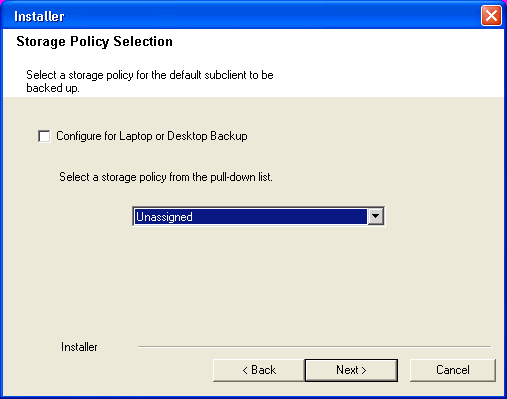
| 22. | Select a Storage Policy. Click Next. |
 |
||
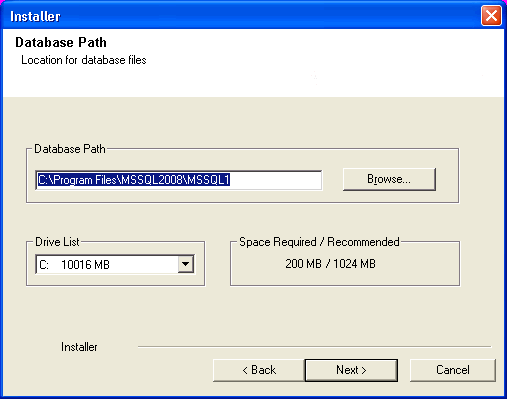
| 23. | Enter the Web Server database installation path. Click Browse to modify the default location. Click Next. |
 |
||
| 24. | Click Next. |
 |
||
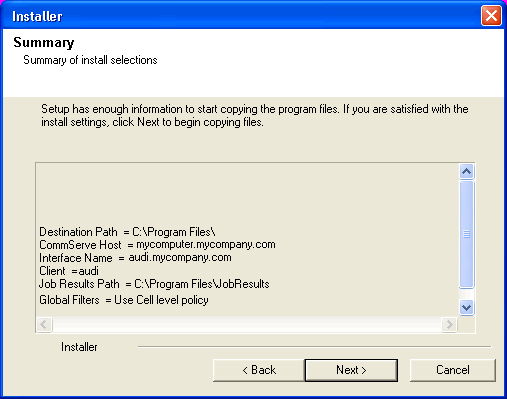
| 25. | Click Next. |
 |
||
| 26. | Click Yes.
|
 |
||
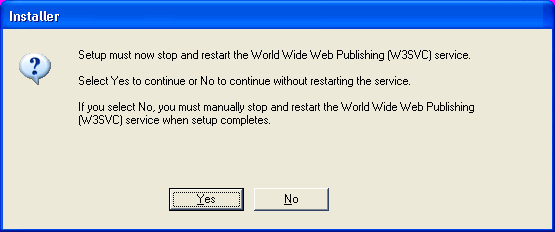
| 27. | Click Yes. |
 |
||
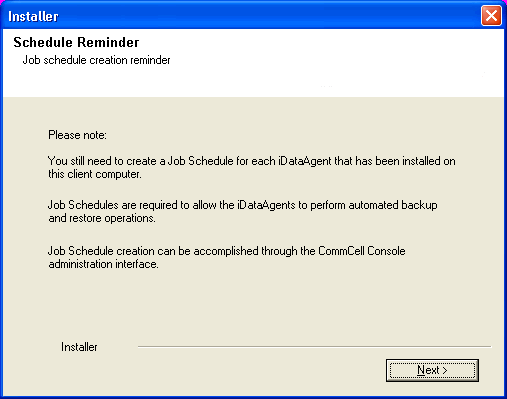
| 28. | Click Next. |
 |
||
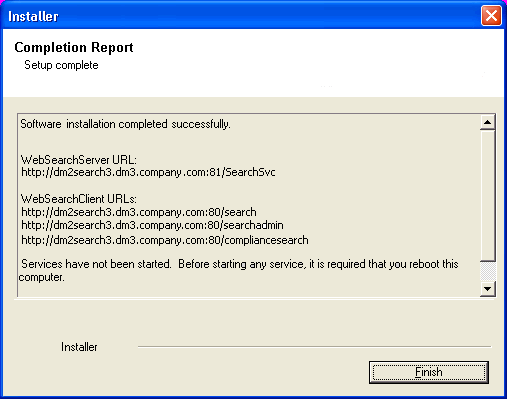
| 29. | Click Finish to finish the installation. |
 |
Once the Web Server and Web Client are installed perform the following to configure the Search Console.
You need to provide the information required to communicate with the Active Directory service provider (such as domain name, hostname of directory server, directory service type, username and password) so that it will be maintained in the Web Server database for authentication purposes. Adding a new domain controller registers the external domain with the Web Server.
| 30. | From the CommCell Browser, expand the Security node, right-click Name Servers | Add New Domain and click Active Directory. |
 |
| 31. |
|
 |
| 32. |
|
 |
| 33. | Click OK. |
 |
| 34. | Once you have registered the Domain Controller, restart the IIS services on the Web Server. |
|
The Single Sign On (SSO) enables laptop users to automatically login to the Web Console using their user-account credentials from the Active Directory service provider.
Use the following steps to enable Single Sign On, on the computer where the Web Client is installed:
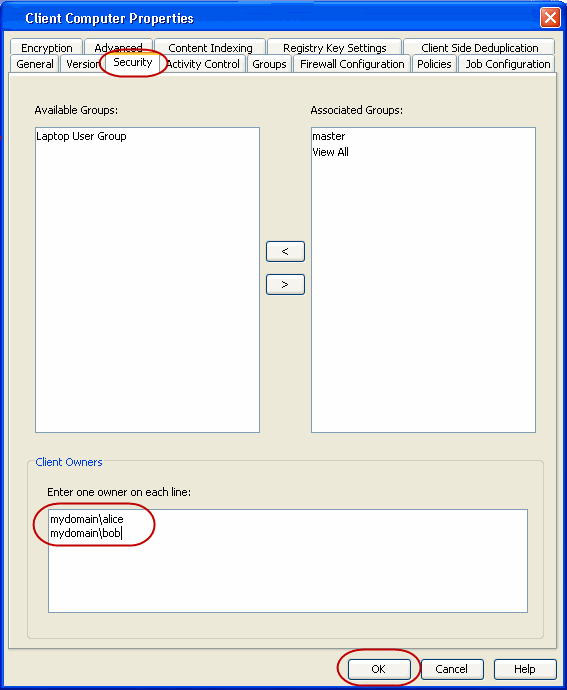
By default, the following users will be designated as owners of the laptop (client) and will have privileges to access the Web Console:
The Active Directory domain must be the domain name specified in step 31 during Add a New Domain Controller.
Use the following steps to include users who are not members of the Administrators group:
| 36. |
|
 |
Click Advanced Options for additional information.
  |