If multiple components are installed on a computer, then ensure that all applicable components are selected for upgrade. In such a situation, the upgrade sequence may vary. Refer to the appropriate procedures for upgrade requirements and steps specific to the component.
Verify that the computer in which you wish to upgrade the software satisfies the minimum requirements specified DataArchiver WebProxy Agent section of System Requirements - Exchange Mailbox Archiver Agent.
Supported Upgrade Paths
The following table provides a list of supported upgrade paths for the current software version. If the version currently installed on your computer is not listed here, contact your software provider for more information.
Installed Version |
Upgrade to Version 8.0.0 |
Information |
| 6.1.0 | Supported | Perform a direct upgrade to Version 8.0.0. |
| 7.0.0 | Supported | Perform a direct upgrade to Version 8.0.0. |
Upgrade Requirements
General
- Review the Upgrade Strategy before upgrading the software.
- Verify that no jobs are in progress or scheduled to occur while the
software is being upgraded on the client. If jobs are scheduled, either
perform the upgrade at another time or disable all jobs in the client using
the Activity Control tab from the Client Computer Properties
dialog box in the CommCell Console.
Once the upgrade is completed, you can enable the jobs from this dialog box.
- Verify that the CommServe computer is accessible and all services on the CommServe and the MediaAgent in which you wish to perform the upgrade are running.
- Verify that the SQL Server instance used by the CommServe is running on the CommServe computer.
- Verify that all applications (CommCell Console, Service Control Manager) are closed.
- Close all applications and disable any programs that run automatically, including antivirus, screen savers and system utilities. Some programs, including antivirus software, may be running as a service. Stop and disable all non-essential services before you begin. You can re-enable them after the upgrade.
- The files and folders associated with CommCell components should not be opened by other applications (for example, Windows Explorer, FTP, etc.) on this computer or from other computers during the upgrade.
- Verify that you have the
software
installation disc that is appropriate to the destination computer�s
operating system.
Make sure that you have the latest software installation disc before you start to install the software. If you are not sure, contact your software provider.
| The DataArchiver WebProxy Agent for Exchange and the DataArchiver Outlook Add-In must be at the same release level in order for secure stub recalls to be successful in an RPC over HTTP configuration. |
Before You Begin
- Ensure that you are logged on as the Domain User with administrative privileges to all nodes in the cluster.
Upgrade Procedure
Upgrade the Physical node
NOTES
- This screen will only appear when the bAllow32BitInstallOn64Bit registry key has been created and enabled on this computer.
NOTES
- The options that appear on this screen depend on the computer in which the software is being installed.
Click Next to continue, if no other applications are running.

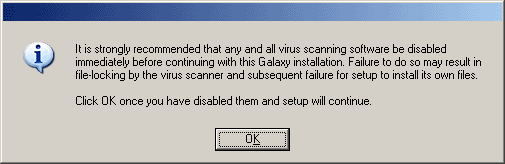
Click OK to continue, if virus scanning software is disabled.
Click Next to continue.

Click Next to continue.

NOTES
- New components from this version can only be installed after upgrading the existing components.
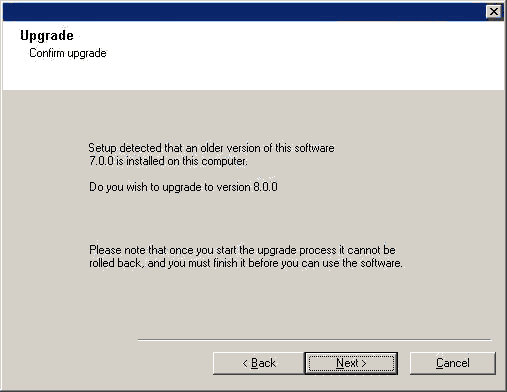
- The older version number depends on the version in the computer and may look different from the example shown.
NOTES
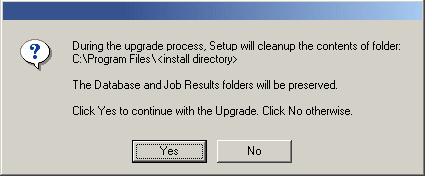
- The upgrade process deletes and replaces this folder with newer files.
To preserve files or folders within the <software installation path> folder, move them to another location before clicking Yes.
- Clicking No will exit the upgrade program.
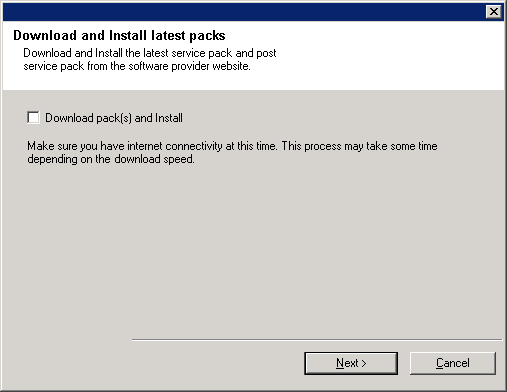
NOTES
- Internet connectivity is required to download updates.
- This step is applicable when installing on the first instance.
- Updates are downloaded to the following directory:
<software installation>/Base/Temp/DownloadedPacks.
They are launched silently and installed automatically for the first instance.
Click Next to continue.
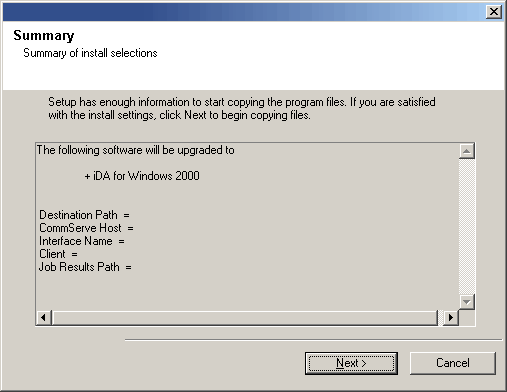
NOTES
- The Summary on your screen will reflect the components installed on the computer, and may look different from the example shown.
The upgrade program now starts the upgrade process. This step may take several minutes to complete.
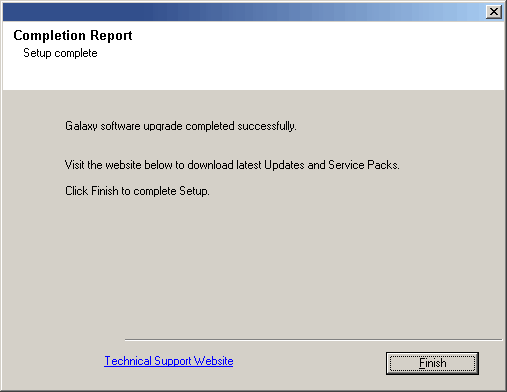
NOTES
- The Completion Report will reflect the components upgraded on the computer, and may look different from the example shown.
The upgrade is now complete.