Install Procedure
Getting Started
If the installation menu does not appear:
- Click Start on the Windows task bar, and then click Run.
- Browse the installation disc drive, right-click Setup.exe, then click Open.
In the language screen, click the down arrow, select the desired language from the pull-down list, and then click Next to continue.
NOTES
- This screen will only appear when the bAllow32BitInstallOn64Bit registry key has been created and enabled on this computer.
NOTES
- The options in this menu depend on the computer in which the software is being installed.
Click Next to continue, if no other applications are running.
Click Next to continue.
Click Next to continue.
Select Components for Installation
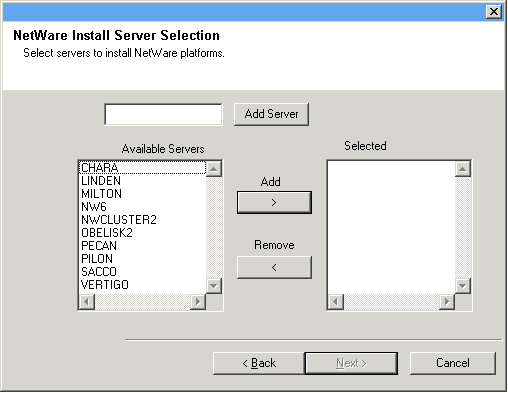
Select the NetWare server(s) to which you want to install the Agent(s). You can select multiple servers, provided you have supervisor rights on each one.
NOTES
- If the install program was unable to discover an existing server, its name can be added to the Available Servers list by manually entering the name, and clicking Add Server.
- To add and remove existing servers to and from the Selected Servers list,
use the Add and Remove buttons.
- If you are not logged on to the selected server(s), the Novell Login dialog box appears. To install software to the server(s), you must log on as a user with Supervisor rights or use an account that has Read/Write/Modify/Erase/Create/File Scan rights to the SYS:SYSTEM directory.
- If your account on any available NetWare server does not have the appropriate rights, a dialog box warns you that you do not have the authority to install to that server. The server remains in the list of available servers. To install to that server, you must log off and log back on as a user with the appropriate rights.
Click Next to continue.
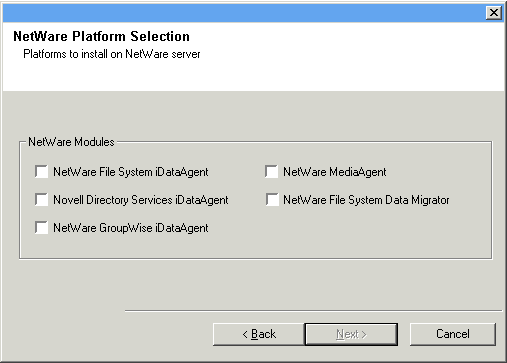
NOTES
- The NetWare File System iDataAgent option is also selected as the NetWare File System iDataAgent is automatically installed when you install the NetWare MediaAgent.
- If you have selected multiple servers in the NetWare Install Server Selection dialog box, repeat this step for each of the servers that were selected.
Click OK to continue.
An error message is displayed if you do not have four free network drives. Make sure that you have four network drives available and then click Next.
NOTES
- In an Express install the Browse button is disabled.
- Destination folders:
- must follow DOS naming conventions
- must not exceed a length of 8.3 characters
- must not use the following characters when specifying the destination
folder:
/ : * ? " < > |
It is recommended you use alphanumeric characters only.
Click Next to continue.

Configuration of Other Installation Options
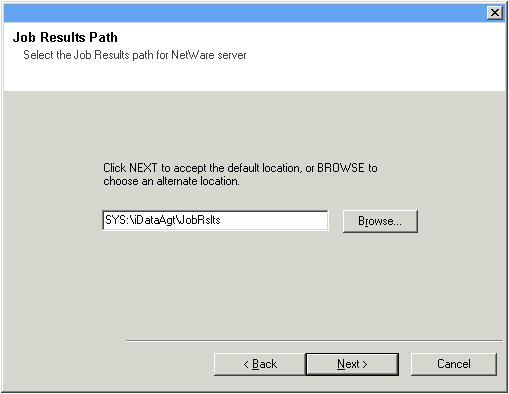
- Type the location of the client's job results directory, or click Browse.
NOTES
- The Agent uses the job results directory to store the client's backup and restore job results.
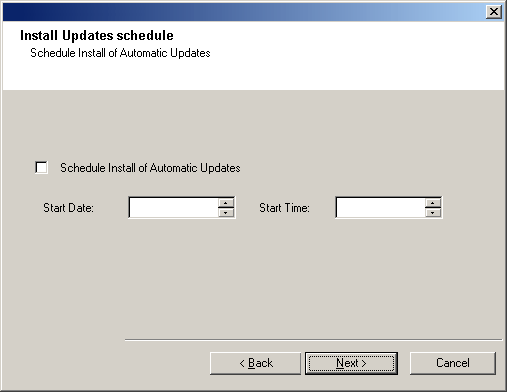
Schedule Automatic Update
NOTES
- Install Updates Schedule allows automatic installation of the necessary software updates on the computer on a single or weekly basis. If you do not select this option, you can schedule these updates later from the CommCell Console.
- To avoid conflict, do not schedule the automatic installation of software updates to occur at the same time as the automatic FTP downloading of software updates.
- You may be prompted to reboot the computer before restarting services.
-
If a component has already been installed, this screen will not be displayed; instead, the installer will use the same option as previously specified.
Click Next to continue.
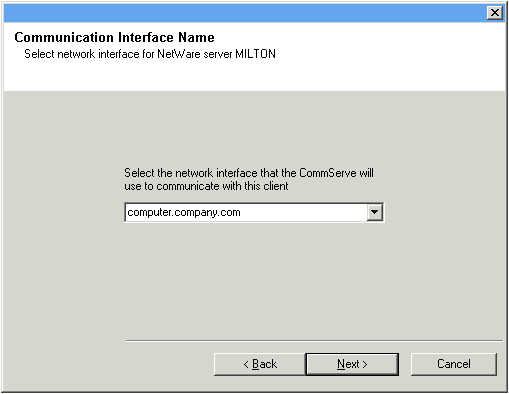
Configure Client Name
- If resolvable, the local (NetBIOS) name of the client computer.
- The TCP/IP IP host name of the NIC that the client computer must use to communicate with the CommServe.
NOTES
- This dialog box will appear once for each server selected for installation. For example, if you are installing four servers, this dialog box will appear four times.
- The name of the NetWare server you are configuring is indicated in each screen. In an Express install, this dialog box will repeat for each server selected for installation.
Click Next to continue.
NOTES
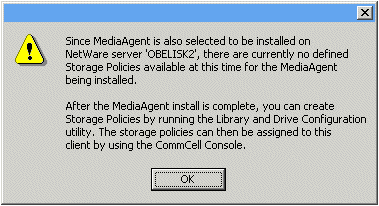
- A storage policy directs backup data to a media library. Each library has a default storage policy.
- You can configure the storage policies after installing the NetWare MediaAgent(s) and then configuring the libraries and drives.
Configure Account Information
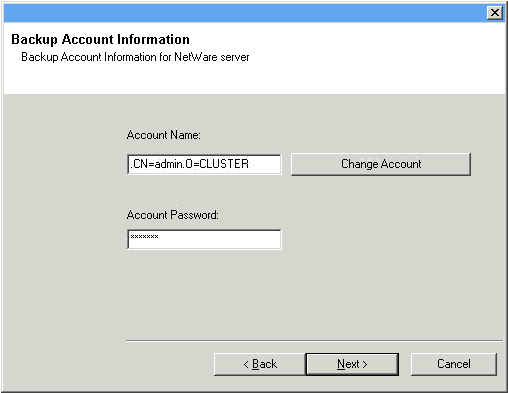
- To use the default user account, enter the password of that account.
- To select a different user account, click Change Account. In the Select User dialog box, select from the tree of NetWare user accounts, and click OK.
- To create a new user account, click Change Account. Then click Create New User. Enter the required account information, assign the desired rights to the new user, and click Create. The install program creates the account. In the Select User dialog box, select the new account from the tree, and click OK.
NOTES
- In order to effectively back up and restore data, you must select a user
account with the appropriate rights.
- For the File System iDataAgent, GroupWise iDataAgent and File Archiver for NetWare Agent, it is recommended that the user account have supervisor rights to the server.
- For the NDS iDataAgent, you must select a NetWare user account with supervisor rights to the root of the entire NDS tree.
- Changing a network account requires about five minutes to be synchronized.
Click Next to continue.
See the NetWare Server iDataAgents section in User Accounts and Passwords for more information.
Index Cache
NOTES
- You can accept the default (SYS:\<software
installation folder>\MediaAgt\Indxcach) or choose another location. In either case,
the location must be local.
If desired, you can change the index cache location to a network drive from the CommCell Console, any time after you have installed the MediaAgent software.
- It is recommended that the index cache location to be on a partitioned drive used exclusively for holding an index cache.
- For information on calculating the space requirements for index cache, see Calculating the Storage Space Required for Index Cache.
- In an Express install the Browse button is disabled.
- Destination folders:
- must follow DOS naming conventions
- must not exceed a length of 8.3 characters
- must not use the following characters when specifying the destination
folder:
% * ? < > |
- It is recommended you use alphanumeric characters only.
Click Browse to change directories.
Click Next to continue.

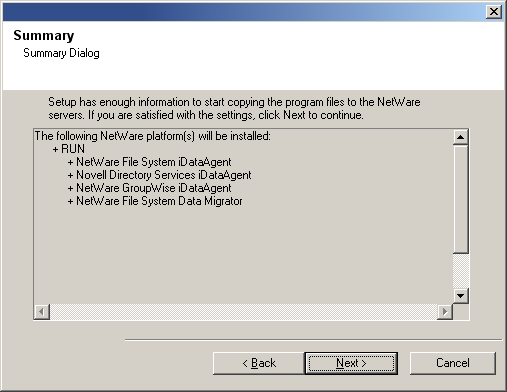
Verify Summary of Install Options
NOTES
- The Summary on your screen should reflect the components you selected for install, and may look different from the example shown.
Click Next to continue or Back to change any of the options.
The install program now starts copying the software to the computer. This step may take several minutes to complete.
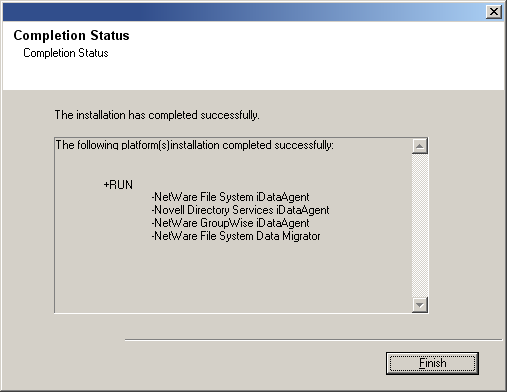
Setup Complete
NOTES
- The Setup Complete message displayed on your screen will reflect the components you installed, and may look different from the example shown.
- If you install an Agent with the CommCell Console open, you need to refresh the CommCell Console (F5) to see the new Agents.
Click Finish to continue.
NOTES
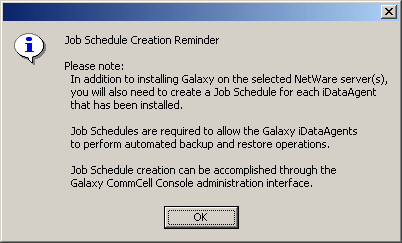
- Schedules help ensure that the data protection operations for the Agent are automatically performed on a regular basis without user intervention. For more information, see Scheduling.
The installation is now complete.
NOTES
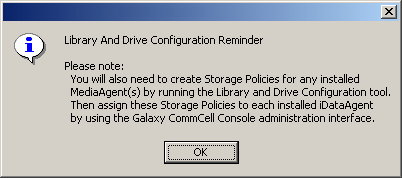
- You can configure the storage policies after configuring the libraries and drives.
Post-Install Considerations
General
- Install post-release updates or Service Packs that may have been released after the release of the software. If you are installing a Service Pack, verify and ensure that it is the same version as the one installed in the CommServe Server. Alternatively, you can enable Automatic Updates for quick and easy installation of updates in the CommCell component.
MediaAgent Specific
-
You must configure the libraries and drives before using the MediaAgent for data protection operations. (For more information, see Library and Drive Configuration.)
The MediaAgent software supports various types of libraries and library configurations. See the following sections for more information:
- Blind Libraries
- Centera Clusters
- Direct-Attached Libraries
- Direct-Attached Shared Libraries
- HDS Data Retention Utility (DRU)
- IP Libraries (Like libraries attached to ACSLS Server)
- Magnetic Libraries
- NAS NDMP Libraries
- Optical Libraries
- SAN-Attached Libraries
- Stand-Alone Drives
- Virtual Tape Libraries