|
|
This feature/product/platform requires a special software installation package. Contact your software provider to obtain this package. |
Click Exit to close the install program.
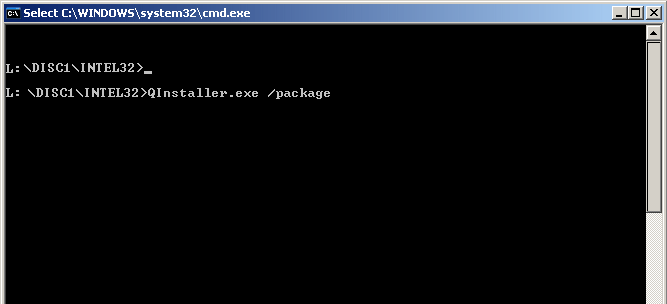
To start the reduced package creation, navigate to the appropriate folder and type the following command:
QInstaller.exe /package
NOTES
Your screen may look different from the example shown.
NOTES
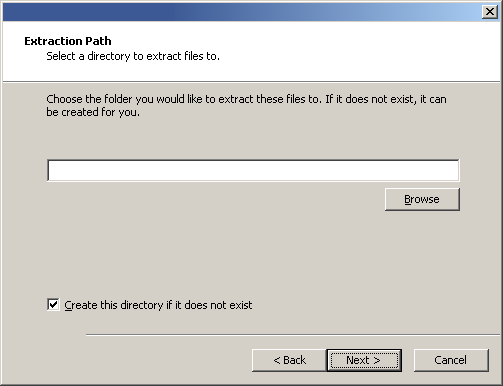
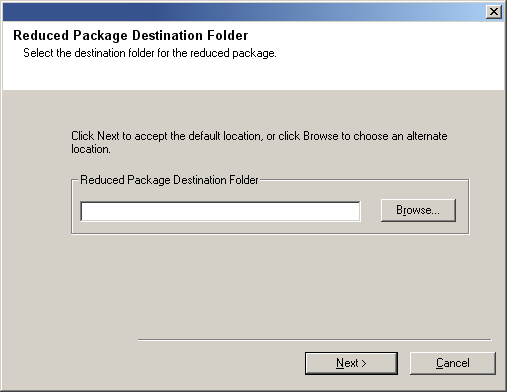
- Specify a folder under any drive. If the folder does not exist, it is automatically created.
- Do not use the following characters when specifying the destination
path:
/ : * ? " < > |
It is recommended that you use alphanumeric characters only.
Click Browse to change directories.
Click Next to continue.
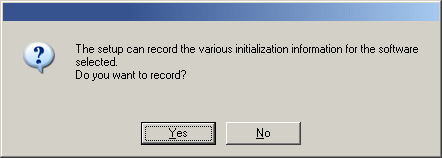
- Select Yes to use the current deployment setup and installation options for installing using the reduced package. It is strongly recommended that you select Yes.
- Select No if the installation environment for the reduced package installs is different from the current installation setup. In such case, you will have to create your own install.ini file.
NOTES
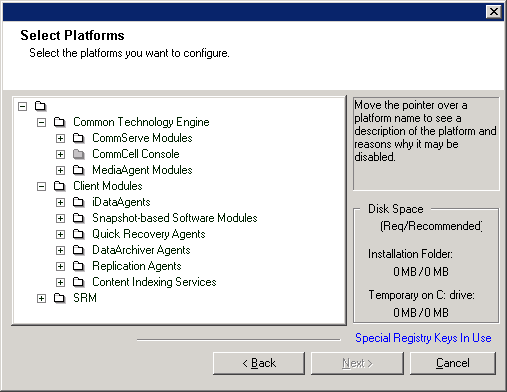
- Your screen may look different from the example shown.
- The Special Registry Keys In Use field will be enabled when GalaxyInstallerFlags registry keys have been enabled on this computer. Hover over the field to see which keys have been set, as well as their values. For more information, see Registry Keys.
Click Next to continue.
NOTES
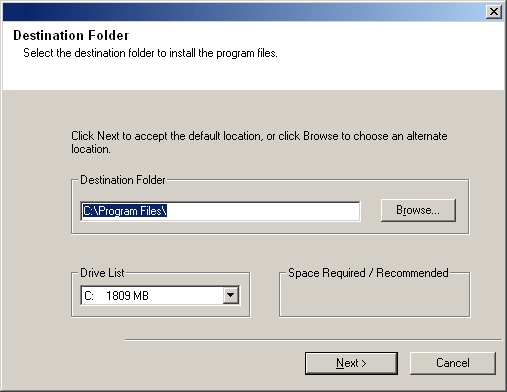
- Do not install the software to a mapped network drive.
- Do not use the following characters when specifying the destination path:
/ : * ? " < > |
It is recommended that you use alphanumeric characters only.
Click Browse to change directories.
Click Next to continue.
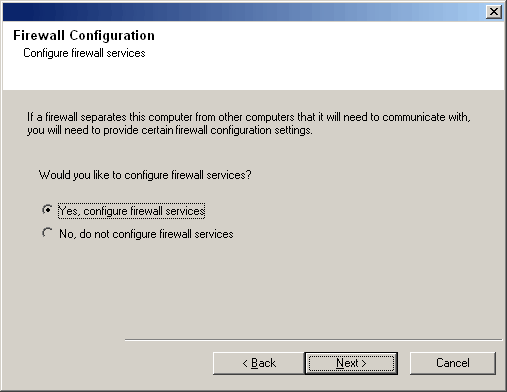
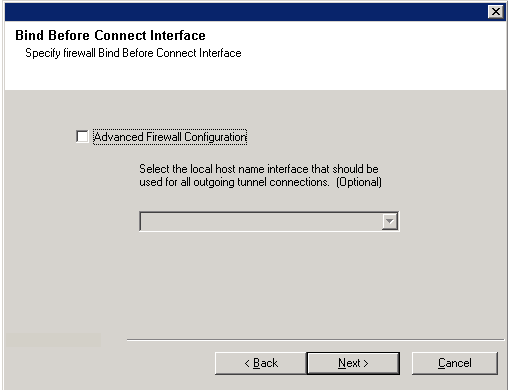
Firewall Configuration
- If this Client communicates with the CommServe Server and/or MediaAgent across a firewall, select Yes, configure firewall services, and then click Next to continue. Proceed to the next Step.
- If firewall configuration is not required, click No, do not configure firewall services and then click Next to continue. Proceed to the next section.
NOTES
- Operating systems, such as Windows 2008 and Windows Vista, may have more than one profile present. When you select No to configure firewall services, verify that firewall settings are not enabled in the profile(s).
- If the system detects firewall settings are present in the profile(s),
you must select from the following:
- Disable firewall for ALL profiles: Employ caution when choosing this option; firewall settings will be disabled in all profiles. This requires a system reboot; installation automatically resumes after reboot.
- No, Firewall is not enabled: Select this option if your
firewall settings allow communication with the CommServe computer.
Click Back to configure firewall services.
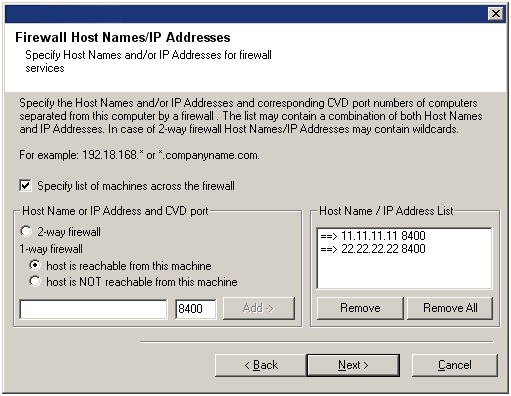
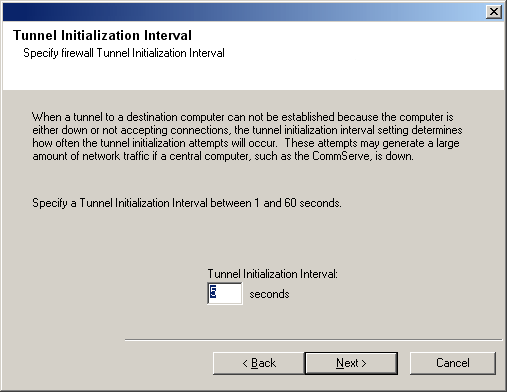
For each machine on the other side of the firewall that you want to configure, choose the type of firewall configuration based on the firewall setup in your environment.
- Click 1-way firewall; host is reachable from this machine on the machine that is on the secure side of the firewall. This is the recommended configuration for Workstation Backup Agents to communicate over the VPN.
- Include the CommServe computer and the Destination computer on the other side of the firewall with which communications will be established. Type the host name or the IP address and the GxCVD port number of the host name, and click Add to place it in the Host Name/IP Address List.
Click Next to continue.
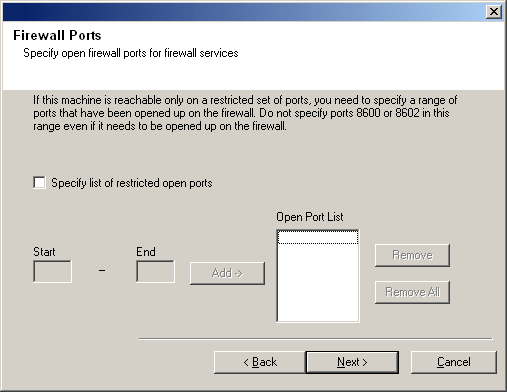
Port ranges are not required for computers that are fully closed in the one-way firewall. For example, laptops which are configured as clients in the Workstation Backup Agent.
Click Next to continue.
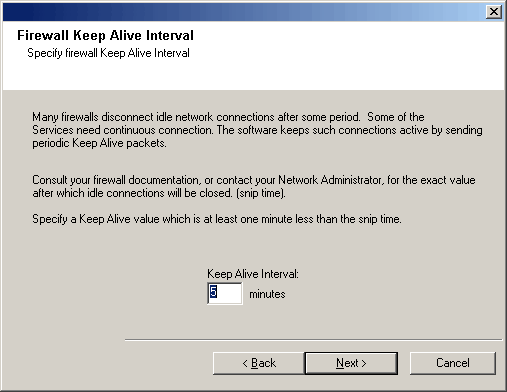
Click Next to continue.
Click Next to continue.
Click Next to continue.
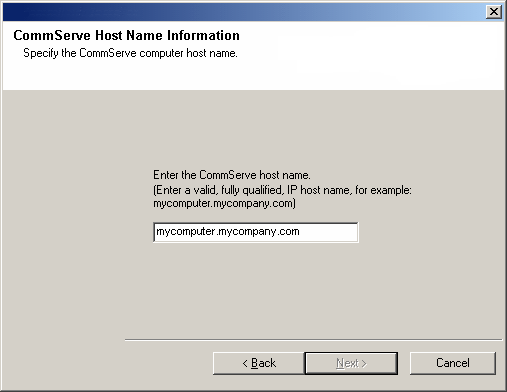
CommServe Host Name
NOTES
- Do not use spaces when specifying a new name for the CommServe Host Name.
Click Next to continue.
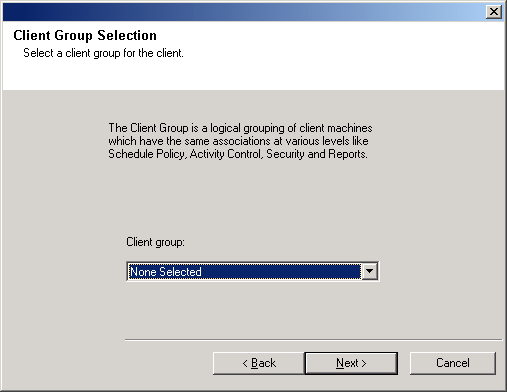
Client Group Selection
Click Next to continue.
NOTES
- This screen will be displayed only if Client Groups are configured in the CommCell Console. For more information, see Client Computer Groups.
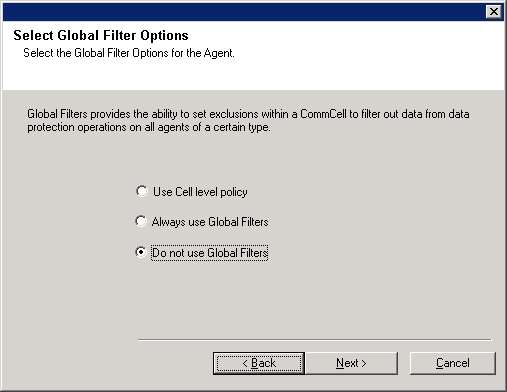
Global Filters Selection
NOTES
- Select Use Cell level Policy to inherit the global filter policy configuration set for the CommCell, i.e., if the Use Global Filters on All Subclients option is selected in the Global Filters dialog box (from the CommCell Console�s Control Panel), then this policy will be applied to the default subclient as well. If is not selected, then the global filters will not be applied to the default subclient.
- Select Always use Global filters to apply the global filters policy to the default subclient regardless of the policy set for the CommCell.
- Select Do not use Global filters to disregard applying the global filters to the default subclient regardless of the policy set for the CommCell.
Storage Policy Selection
NOTES
- A storage policy directs backup data to a media library. Each library has a default storage policy.
- When you install an Agent, the install program creates a default subclient for most Agents.
- If desired, you can change your storage policy selection at any time after you have installed the client software.
- If applicable, enable Global Filters for the default subclient.
- If this screen appears more than once, it is because you have selected multiple agents for installation and are configuring storage policy association for each of the installed agents.
Click Next to continue.

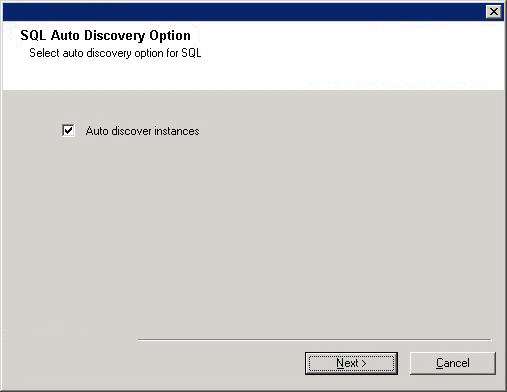
SQL Server Auto Discovery Option
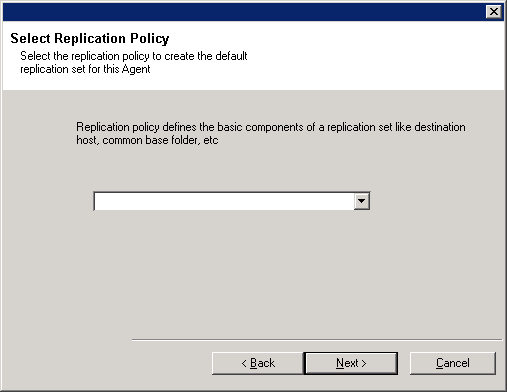
Replication Policy Selection
Click Next to continue.
Verify Summary of Install Options
NOTES
- The Summary on your screen should reflect the components you selected for install, and may look different from the example shown.
Click Next to continue or Back to change any of the options.
The install program now starts copying the software to the computer. This step may take several minutes to complete.

Selecting No will leave the installation files in the reduced package under <reduce_package_destination_folder>\<selected_platform> folder. The reduced package creation program will exit.

See Install using the Reduced Package for procedure to install the software using the reduced package.